Rear Chassis Fan

These are some common tools used to work on this device. You might not need every tool for every procedure.
To upgrade memory, ensure you have first purchased compatible RAM memory stick(s). The PC can accept one or two DIMMs (sticks). I believe it takes DDR3, but to be most certain, use the memory vendor's lookup tools to match to your PC's model number.
The HP PC typically ships with one of the two memory slots occupied. Mine had one 4GB DIMM. If you purchase an identical make/model/size it should run together with the original DIMM, thereby doubling your machine's memory. But often any other product may be incompatible. For example, I purchases a 8Gb DIMM and tried to run it the the 4Gb DIMM installed by HP. They would not run together, so I installed only the new 8Gb DIMM. If I want to add capacity later, I plan to purchase another identical (Corsair brand) 8Gb DIMM.
The steps to upgrading are as follows:
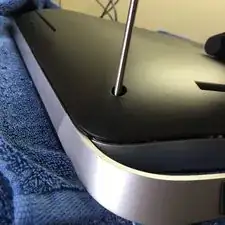
1. Disconnect power and all other input cables from HP Pavilion. Lay it face down on a towel or similar protective cushioned surface on a table top.
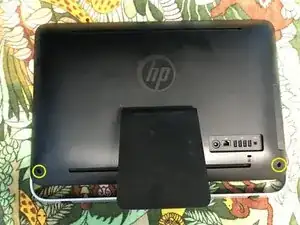
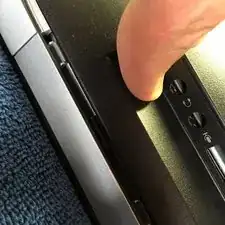
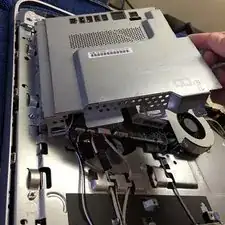
2. Remove back cover
(a) remove the two philips head screws
(b) carefully and _gently_ pry around the full perimeter of the back cover to separate if from the silver band ringing the PC. There are small plastic tabs that need to be unseated to allow the cover to be lifted away. Take great care to avoid breaking, bending or marring -- it is not necessary in order to remove the cover.
3. Remove the metal cover of the CPU section to expose memory slots. Two philips head screws will be removed then the metal cover lifted on the side with screws and pulled laterally toward center of PC to disengage tabs of cover on opposite side of cover from PC chassis.
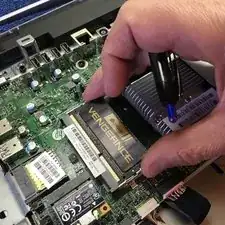
4. Remove original memory DIMM if you are replacing it. To do so, gently spread two clips on either side of DIMM then lift DIMM edge opposite slot and pull out of slot.

5. Install new memory DIMMs. if only one DIMM to be used, install it in the top slot. Ensure DIMM is fully engaged in it slot (see photos to compare), and then close clips onto DIMM in divots on either side.
6. I recommend testing computer before complete reassembly, so plug power cable in and turn PC on, taking great care, of course, no to touch any exposed part of PC that would normally be under the now removed back cover. If it boots up normally, power it down and remove power cable.
7. Reassemble in reverse order of disassembly: install metal CPU cover, install black plastic back cover, install screws on cover.
You are done.