Introduction
Is your purge valve not working?
Use this guide to help you replace the purge valve in less than 20 minutes. No major work needs to be done; you only need a cross-screwdriver and WD-40 to help you loosen some parts.
Ensuring that this component is operating correctly is crucial, as a malfunction can cause various problems, such as decreased fuel efficiency, increased emissions, and potentially even engine damage. This is why it is crucial to replace a faulty purge valve as soon as possible.
Tools
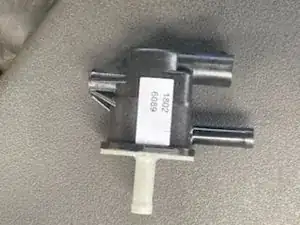
Parts
-
-
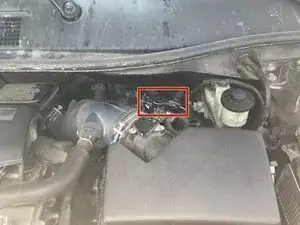
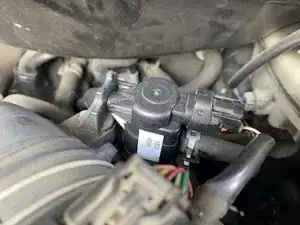
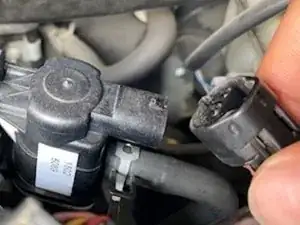
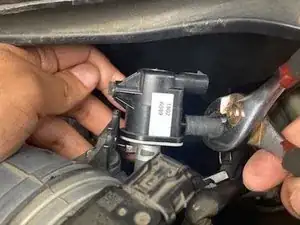
Locate the purge valve on the engine. It is on the exhaust manifold near the cylinder head. It may have a round plastic gas cap at one end and a flange with an electrical connector at the other end.
-
-
-
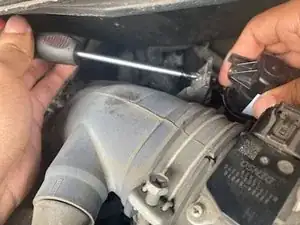
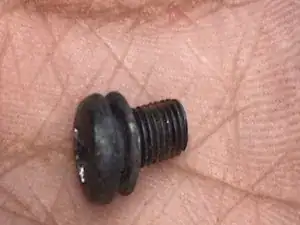
Use a Cross slot/Phillips screwdriver and take out the screw that is used to hold the purge valve in place. Rotate the screwdriver to the left until the screw is fully out.
-
-
-
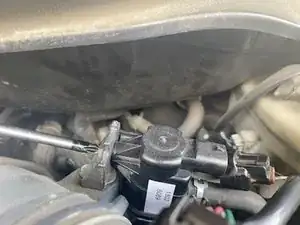
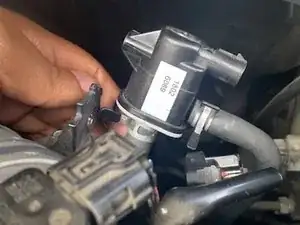
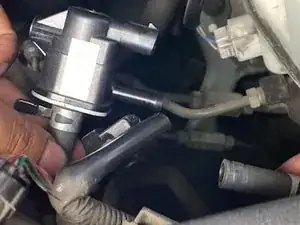
Disconnect the electrical connector from the purge valve by gently pulling it away from the valve.
-
-
-
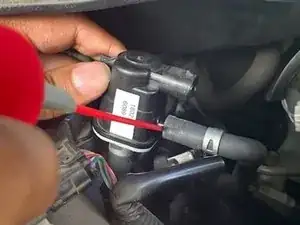
Apply a few drops of WD-40 at the bottom and right hose to loosen them and make removing them more manageable.
-
-
-
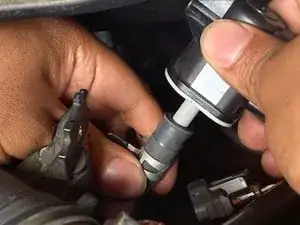
You should be able to remove the hose's by hand but use a slip joint pillar if it is difficult. The hose's should then simply slide off and in doing so gently lift the valve away from the engine.
-
To reassemble your device, follow these instructions in reverse order.