Introduction
If you have started noticing that your laptop loses power faster than before, or if it randomly shuts down when high on charge, a faulty battery is likely the cause. This guide will provide the necessary components and steps to remove and replace your E210MA battery.
Tools
-
-
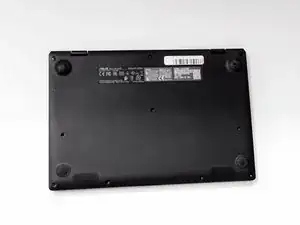
Place the laptop with the bottom side facing up. Have the front (where the mousepad is) facing toward you.
-
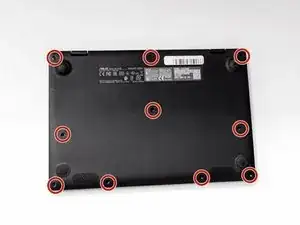
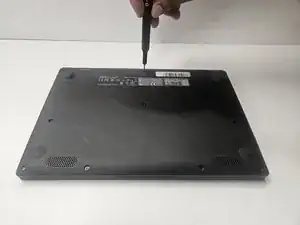
Start by removing the ten 7mm screws on the bottom of the laptop using a JIS #00 JIS screwdriver.
-
-
-
Double-check to make sure all of the screws are removed.
-
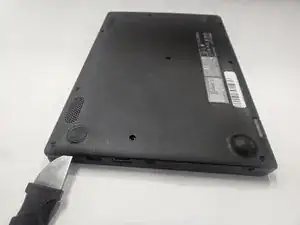
If you have a Jimmy or other flat, straight-edge object, slide it in the crack where the halves of the case meet.
-
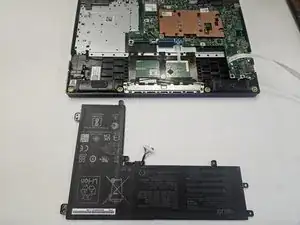
When the parts are separated, pull them apart to expose the insides of the case.
-
-
-
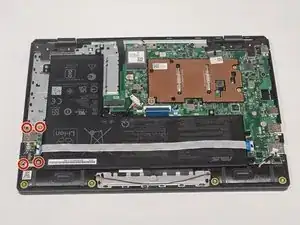
Remove the 3 mm screws around the battery.
-
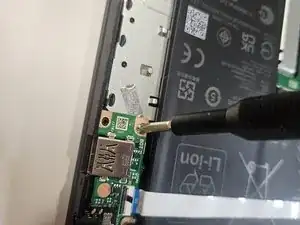
Carefully lift up the USB port and set it to the side.
-
-
-
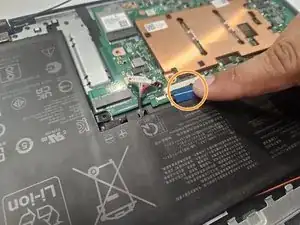
Unplug the connection between the motherboard and the battery by pulling towards the speaker side.
-
Repeat the same process to remove the blue tape on the second picture.
-


To reassemble your device, follow these instructions in reverse order.
