Introduction
An old hard-drive can be slow, or limited in storage capacity. Use this guide to replace your ASUS VivoBook X541UA-SB51-CB laptop’s hard-drive.
The laptop comes with a standard SATA drive with limited hard-drive space. With this guide, it helps expand the laptop’s storage space or replace their SATA drive with an SSD to improve their computer speeds. An SSD helps improve the read and writing speeds allowing users to quickly retrieve and save files. This guide would help people upgrade to have better usefulness out of a laptop.
Before beginning, make sure to power off your laptop completely and disconnect from any external power source.
-
-
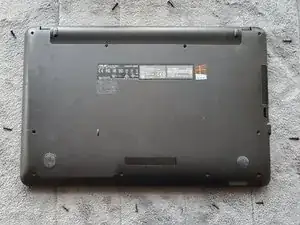
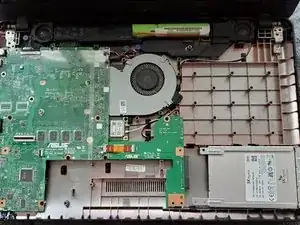
Flip the laptop onto its backside.
-
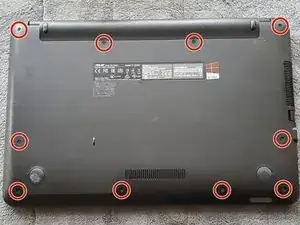
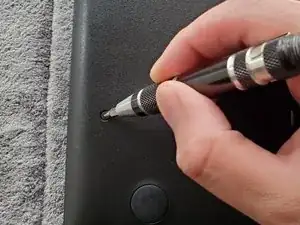
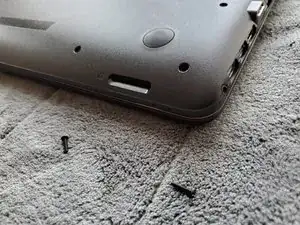
Use a Phillips #00 screwdriver to remove the nine 1.2 mm Phillips #00 screws screws attached to the laptop backing.
-
-
-
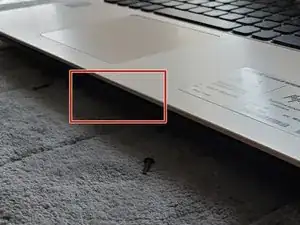
Remove the laptop backing with a prying tool. Use the prying tool between the keyboard and bottom grooves.
-
Start prying from the center of the laptop and work your way around the edges of the laptop to remove the keyboard panel.
-
-
-
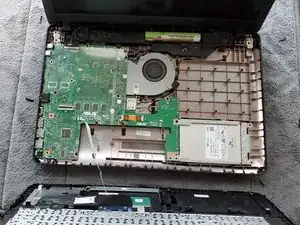
Separate the laptop keyboard from the laptop backing.
-
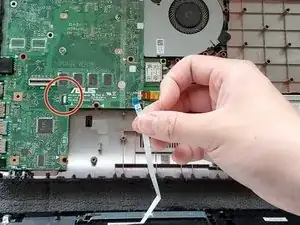
Carefully remove the keyboard connector from the motherboard.
-
-
-
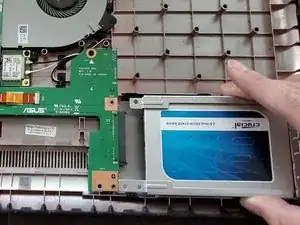
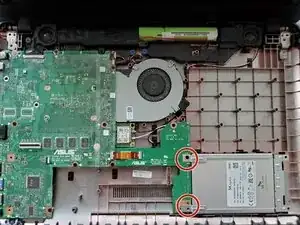
Remove the two 3 mm screws attached to the laptop's hard drive metal cage using the Phillips #00 screwdriver.
-
Once the screws have been removed, gently disconnect the hard drive by pulling the hard drive away from the integrated SATA port.
-
-
-
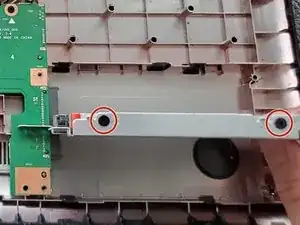
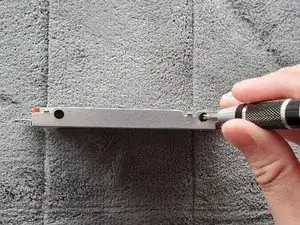
Remove the four 3 mm screws attached to hard drive metal cage using the Phillips #00 screwdriver.
-
Remove the hard drive from the bracket.
-
To reassemble your device, follow these instructions in reverse order.
One comment
I replaced the original sata into a ssd but it doesnt boot to windows. It gets stuck in bios. The ssd has an os already. It appears in the storage section but not in the boot list. I have already tried to boot the ssd to my computer and it works.