Introduction
If you feel your Acer Aspire E1-572-6829 overheating, there might be a problem with your laptop's fan. This guide explains how to replace the fan in your laptop. Take a look at our troubleshooting page to see if there are any other fixes you can make before taking these steps to replace your fan.
The fan in your Acer Aspire E1-572-6829 works to cool off your laptop as the other components of your laptop generate heat. If your laptop is overheating and you have already checked for improper ventilation and a dying battery, then you should consider replacing the fan in your laptop. Follow these steps to replace a broken Acer Aspire E1-572-6829 fan.
Make sure that your device is powered off and the charger is unplugged before beginning the steps in this guide.
-
-
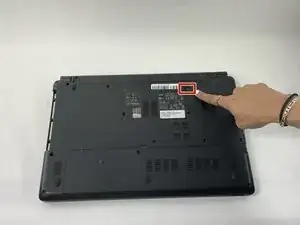
Flip the laptop over so that you are facing the back panel.
-
Locate the battery lock switch below the battery.
-
-
-
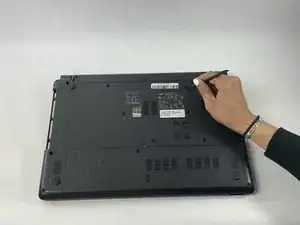
Slide the battery lock switch to the open position using your finger or a plastic spudger.
-
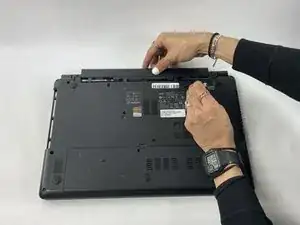
While holding this switch open, use your other hand to slide the battery out from the back of the laptop.
-
Your battery is removed. You can now let go of the lock switch.
-
-
-
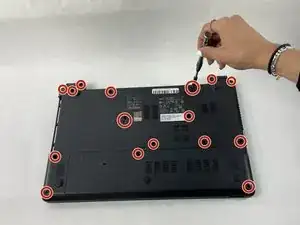
Use a Phillips #0 screwdriver to remove the seventeen 8 mm screws that secure the back panel.
-
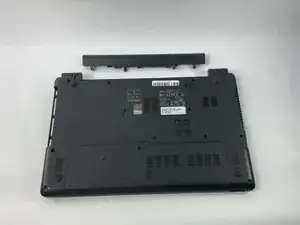
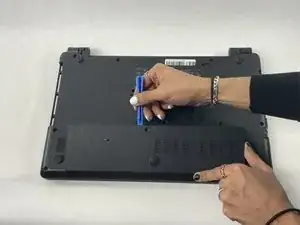
Use a plastic spudger to pry open the lower back panel from its top edge.
-
Lift the panel up and out to remove it.
-
-
-
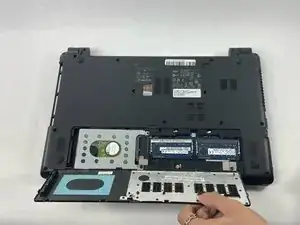
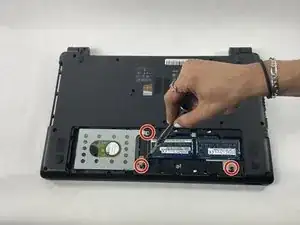
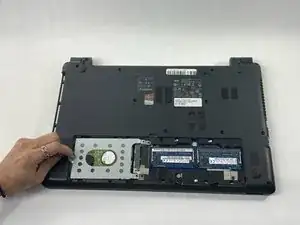
Use a Phillips #0 screwdriver to remove the three 8 mm screws on the inner side of the lower back panel.
-
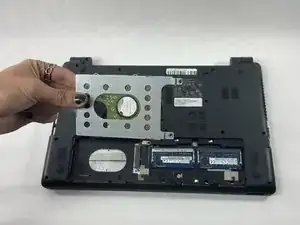
Use the pull tab on the left side of the 2.5 inch hard disk tray to slide it out of the SATA port.
-
-
-
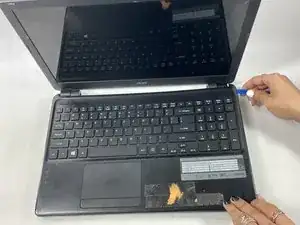
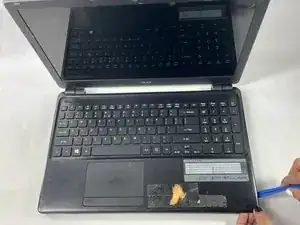
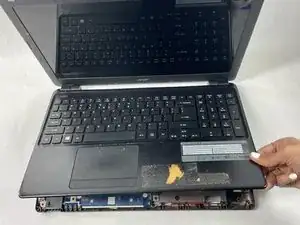
Flip the laptop over and open the lid so that the keyboard side is facing upwards.
-
Use a plastic pry tool to pry open the tabs holding the top panel on around all sides of the laptop.
-
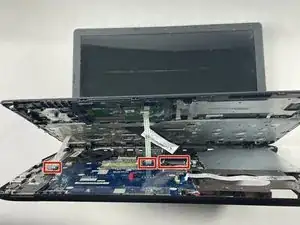
Once all the tabs are free, carefully lift up the top panel to open it slightly.
-
-
-
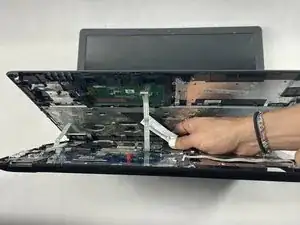
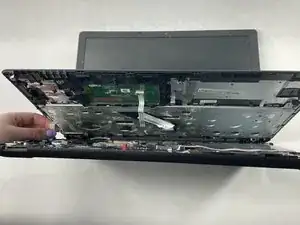
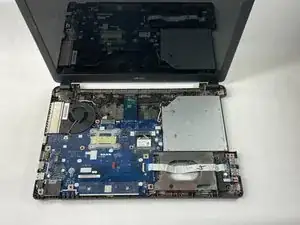
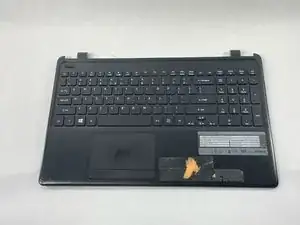
Once the ribbon cables are detached, the entire top panel consisting of the keyboard and the touch-pad assembly can safely be removed from the laptop.
-
-
-
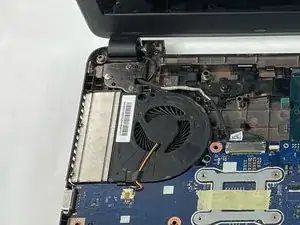
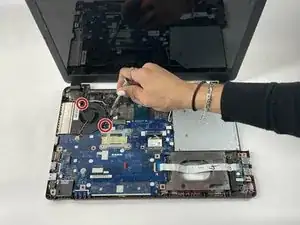
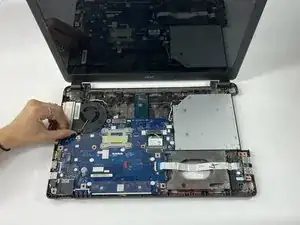
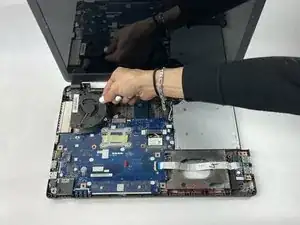
Use a Phillips #0 screwdriver to remove the two 5 mm screws on the fan.
-
Unplug the cable connecting the fan to the motherboard.
-
Lift the fan up and out of the laptop.
-

To reassemble your device, follow these instructions in reverse order.