Introduction
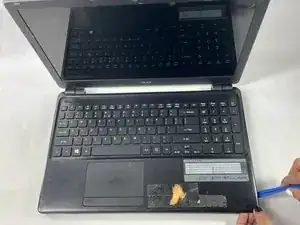
If the audio from your Acer Aspire E1-572-6829 sounds distorted, the speakers may need replacing. This guide walks you through how to locate and replace the speakers in your Acer Aspire E1-572-6829 laptop.
The speakers allow your device to have sound. Over time they may fill with dust or dirt, which can distort the sound. Check our troubleshooting page for tips on how to clean your speakers. If that doesn't solve the issue, you may need to replace your speakers.
Make sure that your device is powered off and the charger is unplugged before beginning the steps in this guide.
-
-
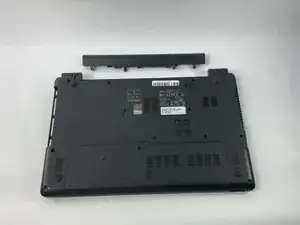
Flip the laptop over so that you are facing the back panel.
-
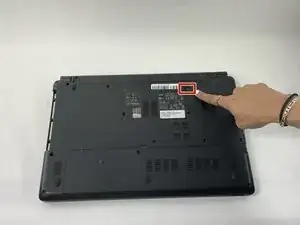
Locate the battery lock switch below the battery.
-
-
-
Slide the battery lock switch to the open position using your finger or a plastic spudger.
-
While holding this switch open, use your other hand to slide the battery out from the back of the laptop.
-
Your battery is removed. You can now let go of the lock switch.
-
-
-
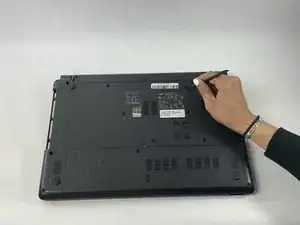
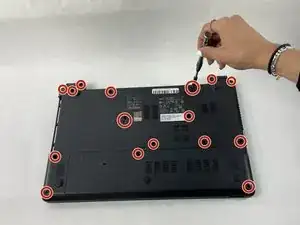
Use a Phillips #0 screwdriver to remove the seventeen 8 mm screws that secure the back panel.
-
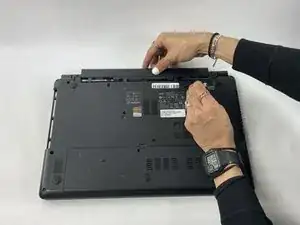
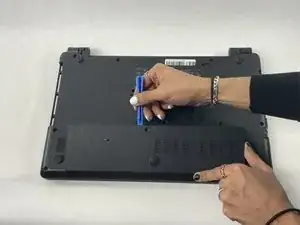
Use a plastic spudger to pry open the lower back panel from its top edge.
-
Lift the panel up and out to remove it.
-
-
-
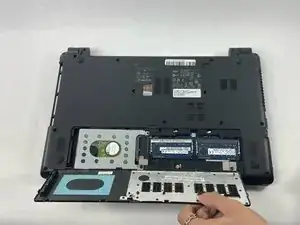
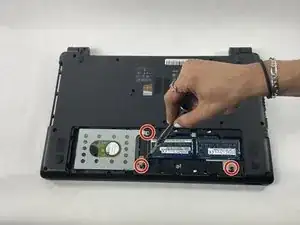
Use a Phillips #0 screwdriver to remove the three 8 mm screws on the inner side of the lower back panel.
-
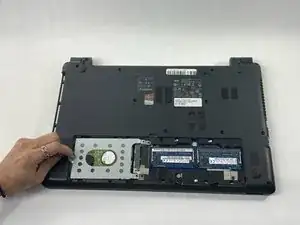
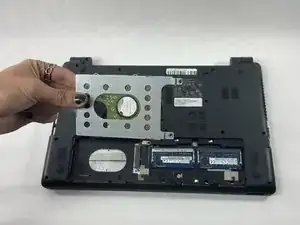
Use the pull tab on the left side of the 2.5 inch hard disk tray to slide it out of the SATA port.
-
-
-
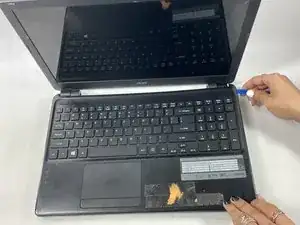
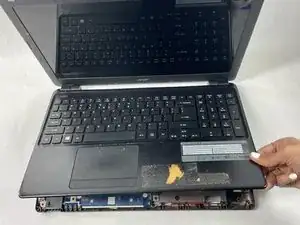
Flip the laptop over and open the lid so that the keyboard side is facing upwards.
-
Use a plastic pry tool to pry open the tabs holding the top panel on around all sides of the laptop.
-
Once all the tabs are free, carefully lift up the top panel to open it slightly.
-
-
-
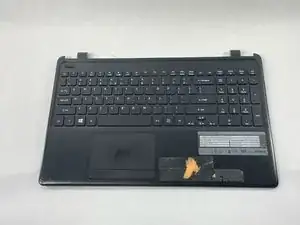
Once the ribbon cables are detached, the entire top panel consisting of the keyboard and the touch-pad assembly can safely be removed from the laptop.
-
-
-
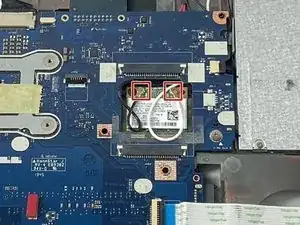
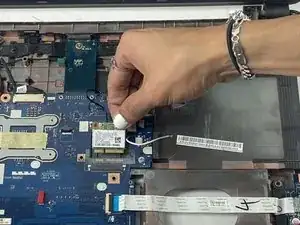
Detach the two cables connected to the Wi-Fi card. Gently pull them off using a plastic pry tool or your fingers.
-
-
-
Unscrew and remove the one 5 mm Phillips #0 screw that secures the Wi-Fi card.
-
Carefully lift up the Wi-Fi card and pull it up and out to remove it.
-
-
-
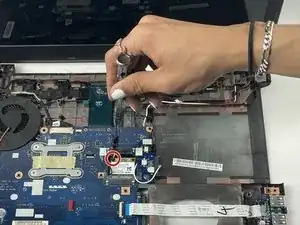
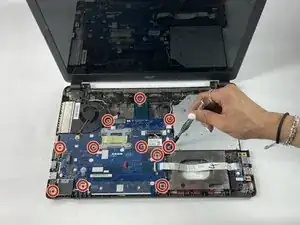
Use a Phillips #0 screwdriver to remove the eleven 5 mm screws that secure the motherboard.
-
Slide out the optical disk drive to the right side to remove it.
-
-
-
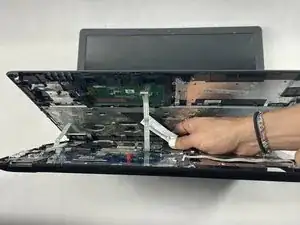
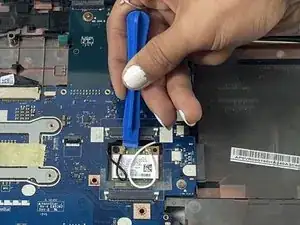
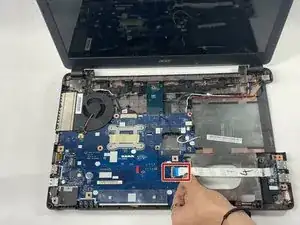
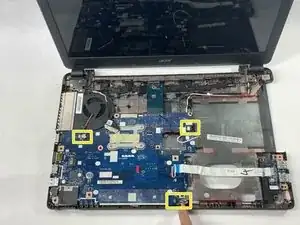
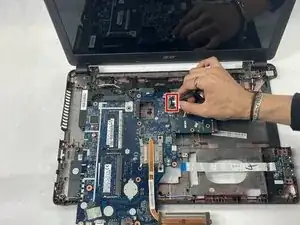
Unplug the ZIF connector by using a plastic spudger or your finger to lift the locking flap before gently pulling it out.
-
Use a plastic spudger or your fingers to flip the metal clip over and then gently pull the display cable connector out.
-
Unplug the no-fuss ribbon cables by pulling them straight out of the connector using your fingers.
-
-
-
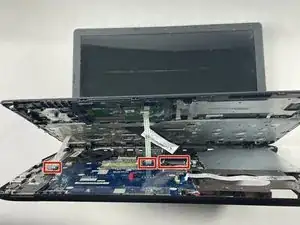
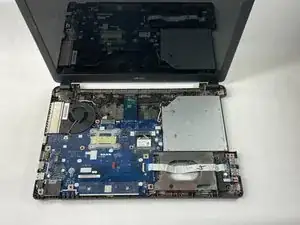
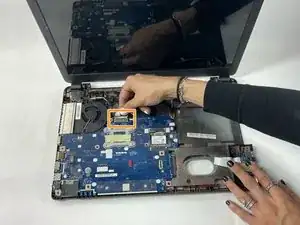
Carefully lift the motherboard up from the bottom edge and slide it down to dislodge it from the case.
-
Carefully flip the motherboard over.
-
Unplug the connector on the bottom of the motherboard by using your fingers to gently pull it out.
-
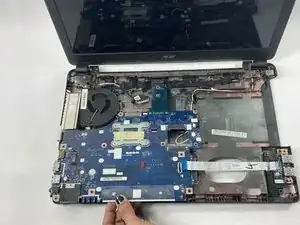
The motherboard can now be safely removed from the laptop.
-
-
-
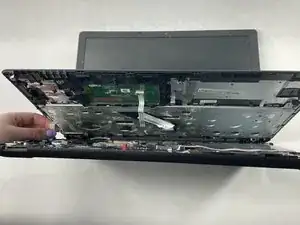
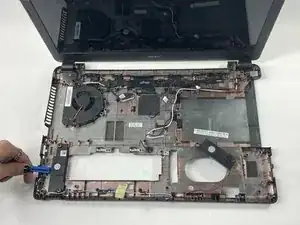
Unscrew the 5 mm Phillips #0 screw holding down the USB daughterboard and remove the board from the case.
-
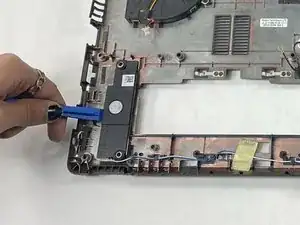
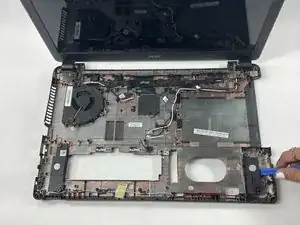
Use a plastic spudger to pry the speakers free from the laptop case.
-


To reassemble your device, follow these instructions in reverse order.