Introduction
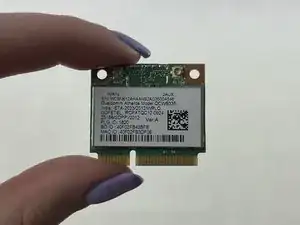
If your Acer Aspire E1-572-6829 is having trouble connecting to Wi-Fi, the Wi-Fi card may need replacement. First read through our troubleshooting page and make sure the Wi-Fi is turned on and try updating your WiFi drivers. If neither of those work, then follow these steps to replace the Wi-Fi card.
The Wi-Fi card is how your device connects to the Internet, so if it is broken, that will cause problems with your Acer Aspire E1-572-6829 connecting to the Internet.
Make sure that your device is powered off and the charger is unplugged before beginning the steps in this guide.
-
-
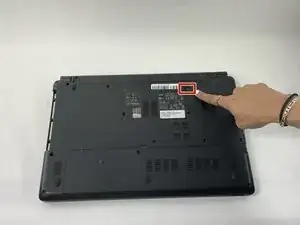
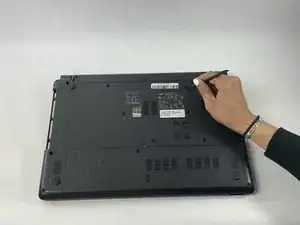
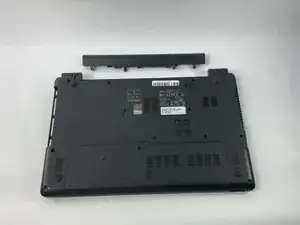
Flip the laptop over so that you are facing the back panel.
-
Locate the battery lock switch below the battery.
-
-
-
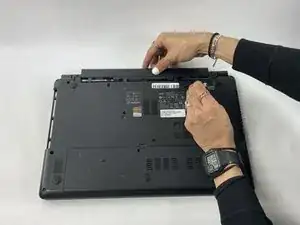
Slide the battery lock switch to the open position using your finger or a plastic spudger.
-
While holding this switch open, use your other hand to slide the battery out from the back of the laptop.
-
Your battery is removed. You can now let go of the lock switch.
-
-
-
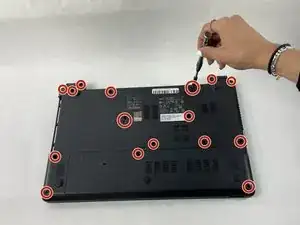
Use a Phillips #0 screwdriver to remove the seventeen 8 mm screws that secure the back panel.
-
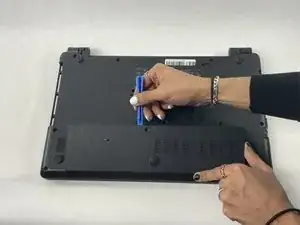
Use a plastic spudger to pry open the lower back panel from its top edge.
-
Lift the panel up and out to remove it.
-
-
-
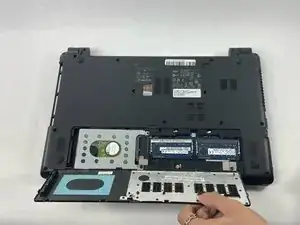
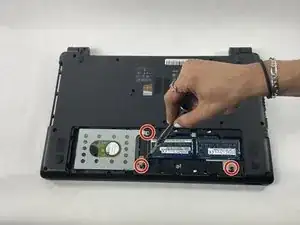
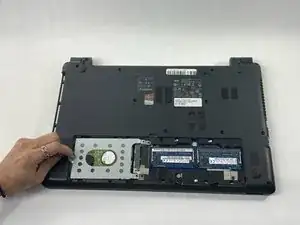
Use a Phillips #0 screwdriver to remove the three 8 mm screws on the inner side of the lower back panel.
-
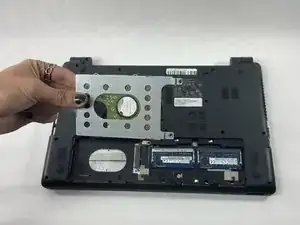
Use the pull tab on the left side of the 2.5 inch hard disk tray to slide it out of the SATA port.
-
-
-
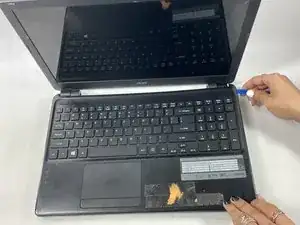
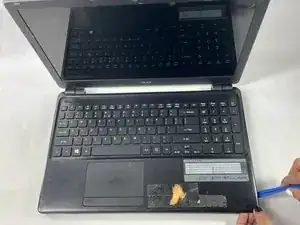
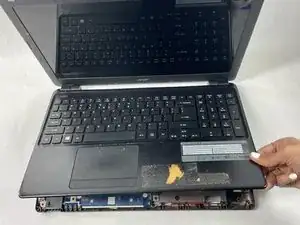
Flip the laptop over and open the lid so that the keyboard side is facing upwards.
-
Use a plastic pry tool to pry open the tabs holding the top panel on around all sides of the laptop.
-
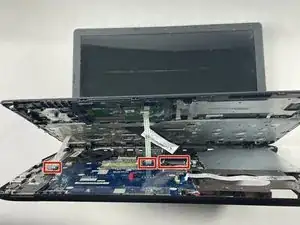
Once all the tabs are free, carefully lift up the top panel to open it slightly.
-
-
-
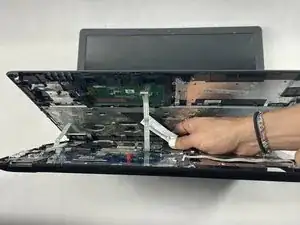
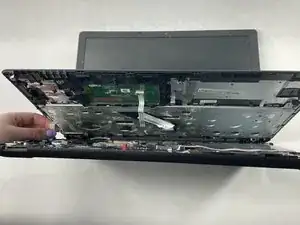
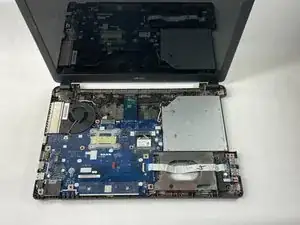
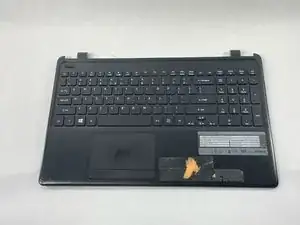
Once the ribbon cables are detached, the entire top panel consisting of the keyboard and the touch-pad assembly can safely be removed from the laptop.
-
-
-
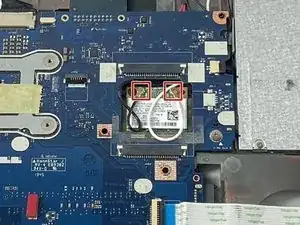
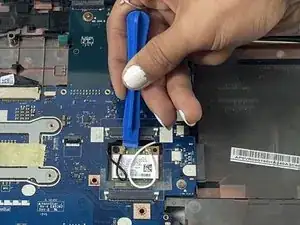
Detach the two cables connected to the Wi-Fi card. Gently pull them off using a plastic pry tool or your fingers.
-
-
-
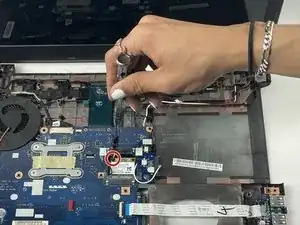
Unscrew and remove the one 5 mm Phillips #0 screw that secures the Wi-Fi card.
-
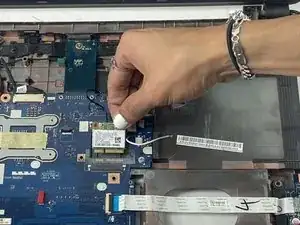
Carefully lift up the Wi-Fi card and pull it up and out to remove it.
-

To reassemble your device, follow these instructions in reverse order.