
Introduction
Use this guide to replace a Solid State Drive (SSD) in your Acer Nitro5 (AN15-55) laptop.
An SSD is a piece of internal hardware that both stores and retrieves data in a computer.
An SSD failure can cause your laptop to run very slowly and/or continuously crash (the notorious blue screen of death) leading to potentially major data loss. In cases of complete SSD failure, your laptop’s operating system will not boot up at all.
Likewise, upgrading your SSD can increase your laptop’s performance. If your laptop is getting low on storage, getting too noisy or heated, or running more slowly than you’d prefer, consider upgrading the SSD. Most SSDs should fit in this laptop but take caution in confirming the compatibility of devices. If searching for an SSD on Amazon, use the Amazon Confirmed Fit tool to verify compatibility.
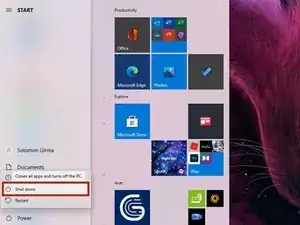
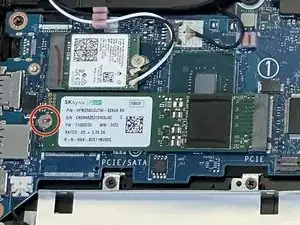
During preparation and installation, be very careful with the SSD, as the device, specifically the connector pins, are extremely delicate. Ensure that your current SSD is backed up before you begin the replacement process. Once ready, power off your laptop and disconnect it from any power sources.
-
-
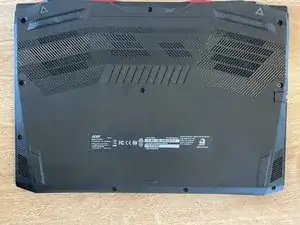
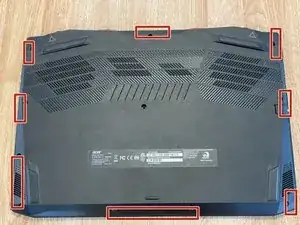
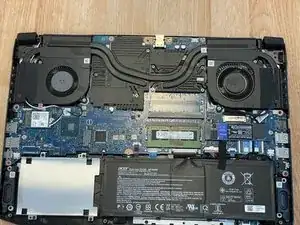
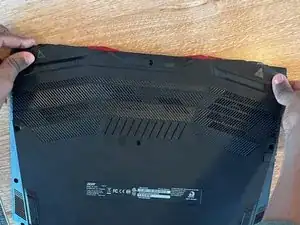
Flip the laptop on its back.
-
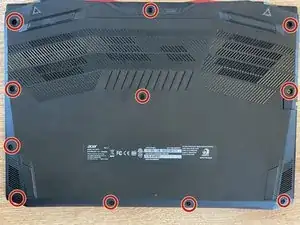
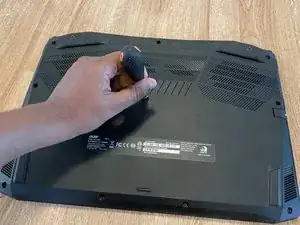
Remove the eleven 8 mm screws securing the back cover using the Phillips #1 screwdriver.
-
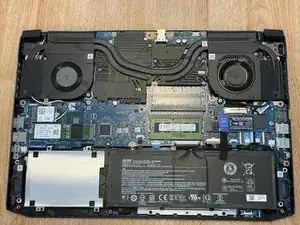


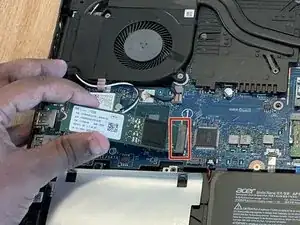


Follow the guide that comes with your new SSD to make sure your laptop recognizes your new SSD.
One comment
This model is supposed to have 3 slots 2 for SSD and 1 for HDD, can you please point them out? Just add an extra SDD?
mayumidb -