Introduction

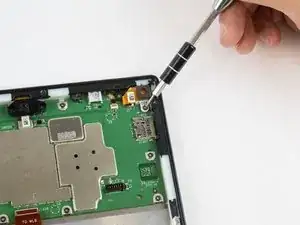
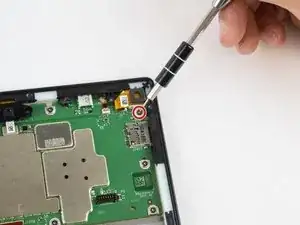
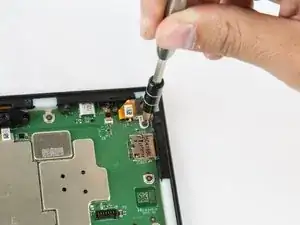
You will need to use the screen replacement guide as a prerequisite.

  1. pMUsf5gRYMNi2hgC
    pMUsf5gRYMNi2hgC
    RDROMVPXqogIgTOT
    J2ufhOZpVSFQKTKJ
    • Avoid prying near bottom right hand side due to LCD Connector

    • Use a plastic opening tool to pry the screen up in the right hand corner.

    The right side with the power switch on top?

    Sonny Shear -

    Where is the right hand corner? Is it the corner nearest the USB connector? Farthest from USB connector?

    Thanks!

    Steve Ciciora -

  2. lTqFQgEFiHSNgYWJ
    • Do not completely remove the screen yet as there is a ZIF connector connected.

    • Lift the screen and digitizer from the case.

    • You may need to use some force due to the glue.

    What is a ZIP connector? What does it look like?

    Beldenr -

    Hi Beldenr! We happen to have a handy guide for a lot of different types of connectors, including ZIF connectors.

    Adam O'Camb -

  3. 3xBWtELWfcZnMODd
    3xBWtELWfcZnMODd
    6EwvG6oFoBRvcsxI
    • Be mindful of the ZIF connector.

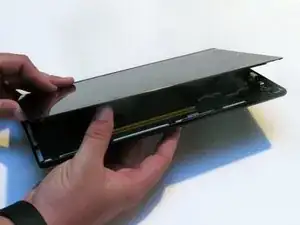
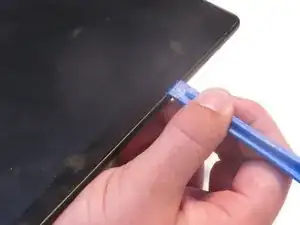
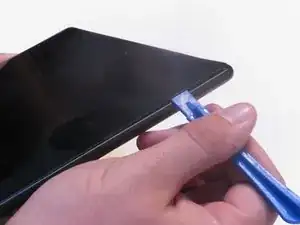
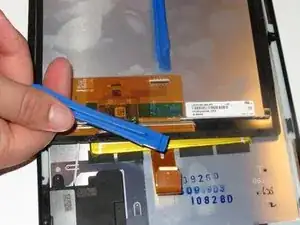
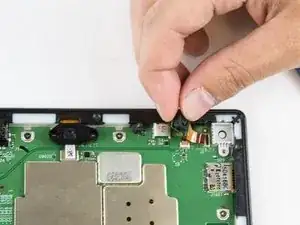
    • Disconnect the ribbon connector from the digitizer side using your hands or the plastic opening tool.
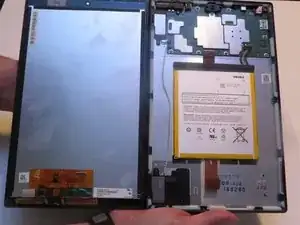
  4. 3H6ELaVaCoPLtFTQ
    • Remove the screen and digitizer from the case completely.

  5. Dr5nmGcs2KdCqJCy
    Dr5nmGcs2KdCqJCy
    1XqnXIIPRF3qdROU
    • Remove the single T5 Torx screw at the base of the camera.

    • Once removed, place the screw aside in a safe location.

  6. J3kj6EZU3fro2QEI
    J3kj6EZU3fro2QEI
    yAhmtVcIqxvGgQUE
    • Lift the camera from the case using the plastic opening tool.

    • The camera is still connected to the motherboard via the ZIF connector.

  7. MTT5eLFuAdYGMQl5
    MTT5eLFuAdYGMQl5
    h25Bpjn4X2qn1lOW
    • Gently grab the camera and pull to remove.

    • The camera is now free from the motherboard.

Conclusion

To reassemble your device, follow these instructions in reverse order.

Jaie Hillery

Member since: 07/10/14

1691 Reputation

0 comments