Introduction
-
-
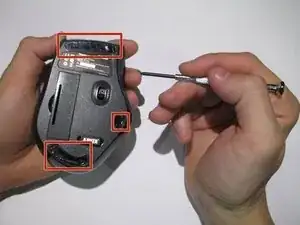
Use screwdriver to pry off the stickers marked in red to reveal the location of the 4 screws.
-
-
-
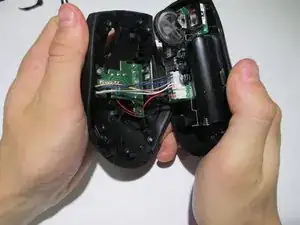
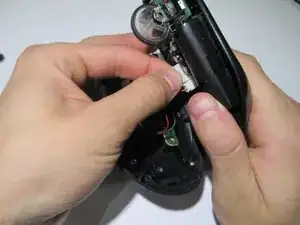
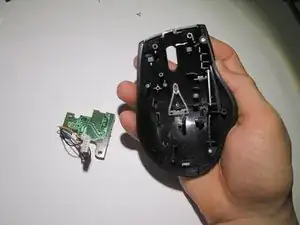
Remove the wires from the white crimp headers. this will separate the upper and lower housing units of the mouse.
-
-
-
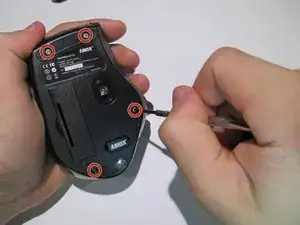
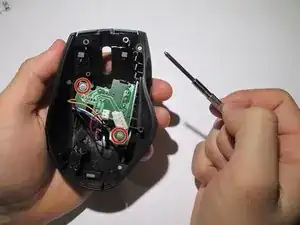
Take the upper housing of the mouse and begin to remove the two screws (highlighted in red) that hold the board in place.
-
-
-
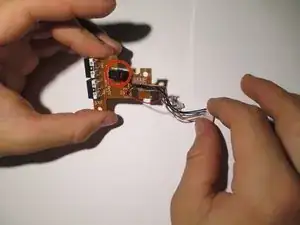
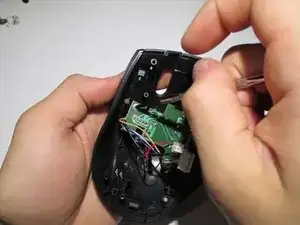
The DPI button is the red push button highlighted in red.
-
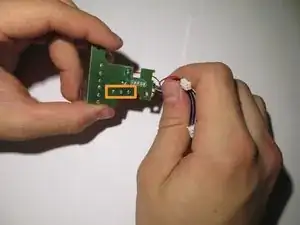
To remove it, flip the board over and desolder the wires highlighted in orange.
-
Replace component with new component and resolder back in place.
-

Conclusion
To reassemble your device, follow these instructions in reverse order.