
Introduction
This guide will walk you through removing the Fan Assembly on an Aorus x7 v2. The fans must function, as laptops work best with proper ventilation and cooling and if they are damaged or fail, the laptop my quit working or damage other important components.
Before starting this repair, power off your device and unplug from your charger. It is also wise to remove the battery or at least disconnect the battery cable.
-
-
Flip the laptop over.
-
Unscrew the 12 screws on the bottom.
-
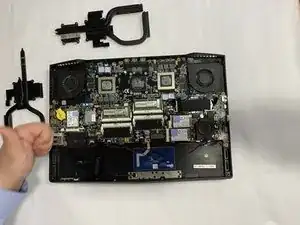
Take off the bottom cover.
-
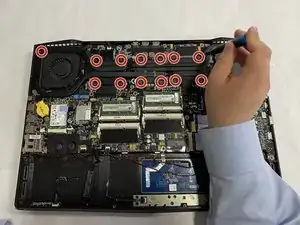
Remove the 12 screws on the heat sink.
-
-
-
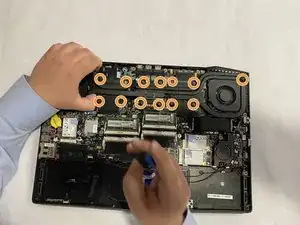
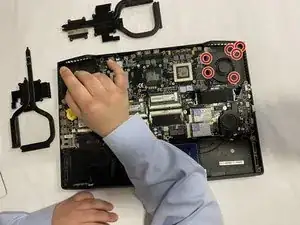
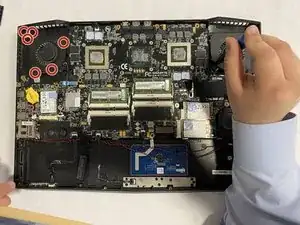
Unscrew the six screws from the left and right fans.
-
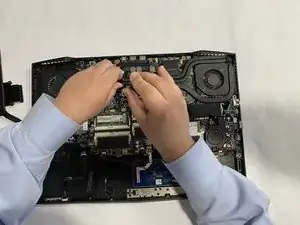
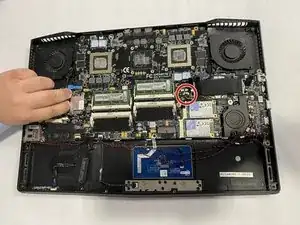
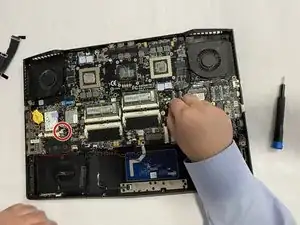
Locate the connection plug for the fan to the motherboard.
-
Remove the left fan connector.
-
-
-
Remove the right fan connector.
-
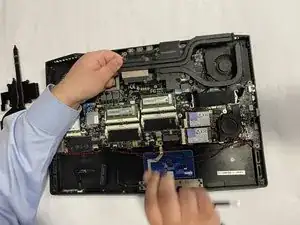
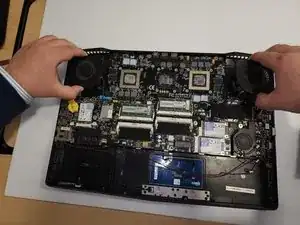
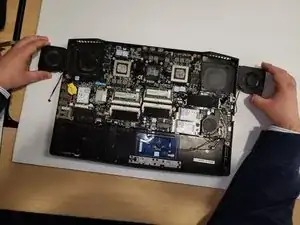
Carefully lift up the left and right fans.
-
Set the fans to the side before installing new fans.
-

To reassemble your device, follow these instructions in reverse order.
I recommend having the heat sink screws circled in orange in both pictures.
H. Nye -