Introduction

An optical drive replacement guide for the Asus ROG GL551J.

  1. 4ShcQTOjcxp4RIFX
    • Lay the device on a flat surface with the battery facing up.

    • Be sure to wear ESD or Rubber gloves to protect the computer components.

    could provide a link on where to purchase screens or a link for this specific model, they are hard to find

    Anika Rozeboom -

  2. gWlnqjSBWM3iji3H
    • Push the latch found below the battery to the unlock position.

  3. GVoXFXgE1eJiaRcQ
    • Pull the battery out.

    Image unclear

    Anika Rozeboom -

  4. oGJvcWQfCNuJhm6o
    oGJvcWQfCNuJhm6o
    VRSJorMVyRL5bvPI
    • Locate and unscrew the screw which connects the optical drive to the chassis

  5. VcwPLDTGEUkvMeyJ
    • Grasp the edge of the optical drive

  6. LejeyEchu3IRwOnh
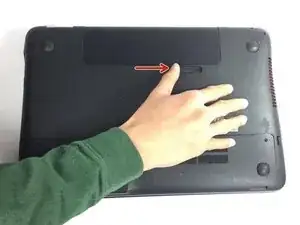
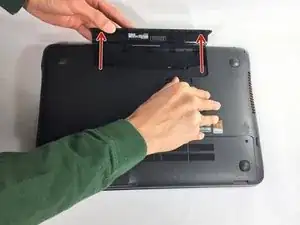
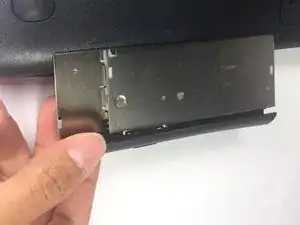
    • Pull on the optical drive gently. With little resistance, the optical drive should just slide out

Conclusion

To reassemble your device, follow these instructions in reverse order.

Philip Muino

Member since: 15/02/17

179 Reputation

One comment

ok.so , if someone had replaced the dvd rom with a hard disk drive i nust do the same for replace the drive?

anix -