Introduction
How to disassamble tracker carefully, take a look on what`s inside and maintain it back.
-
-
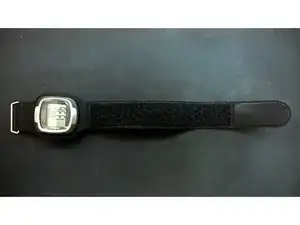
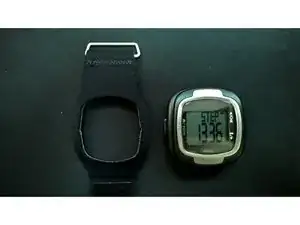
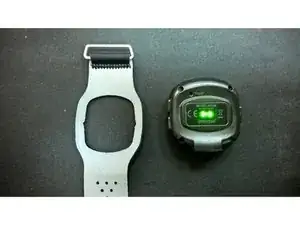
Removing soft strap.
-
The device is pretty smart. It turns off those green puls measuring LED`s so it`s tricky to take a picture of those glowing.
-
-
-
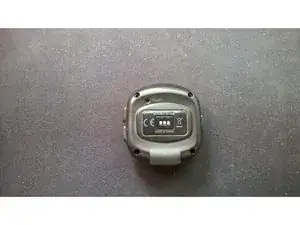
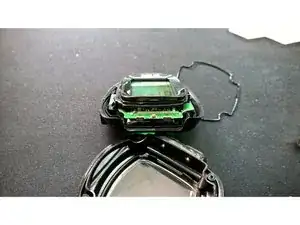
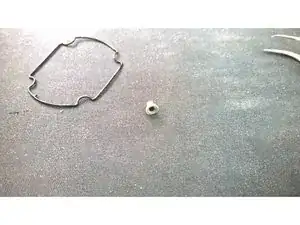
Remove 4 screws in corners from the back. Remove the cover. Thin silicone washer is visible now. The buttons look waterproof.
-
-
-
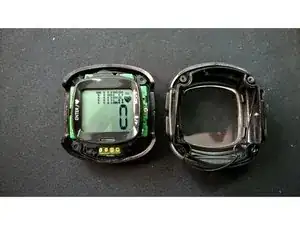
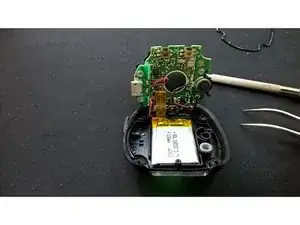
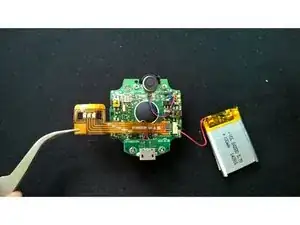
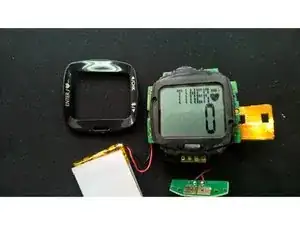
Remove one more screw. Now 100mAh is visible. Also we can see some modules under the LCD panel. Will get there later.
-
SURPRISE! the MCU is barried under a blob of epoxy(
-
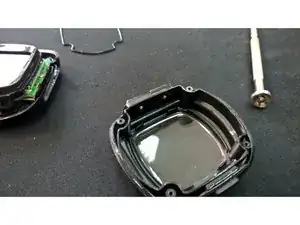
USB connector has only teo wires out for charging.
-
And a reset button. Definitely not waterproof. Same as USB port cap. Why putting so much effort on that buttons and seal if anything else is not protected?!
-
-
-
Double sided tape holds the battery.
-
Separate plastic frame for LED`s is holded by two latches which are holded by a plastic flake. Rather complex.
-
-
-
With frame removed. The flexible PCB with LED`s is also mounted on a double sided tape. While removing try to rip this corner with much copper on it.
-
Those traces are signed, so cute.
-
Vibromotor is glued firmly.
-
-
-
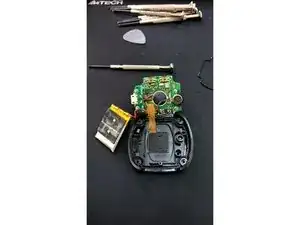
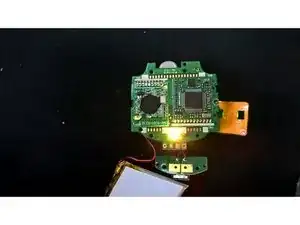
Plastic frame is holded by two pins. Now remove 4 screws holding the panel.
-
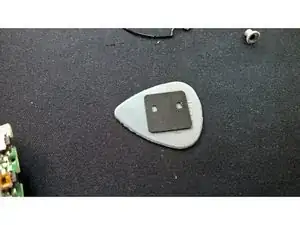
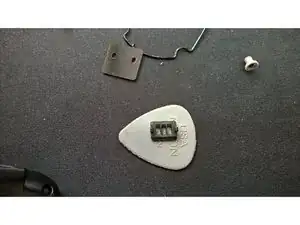
Two modules under the panels. Bluetooth 4 on the left. Unknown module on the right.
-
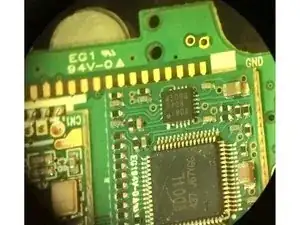
Scoped photo of the right one.
-
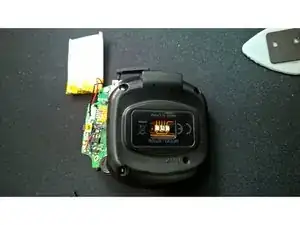
LCD panel works fine after reassembling.
-

To reassemble your device, follow these instructions in reverse order.