Introduction
Parts
-
-
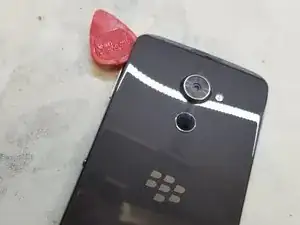
Apply heat to the back glass around the edges. you can do this by one of three ways. 1) the iOpener Tool, 2) the hot air gun, and 3) the mobile dryer.
-
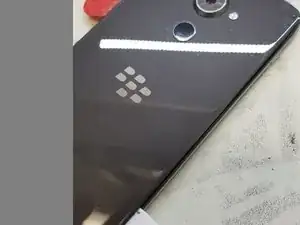
Lift the corner as much as possible. Should there be any excessive resistance, be sure to apply more heat.
-
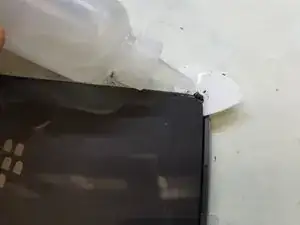
begin working your way through the panel seam. should you encounter and snags, be sure ti dab a minimal amount of alcohal onto your pick, and that will help eat away at the adhesive
-
-
-
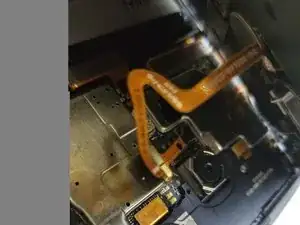
when there is enough glass Separating, begin to lift it slowly. There is a cable connecting your finger print sensor to the board. BE SURE NOT TO TEAR THIS
-
Lift from the left side to prevent damage to the sensor, and disconnect the connector from the board.
-
-
-
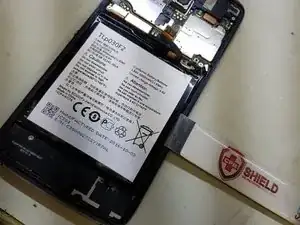
Disconnect the battery from the board, and Reheat the location to losen adhesive.
-
Try not to directly heat the battery. if you heat a bad battery, the Lithium may expand and cause damage to the board or self.
-
Gently lift the battery from the housing. The adhesive is tough, and may require some force. dont puncture the battery while doing this.
-
To reassemble your device, follow these instructions in reverse order.