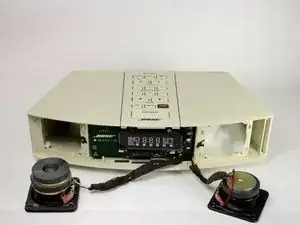
Introduction

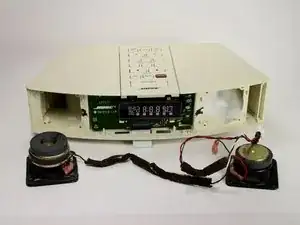
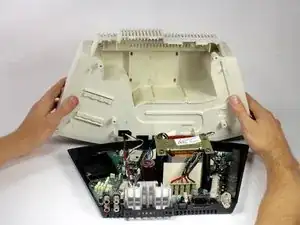
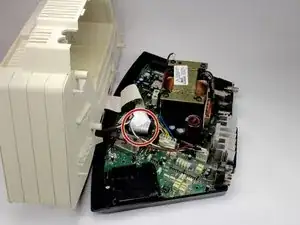
Speakers do not last forever. This guide will demonstrate how to remove and replace the speakers on the device.

  1. kpBPLKDtTEqOU6PA
    kpBPLKDtTEqOU6PA
    HvslFiAKBMeO2QFX
    • Remove the four 19mm Phillips #2 screws from the base of the device.

  2. FGllckVfIaEcbiZ3
    FGllckVfIaEcbiZ3
    AWlqRFTGdPko6WhB
    KXEODArIPUTrJksW
    • Turn the device over, holding the base on with your thumbs.

    • Hold the device tightly to prevent the base from falling off.

  3. e2S3IvDnnll4GuWl
    e2S3IvDnnll4GuWl
    2DGHqvhhb1VbGVUv
    oVFwtCsgouTPDNH1
    • Gently lift the top off of the device.

    • Lift in the direction shown to avoid damaging the wires connecting the top and base of the device.

  4. 3UR1sRYycJsGGdwI
    3UR1sRYycJsGGdwI
    fiJWMoLwcDUj2EQ1
    CcCTImsoRPcCqVxQ
    • Pinch and unplug the white connector from the device.

  5. a1FAfhQhYyVERuJ3
    a1FAfhQhYyVERuJ3
    4EqNwCYsFBO4Cn4v
    6miKLdI4RPllOdbT
    • Gently pinch and pull on the white ribbon cable to disconnect it from the base.

  6. 3A2iYGQQ4HBFC51Y
    • The base should now be completely detached from the device.

  7. RB4kHcCBjwAwWEEH
    RB4kHcCBjwAwWEEH
    GCEkUBhuWWCe3wiu
    cyrUdxRRXieKqfkT
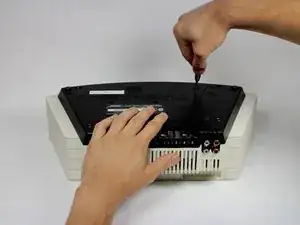
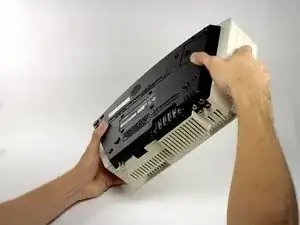
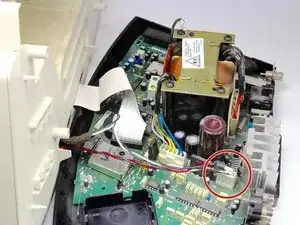
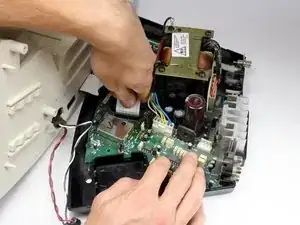
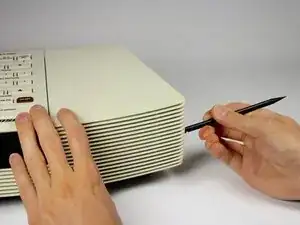
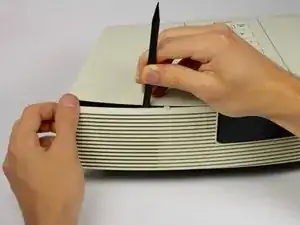
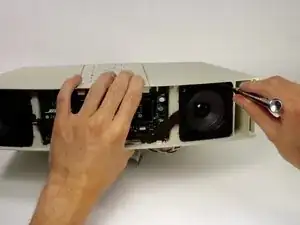
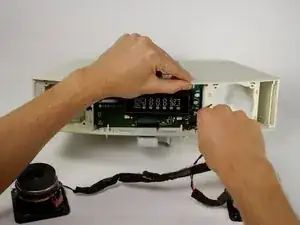
    • Wedge the spudger between the top and front panel on the right side of the device.

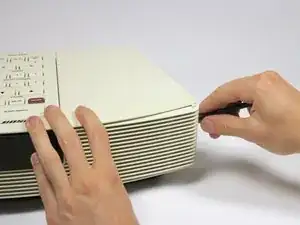
    • Push down on the spudger, lifting the front panel away from the top panel until it pops out of the right side.

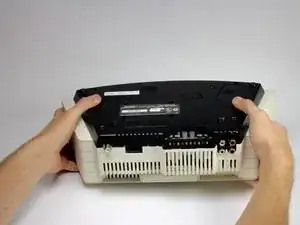
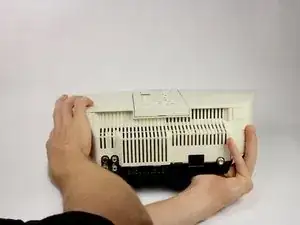
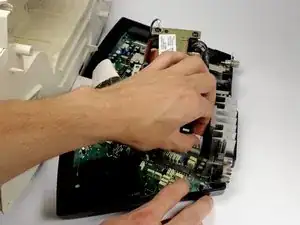
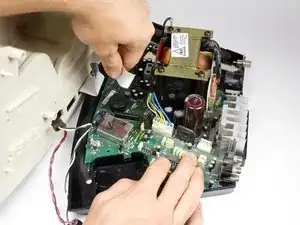
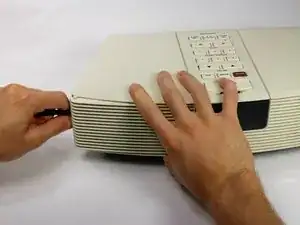
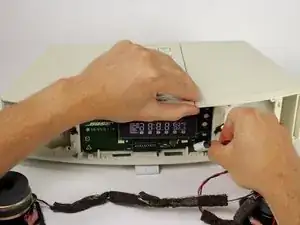
    • Repeat for the left side of the device.

    • Too much pressure may break the panel, but it should flex slightly before it pops out.

  8. GLqLeHa5YxKjZYmR
    GLqLeHa5YxKjZYmR
    aVHgbkEQPaLQJyRS
    WVnqGWNRfwTZltZN
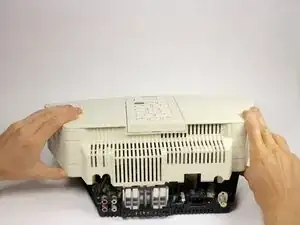
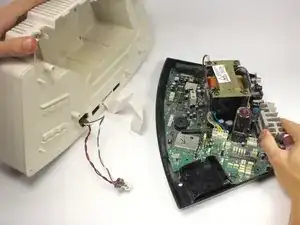
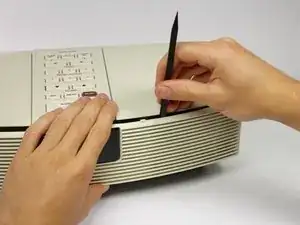
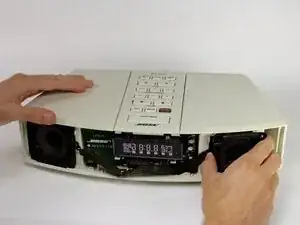
    • Once the panel is released on the left side, wedge the spudger between the top panel and front grill of the device as shown.

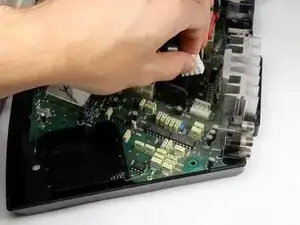
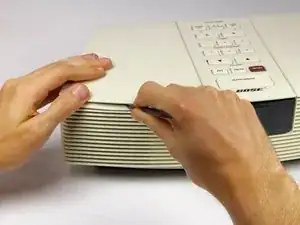
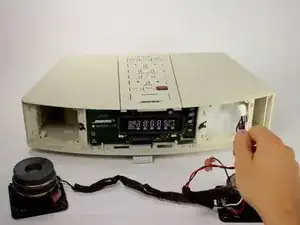
    • Apply pressure and move the spudger upward until the front grill pops out.

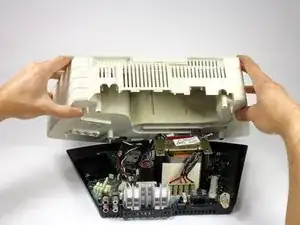
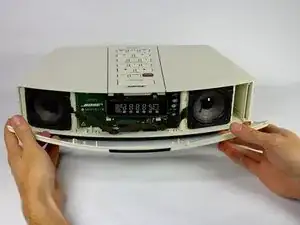
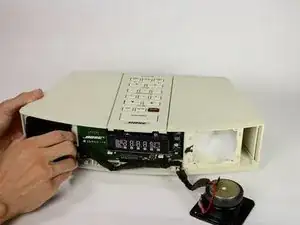
    • Repeat for the right side of the device.

  9. DSuvHdjwtuLWMDUf
    • Lift the front grill away from the device.

  10. QPqF3PdLa4uPeUjP
    QPqF3PdLa4uPeUjP
    cW5YjKJ2pvPIbHQ4
    fwJOVAVYLdGPVOfU
    • Remove a total of eight 15mm Phillips #2 screws surrounding each speaker.

  11. pHQ4GkeI3i3eEJG5
    pHQ4GkeI3i3eEJG5
    mfFQ1jSIv6YZQfLf
    UxLHFr1e1SLYkWWR
    • Gently pull each speaker out of the device.

  12. ZcsnKINdq6UynTTL
    ZcsnKINdq6UynTTL
    rLZjBu1aU1eiDV4k
    I6agpiZa5dJq5Lqa
    • Pull the wire connected to the speakers out of the device.

    • You already disconnected this wire from the inside of the device earlier.

Conclusion

To reassemble your device, follow these instructions in reverse order.

Cassie Harriman

Member since: 18/04/17

1018 Reputation

0 comments