
Introduction
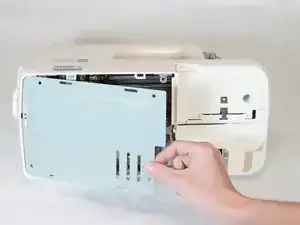
In this step we will be removing the rear casing from the sewing machine. This is necessary to access the inside components of the machine.
Tools
-
-
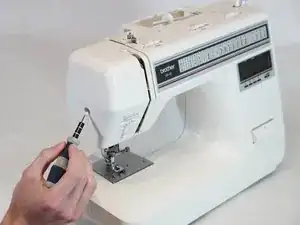
Place the machine on a solid surface.
-
Remove the 14mm Phillips #2 screw holding on the face cover.
-
-
-
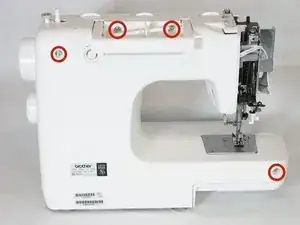
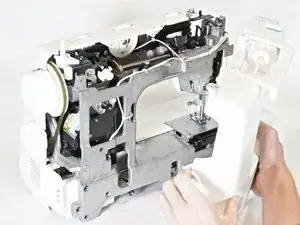
Remove the two 14mm Phillips #2 screws and two 22mm Phillips #2 screws that secure the rear casing.
-
-
-
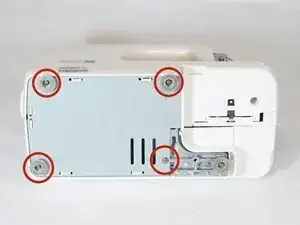
Lay the machine on its side.
-
Remove the four 10mm Phillips #2 screws that hold the bottom panel in place.
-
Conclusion
To reassemble your device, follow these instructions in reverse order.