Introduction
This guide shows how to modify a Whirlpool DWH B00 W dishwasher (Ikea) for use with a hot water supply bypassing the heater unit of tbe dishwasher.
I was urged to do this as my heater unit was defect leading to blow the fuse whenever the device tried to heaten the water. Furthermore you can save energy as the use of a hot water supply (e.g. heated by oil or gas) is much more efficient than using electric water heaters.
This guide shows how to disable the heater unit and cheat the thermo sensor of the control circuit to accept this modification without aborting the washing program. So no replacement parts are required for this hack.
The good thing is that you can very simply undo the modification in the case when you like to reuse your heater unit (or you replaced the defect heater unit).
Tools
Parts
-
-
Close the water stopcock.
-
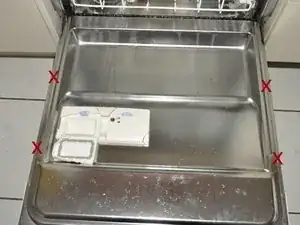
Open the front door of the unit and loosen the 4 screws marked in red. Do not screw them fully out.
-
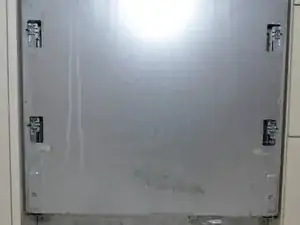
Shut the door carefully holding the front door handle.
-
Lower the front door about 4 cm. Then you can remove the front shield.
-
-
-
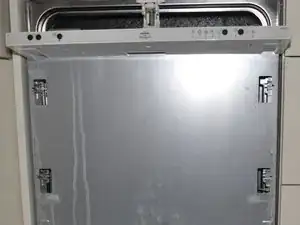
Open front door.
-
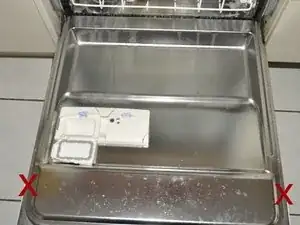
Fully unscrew the red marked screws.
-
Close the front door.
-
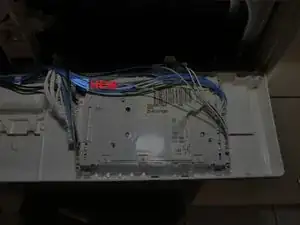
Carefully detach the upper white plastic part containing the control board.
-
-
-
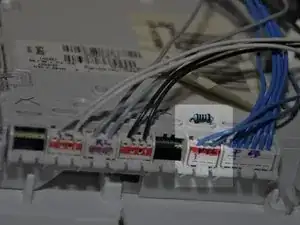
This step is necessary as the dishwasher will otherwise abort its program after about 25 minutes thereby beeping and showing blinking pattern no. 3. After putting the 10 kOhm resistor in parallel to the NTC (having ca. 50 kOhm at 20 degree Celsius) the control circuit suspects a much higher water temperature (about 80 degree Celsius).
-
Unplug the NTC connector which is shown highlighted.
-
Bend the connections of the resistor and insert it into the hole at the NTC connector. Wrap the resistors wire so that it will be connected in parallel to the NTC (I promise to add a photo for this soon). Use the tweezer for that.
-
Plug in the NTC connector thereby building a connection with the resistor.
-
To reassemble your device, follow these instructions in reverse order.
4 comments
Thanks for writing this guide. I think this is a smart idea and I like the idea that this can be undone when needed.
Jan -
This solution did not work for me unfortunately.
Before this modification I used to have an F3 (heating system defective) once in a while. The heater worked. Therefore I switched the water inlet on the machine to warm tap water, and bypassed the heater unit and NTC as decribed in this guide.
After the modification I always immediately get a F1 error (NTC break).
With the NTC and 10 kOhm resistor in parallel I got 8 kOhm at room temperature and 6,5 when I pour hot water inside the washing machine. According to the maintenace manual for the DWF B00 this correlates to 80 Celsius and 85 Celsius. This is measured over the parallel resistor.
So I am not sure what is wrong here. Maybe the NTC sensor cable and the resistor touch, but it has no connection to the logic board?
I am considering to detach the NTC sensor cable, and connect the 10 kOhm resistor straight to the logic board. Any guidance is welcome.
Jan -
The solution was simple. The control unit simply did not see the NTC sensor at all, and therefore gave a NTC failure. One of the resistor legs did not touch the pad on the PCB, so the resistor leg was prohibiting the connector to make contact with the PCB. Adjusting the resistor legs and reconnecting the NTC connector did the job!
Jan -
Putting resistor this way was not convenient for me. I inserted it to the holes where blue wires goes. After that I measured, that resistance is OK so there was connection with NTC wires.