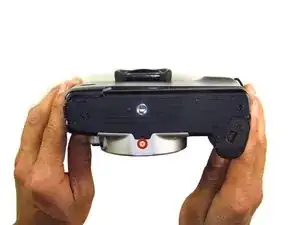
Introduction

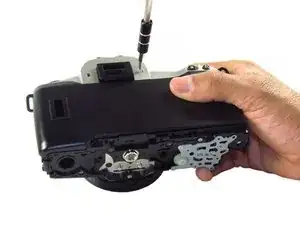
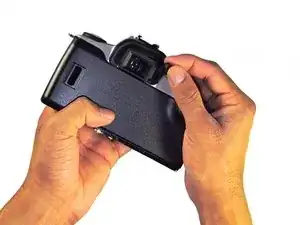
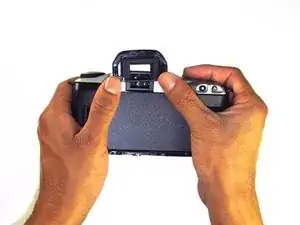
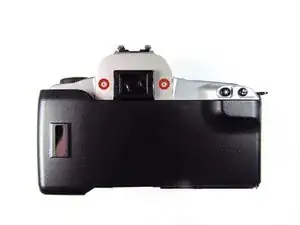
Taking off the top of the camera allows repair access to the eye piece and command dial.

  1. M2hTDsYSGaXDENEW
    M2hTDsYSGaXDENEW
    Rpo2TrSEDYAsHZCx
    tFL6GQ1idKsOfQCs
    • Open up the battery door.

  2. YlgOvdX3wMVLdQgm
    YlgOvdX3wMVLdQgm
    2HxVsoSWenhRV2vx
    • Remove the batteries from the camera by sliding them out into your palm.

  3. VVYjefXhNYd3lkkg
    VVYjefXhNYd3lkkg
    TvRxlYKbYuJWtiKQ
    • Release the side latch to open the back panel.

  4. tWBJWPOHWGSm2WB4
    tWBJWPOHWGSm2WB4
    RZglpuMscVYbM6dC
    • Remove the two black 4.5mm screws above and below the latch.

  5. 6mGvSTkmpV1yFXQq
    6mGvSTkmpV1yFXQq
    uglucA5kNkk1ZkDk
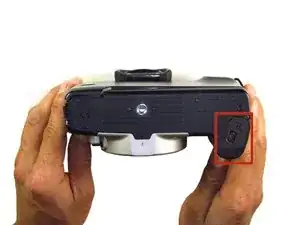
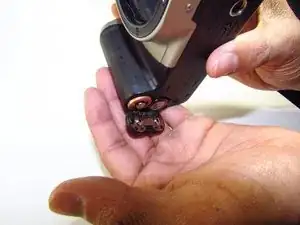
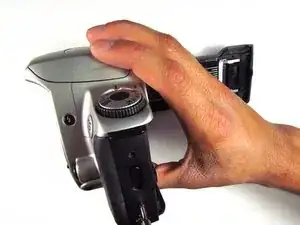
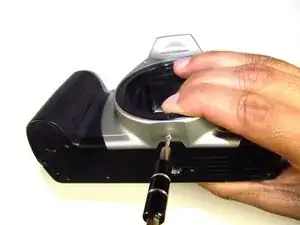
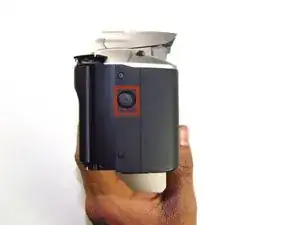
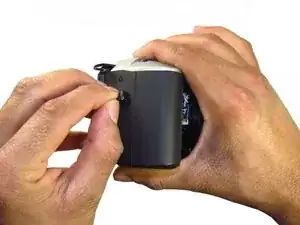
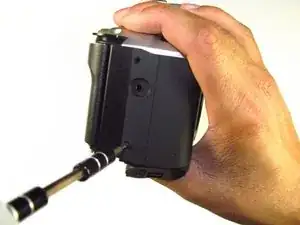
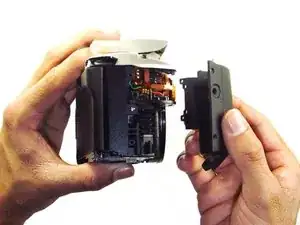
    • Using your finger, carefully pry open the side panel from the top of camera.

    • Pull panel downwards to remove.

    • Make sure to keep track of the small black piece of rubber under the latch.

  6. tmooRck6pDLV2dtH
    tmooRck6pDLV2dtH
    mSRVZHG6MrKOdE4c
    • Remove the two silver 6mm Phillips #1 screws.

  7. CSRcRbBrunU21Rej
    CSRcRbBrunU21Rej
    JOhMvwDRd2TbW1wo
    • Flip camera over to the bottom.

    • Remove the one 5mm Phillips #1 silver screw.

  8. 5NEMy5bcaXDqLjGb
    5NEMy5bcaXDqLjGb
    EoqKvnJFuVkA1dD2
    • Remove the front panel by pulling away from the side with the lever.

  9. EGOgw2F5HgnSsRib
    EGOgw2F5HgnSsRib
    INbUYARFEJhGesHc
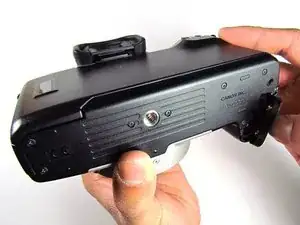
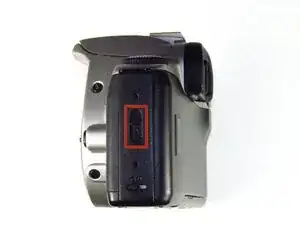
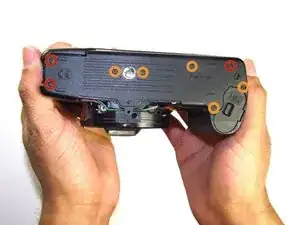
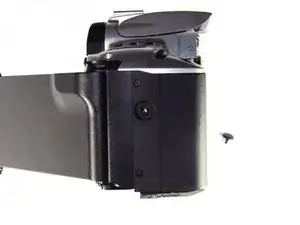
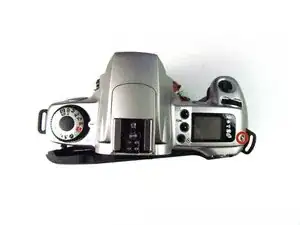
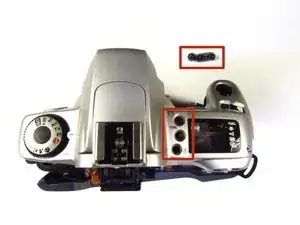
    • Remove three black 7.3mm Phillips #1 screws located on the corners of the camera.

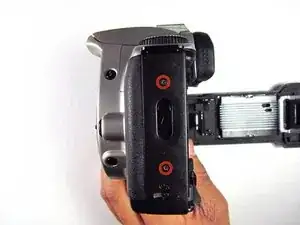
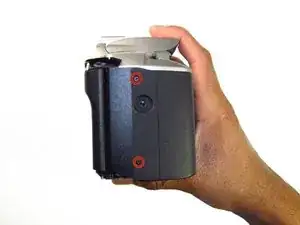
    • Remove five black 4.8mm Phillips #1 screws.

  10. lcEgonhlOkSFLP2k
    lcEgonhlOkSFLP2k
    I4BnK5BqYDJ2Vsgd
    ppxN1EPWwDh6cmWS
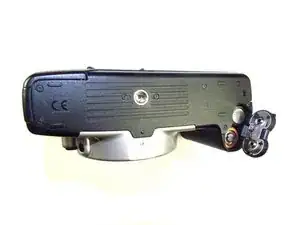
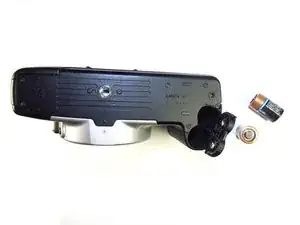
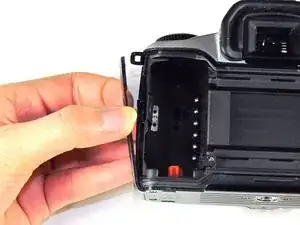
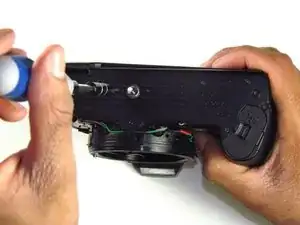
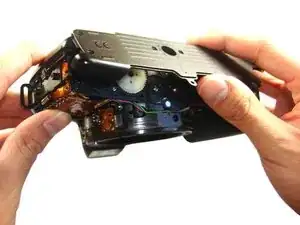
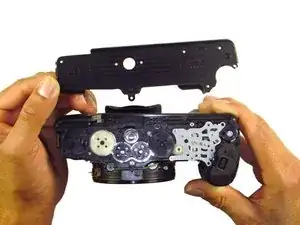
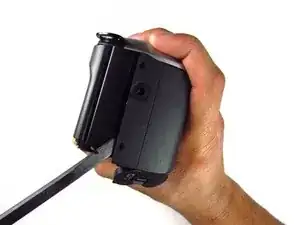
    • Simply remove the bottom panel by prying it off with your finger.

    • When removing the panel, be sure the bottom of the camera is facing upright. There are loose gears that may fall out.

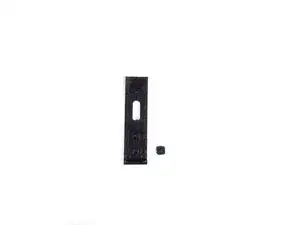
    • Be wary of a loose piece of foam attached to the bottom panel.

  11. PRxHVr5u1vwFihjZ
    PRxHVr5u1vwFihjZ
    vRZevGJsnGjAPNZL
    alvtJ3DUYHJd3DUe
    • Remove the remote control socket cover.

  12. UDlIMymNVZKgbu2p
    UDlIMymNVZKgbu2p
    2lZnDAGaRYT4u3mh
    • Remove two black 4.5mm Phillips #1 screws.

  13. BEMVFN1xTvuOYxPC
    BEMVFN1xTvuOYxPC
    LPhSTPJlG6wJIsnN
    • Remove two black 4.8mm Phillips #1 screws on the front of the camera.

  14. DTSrfMyDjDTAwtVi
    DTSrfMyDjDTAwtVi
    XrU5Totgsh1QkA1l
    • Pry open the side grip using a spudger.

  15. DPl1MvnlxMyRNyWr
    DPl1MvnlxMyRNyWr
    cJrCQtShNVvrIkJ1
    • With your hands, remove the rubber grip from the eye piece.

  16. GIfdULu3TLeGINBO
    • Remove the eyecup from the eyepiece by pushing the eyecup up.

  17. hAg3cOyuLbsDNWRT
    hAg3cOyuLbsDNWRT
    cDa5gEGh1cGJCrpO
    • Remove two silver 5.0mm Phillips #1 screws.

  18. L4kwITMmdJUmRO15
    • Remove the silver 5.5mm Phillips #1 screw.

  19. TRhrXkJE6YVki3RM
    TRhrXkJE6YVki3RM
    rnyHAbqOUdoNAX1E
    • Pry the top silver part of the camera off.

    • Buttons may slip out of the camera's top as the top is pulled off the camera (shown in picture two).

Conclusion

To reassemble your device, follow these instructions in reverse order.

Tammy Kong

Member since: 23/01/14

744 Reputation

0 comments