Introduction
If you drop your camera and crack or damage your screen, this guide will help you replace it.
When performing this replacement please remember that the screws you will be removing are very small. Keep them organized as you take them off and find a magnetic holder to put them in. Good luck!
-
-
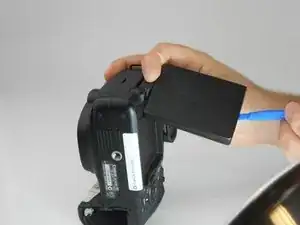
Take the LCD out of its place to expose the Phillips #PH00 screws.
-
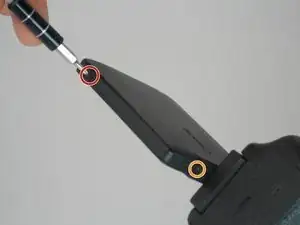
Remove the two 2.5 mm Phillips #PH00 black screws on both sides of the LCD screen.
-
Next remove the two 3 mm Phillips #PH00 black screws near both sides of the base where the screen swivels.
-
-
-
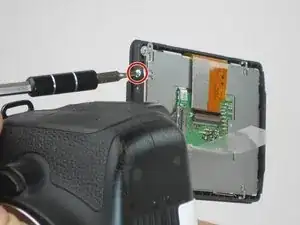
Remove the 3 mm Phillips #PH00 silver screw on the side of the screen.
-
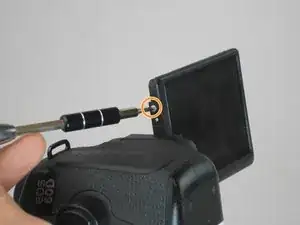
Turn the screen to remove the second 3 mm Phillips #PH00 silver screw.
-
-
-
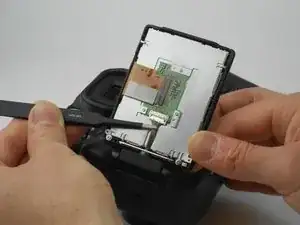
Using the tweezers, carefully disconnect the rear connector by pulling it away from the screen.
-
To reassemble your device, follow these instructions in reverse order.
The screws (in orange) near the swivel base are shorter, 2.5mm. Also do not remove the screws (in red) on either side of the screen, it is unnecessary for removing the rear cover. See my comment on the next step.
rakurai -
The first 4 steps aren’t necessary
Dave Common -