Introduction
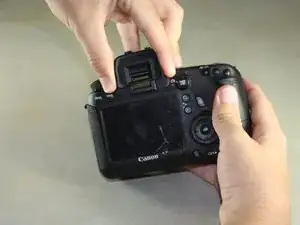
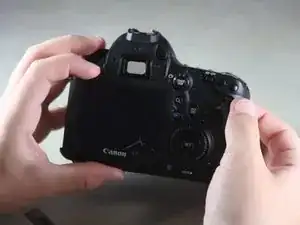
Use this guide to replace a cracked or malfunctioning rear LCD screen on your EOS 6D.
-
-
Open the battery door on the bottom of the camera.
-
Use your thumb to slide the small black tab on the inside of the battery door up and pull the door off the camera.
-
-
-
Slide your fingernail or the flat end of the spudger underneath the rubber covering and gently peel it off all sides of the camera.
-
-
-
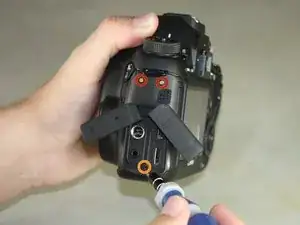
Open the covers to the HDMI/AV/MIC ports on the side of the camera by gently pulling outward on the bottom of the covers.
-
Rotate the covers to the side so that you can see the connection ports inside.
-
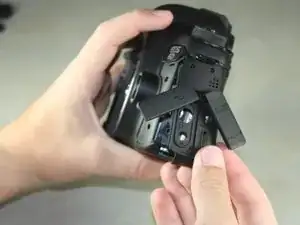
Remove the following screws:
-
Two silver 5mm Phillips #00
-
One black 6mm Phillips #00
-
-
-
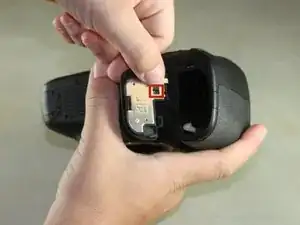
Remove the cover to the HDMI/AV/MIC ports by gently lifting the tab on the bottom edge of the camera.
-
-
-
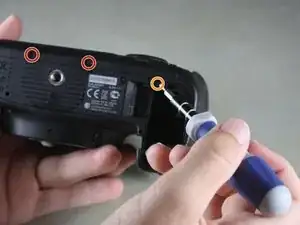
Rotate your camera so the bottom side is facing you.
-
Remove the following screws:
-
One 6mm Phillips #00
-
Two 3mm Phillips #00
-
-
-
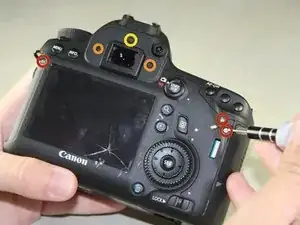
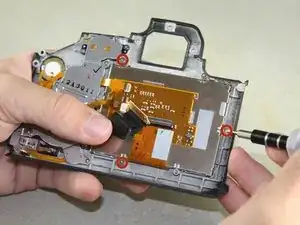
Rotate your camera so the back is facing you.
-
Remove the following screws:
-
Three silver 5mm Phillips #00
-
Two black 6mm Phillips #00
-
One black 4mm Phillips #00
-
-
-
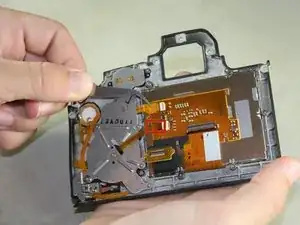
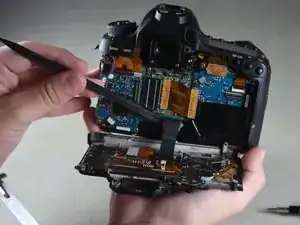
Carefully use your fingers to tilt the back panel downward to about a 90 degree angle.
-
Use the flat end of the spudger to gently pry off the ribbon wire from the inside of the camera.
-
-
-
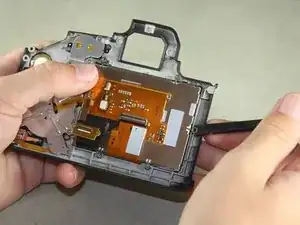
Detach the two light brown ribbon wires from the back of the LCD screen by firmly gripping each with tweezers and gently pulling straight to the left.
-
-
-
Carefully peel the black tape off the upper edge of the screen (not shown).
-
Remove the screen by using the flat edge of the spudger to carefully lift the screen assembly off its silver aligning pins.
-
To reassemble your device, follow these instructions in reverse order.
5 comments
Thank you! Thank you!! I rescued my 6D. All your steps and details were very useful.
Few points to add:
1. I think the black screw (yellow circle) from step 7 is 3 mm.
2. Lift the light brown flap that holds the ribbon cable before removing the LCD panel.
3. When you remove the LCD panel from the metal housing, you will have to pry the two strips of adhesive that is there.
4. Be careful when tightening the screws back.
Please add to setp 8: The ribbon cable is connected to the camera via a plug (the gold colored PCB has a male plug on the other side of the PCB). This plug is at the end of the spudger. You need to pull that PCB boar/plug straight up from the camera (perpendicular to the camera)
Jim R -
Is there a guide for changing the protective screen on the back of the camera only? Like when it's scratched or cracked and the lcd works just fine?