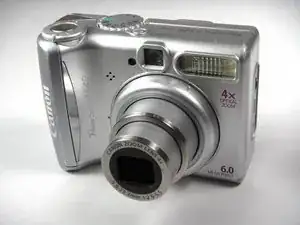
Introduction
-
-
Turn off the camera.
-
Turn the camera upside-down and press the tab to release the battery cover. Remove the batteries.
-
-
-
Turn the camera upside down to view the "Card/Batt. Open" Cover.
-
Use a Phillips head #000 screwdriver to remove the three (3) 4.0 mm screws.
-
-
-
Open "Card/Batt. Open" Cover.
-
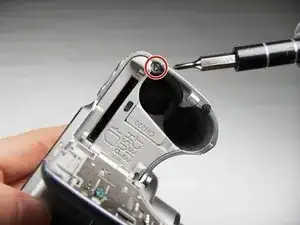
Remove the one (1) 5.0 mm screw with the Phillips head #000 screwdriver.
-
-
-
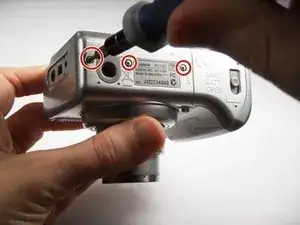
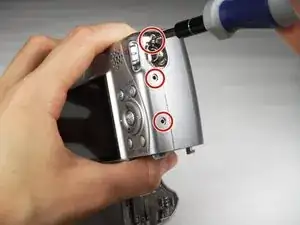
Turn the camera to the right side of the LCD screen.
-
Remove the three (3) 4.0 mm screws with the Phillips head #000 screwdriver.
-
-
-
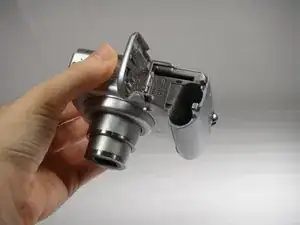
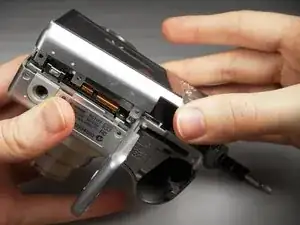
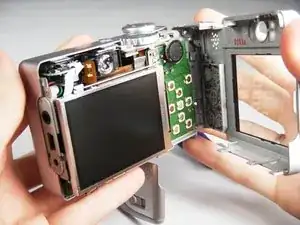
Gently remove the back cover.
-
Start at the bottom at the corner of the "Card/Batt. Open" Cover.
-
Then move onto the other edges and the top.
-
-
-
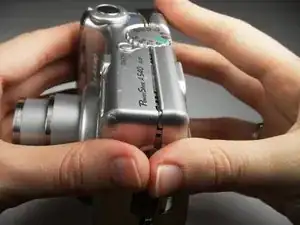
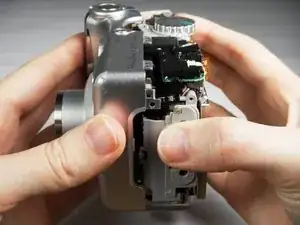
Turn the camera to view the front.
-
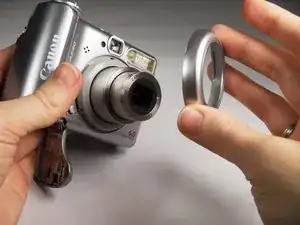
Remove the lens guard.
-
Press the lens guard's button as you turn the guard counterclockwise.
-
-
-
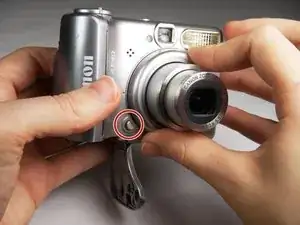
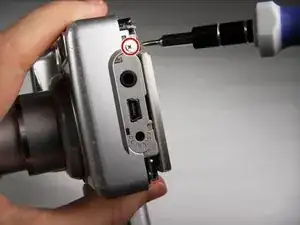
Turn the camera to the side left of the LCD screen.
-
Remove the one (1) 4.0 mm screw with the Phillips head #000 screwdriver.
-
To reassemble your device, follow these instructions in reverse order.