Introduction
If your power button is jammed or isn't working properly, this guide will simply demonstrate on how to replace the power button in a Canon Vixia HF S10. For additional information about the Canon Vixia HF S10 take a look at the official Canon site.
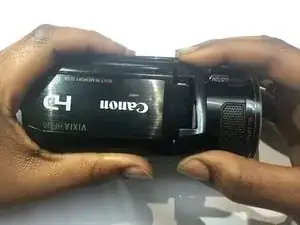
Before beginning this repair, be sure to power off the camera and remove the battery.
-
-
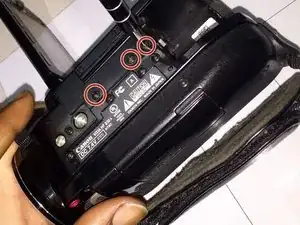
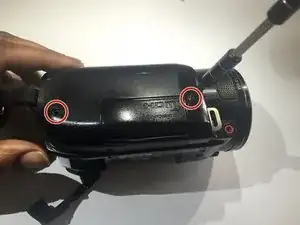
Turn the camcorder upside down.
-
Remove the three 3x4 mm Phillips screws securing from the black plastic case.
-
-
-
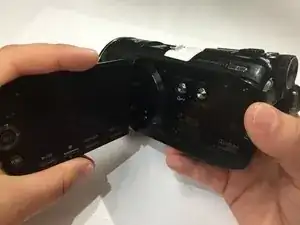
Open the LCD screen.
-
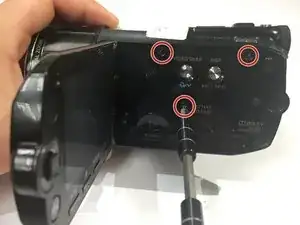
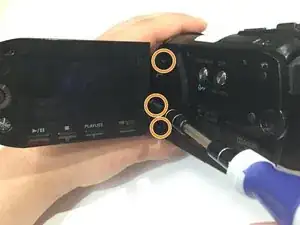
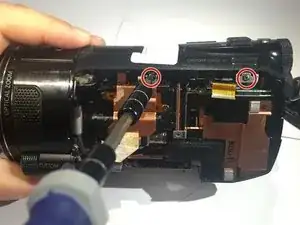
Remove the three 3x4 mm Phillips screws that hold the black panel plastic case together.
-
Remove the two 2x2.5 mm Phillips screws and the 3x4 mm Phillips screw from the inner corner between the panel and the LCD screen.
-
-
-
Remove the black plastic covering with your fingers.
-
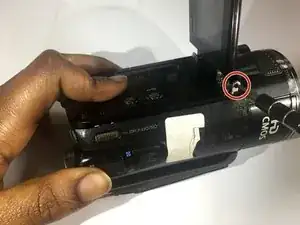
Remove the 2x2.25 mm Phillips screw located at the top of the screw hinge.
-
-
-
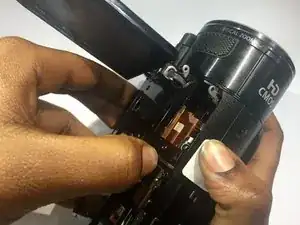
Using your fingers, remove the panel from the base of the camcorder.
-
Remove the two 1x2.5 mm Phillips screws.
-
-
-
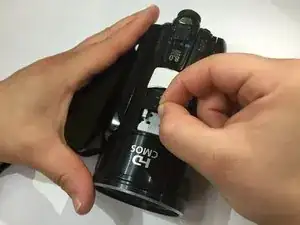
Turn the camcorder to the side and remove the strap.
-
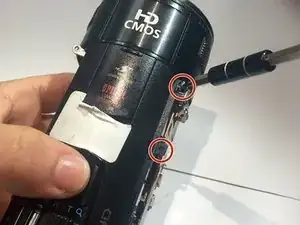
Remove the two 1x2.5 mm Phillips screws.
-
-
-
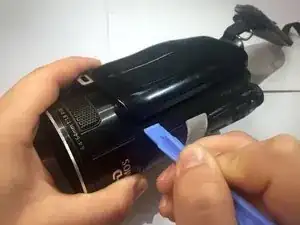
Using a plastic opening tool, pry off the side panel from the base of the camcorder.
-
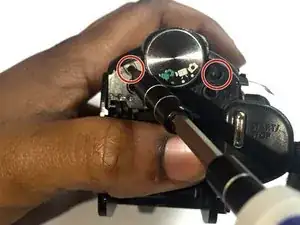
Remove the two 2x2.5mm Phillips screws located at the top
-
-
-
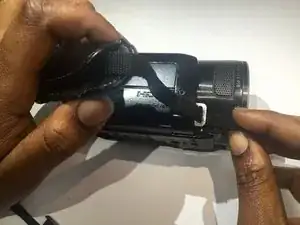
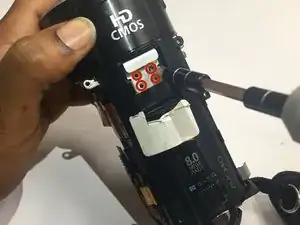
Slide open the "Optical Image Stabilizer" cover located at the top of the camcorder.
-
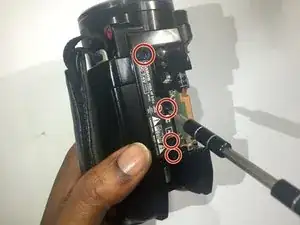
Remove the four 3x2.5 mm Phillips screws.
-
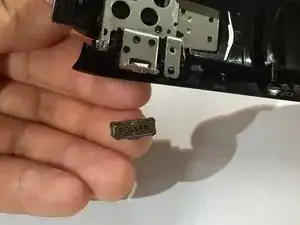
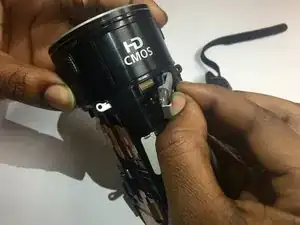
Using your fingers, remove the metal casing.
-
-
-
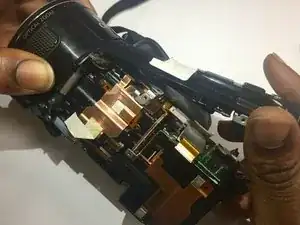
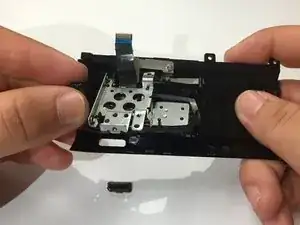
Using your fingers pop off the top cover of the camcorder.
-
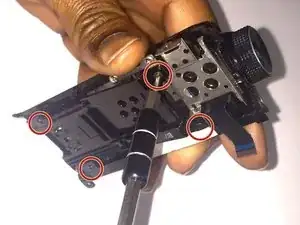
Remove the three 3x4 mm Phillips screws and one 2x2.5 mm Phillips screw located beneath the top cover.
-
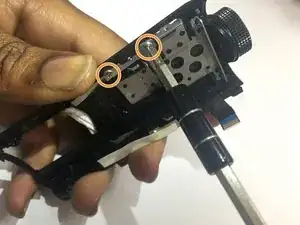
Remove the two 3x2.5 mm Phillips screws from the metal casing located underneath the top cover.
-

To reassemble your device, follow these instructions in reverse order.