Introduction
ATTENTION: Technically the Xbox Live ToS prohibit this, but the Xbox Live enforcement team (generally) doesn't care about this type of modification unless you are using it for mods and cheats. YOU HAVE BEEN WARNED!!!
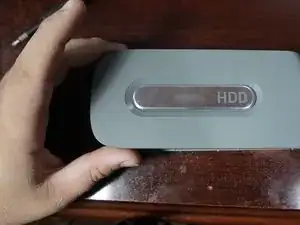
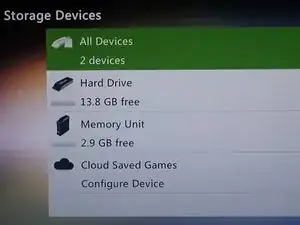
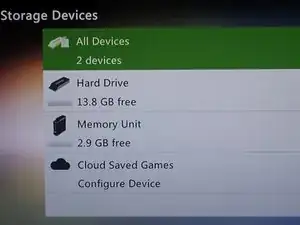
If you have an Xbox 360 4GB console, this guide will show you convert a Fat 360 hard drive to work in an E/S console. This can be used as a low-cost solution to add more storage to a 4GB console and enable OG Xbox emulation. If you are coming from a dead Fat 360, this will allow you to keep using the old drive and minimize transfer downtime.
NOTE ABOUT DRIVE CAPACITY: Most fat 360 drives are usually only "common" as 20GB or 60GB variants, and will most likely be smaller than the OEM drive for these revisions (120/250GB). Keep this in mind when using one of these drives.
For this guide, I picked up a used 20GB drive (originally from a Fat 360). These are cheap and abundant and can be used as a significant bump for a 4GB system, but fill up quickly like the 4GB of onboard flash on the E/S base console; they are not good for much beyond game saves. For mass storage, if you use one of these, use a 120GB drive if at all possible to copy games to the hard drive.
Guide notes
- DO NOT FORMAT THE DRIVE EXTERNALLY!!! This will erase the security sector.
- Depending on where you purchased your drive, THIS MAY VOID YOUR WARRANTY. Keep this in mind if you go this route.
- ALL of these drives are out of warranty today with Microsoft. This is an issue for shops like GameStop which have a brief warranty that comes with the drive. If there is no "warranty" on the drive, then there is nothing to void.
- Since most Fat 360 consoles are dead (and all surviving ones will fail), it may be better to purchase a tested drive.
- Most Fat 360 drives are 20GB or 60GB. Fat 120GB drives are uncommon and are priced to match.
- Consider your storage needs before buying one of these early drives.
- You must use an aftermarket enclosure. OEM drives are glued shut and will not re-seal.
- 3rd party enclosures are not hard to find but are typically only sold online.
Parts
-
-
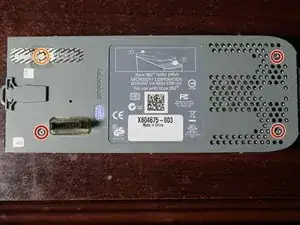
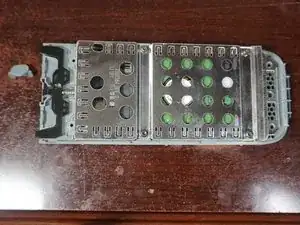
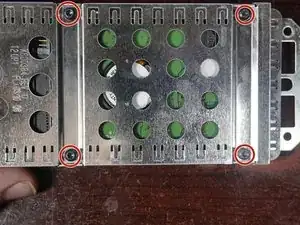
Remove the 3 screws from the bottom of the drive. Use a T6 Torx driver.
-
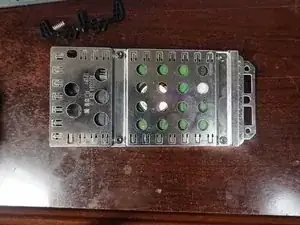
Remove the warranty seal and final screw. Use a T6 Torx driver.
-
-
-
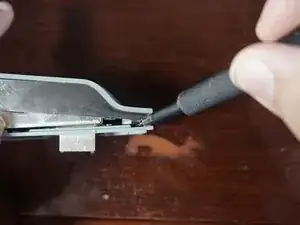
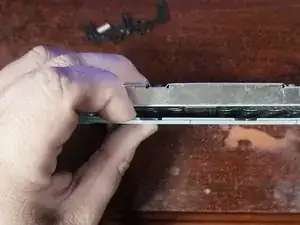
After removing the 4 bottom screws, remove the top cover. Remove the spring and locking tab before removing the drive cage.
-
Remove the drive cage from the drive enclosure. If the drive has never been opened, additonal force may be required.
-
-
-
Remove the four T10 Torx screws securing the hard drive.
-
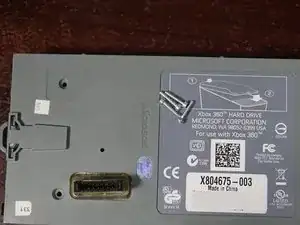
After removing the screws, slide the top cover off and disconnect the drive.
-
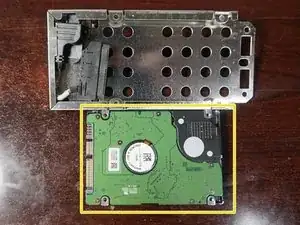
Disconnect the hard drive and remove it from the enclosure.
-
-
-
After removing the drive from the old enclosure, open the new enclosure.
-
Put the drive in the enclosure label side up. Space may need to be added for 7mm drives.
-
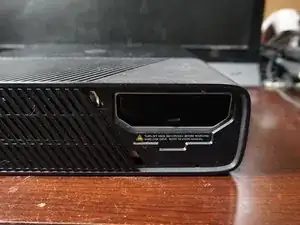
Close the enclosure and install it in your console.
-