Introduction
The replacement of the screen is not difficult. Following the steps outlined in this guideline, one should be able to remove the necessary parts to the device to quickly access the screen. Please note that some of the pull tabs located inside the motherboard require some force when removing and reinserting. Take caution to not rip these pieces!
-
-
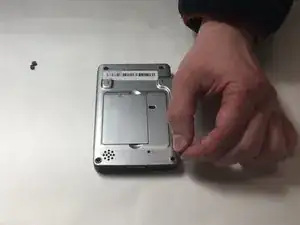
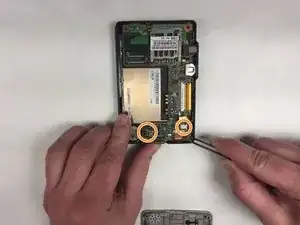
Trigger battery release by inserting a nylon spudger into the battery release tab.
-
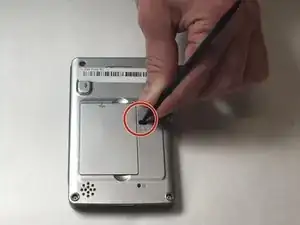
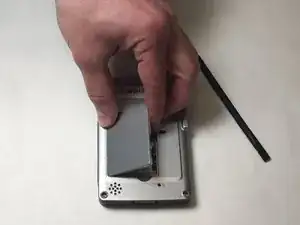
Slide tab and pull upwards on the battery to remove. Use the finger slots near the battery.
-
-
-
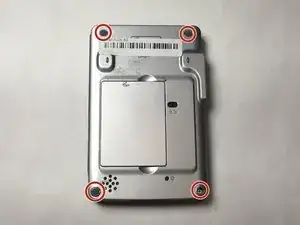
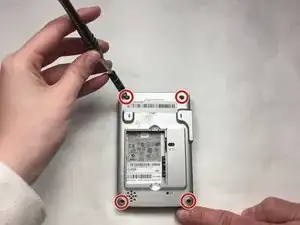
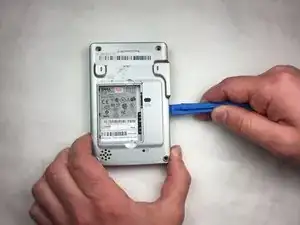
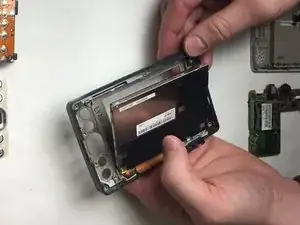
Remove back panel with a plastic opening tool. Follow the edge of the device around the entire perimeter.
-
The back panel should just pop off.
-
-
-
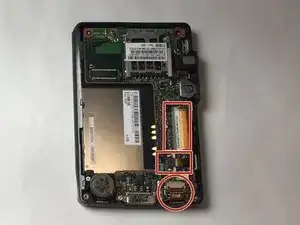
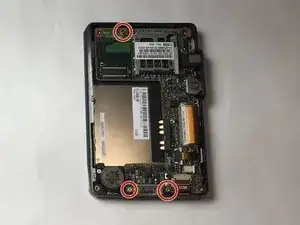
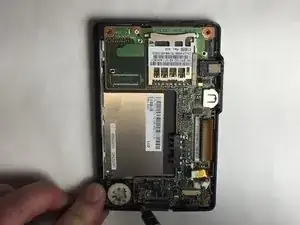
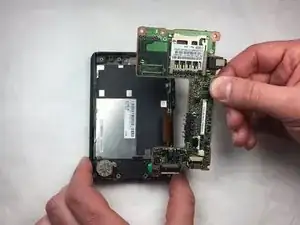
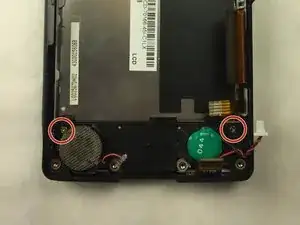
Disconnect ribbon cables.
-
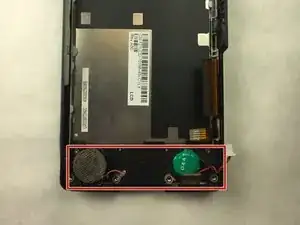
Disconnect red and white wired connector for speaker and motherboard battery.
-
-
-
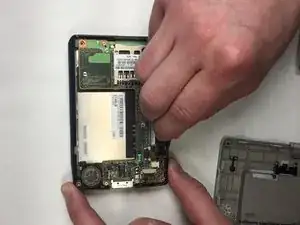
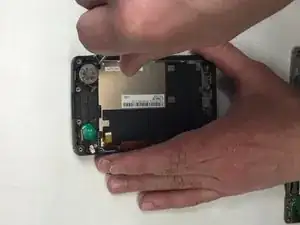
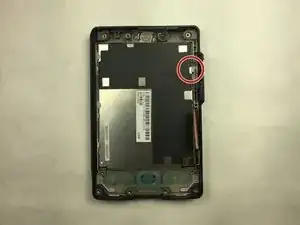
Gently apply pressure on the right plastic frame by plastic clip marked on the picture.
-
Apply pressure to the bottom of the screen and press it towards you.
-
Remove screen from plastic case.
-

To reassemble your device, follow these instructions in reverse order.