Introduction

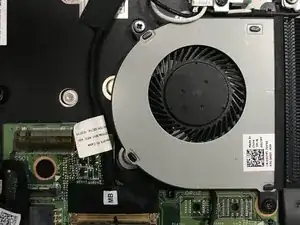
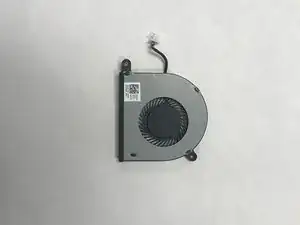
Here is the step-by-step guide to replace a faulty fan on the Dell Inspiron 13 7378 .

  1. YSThvhlDvFlUIs23
    • Set the laptop with its underside facing up for improved accessibility.

  2. bX2UP2QbRaHV56mX
    bX2UP2QbRaHV56mX
    pRYSrOXthag5FHVo
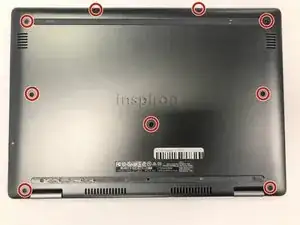
    • Using a Phillips #00 screwdriver, extract the nine 3 mm screws located on the back of the laptop.

  3. ec4l52CDiXNH4NAV
    ec4l52CDiXNH4NAV
    eDVIQqqonG1x6LLh
    SUHIumXpihFraCMq
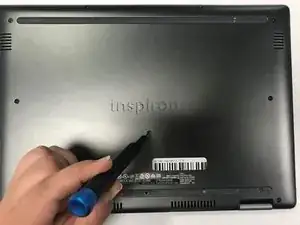
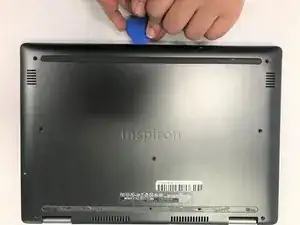
    • Carefully pry open the back of the back of the laptop using opening picks.

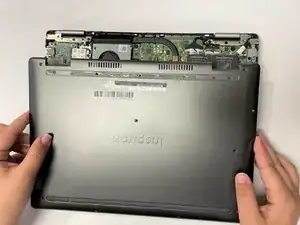
    • Carefully raise and detach the back cover from the laptop.

    • Exercise caution to prevent damaging or cracking the device's back cover.

  4. vlNRZUOdPFmtWZtp
    • Remove the two 3 mm screws holding the fan in place using a Phillips screwdriver.

  5. PN6gs2WiTopSVSqm
    PN6gs2WiTopSVSqm
    DiVtPMMctmvMlnnH
    eN6KZQLkNxD21pUq
    • Disconnect the fan's connector from the motherboard.

    • Remove the fan from the laptop.

Conclusion

Replace the back cover to complete the process.

Javier Perez

Member since: 08/02/22

259 Reputation

0 comments