Introduction
In this guide, you will learn to remove and replace the IO board on the Dell Inspiron 15 5565. Please see this page to perform troubleshooting steps.
-
-
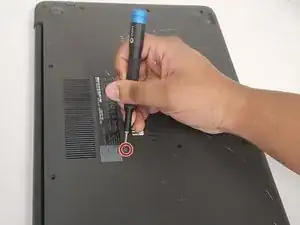
Remove the 4 mm screw that secures the optical drive bracket to the optical drive using a Phillips #00 screwdriver.
-
-
-
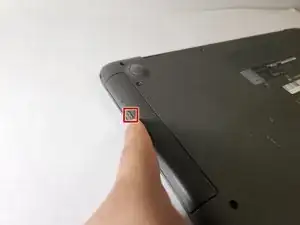
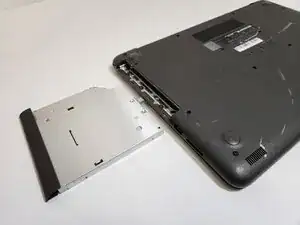
Eject the optical drive by pressing the eject button.
-
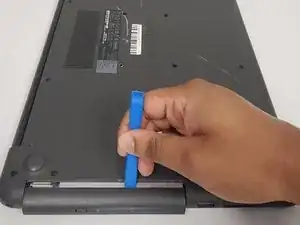
Push out the optical drive bracket using the iFixit opening tool.
-
-
-
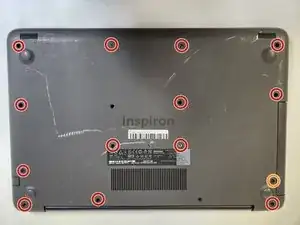
Remove 13 8 mm screws from the bottom of the device using a Phillips #00 screwdriver.
-
Remove the single 4 mm screw from the bottom of the device using a Phillips #00 screwdriver.
-
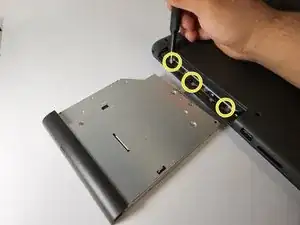
Remove the three 4 mm screws from the optical drive slot using a Phillips #00 screwdriver.
-
-
-
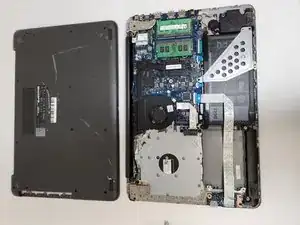
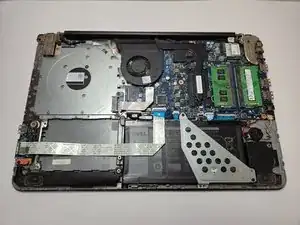
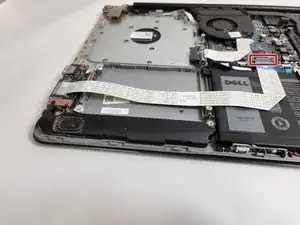
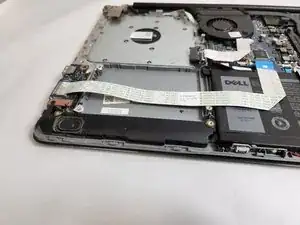
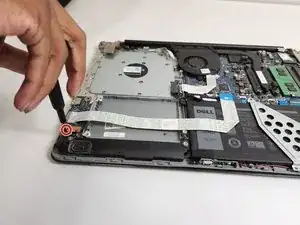
Remove the single 5 mm screw from the main part of the IO board using a Phillips #00 screwdriver.
-
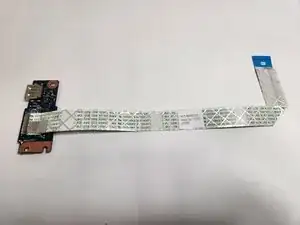
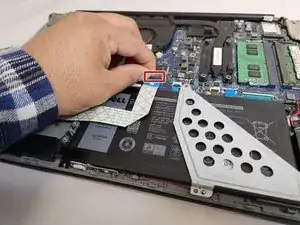
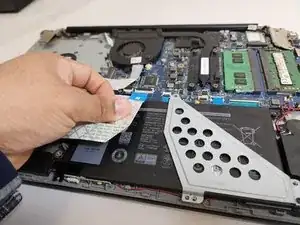
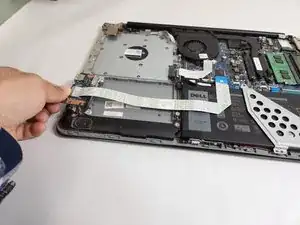
Remove the IO board from the device.
-
To reassemble your device, follow these instructions in reverse order.