Introduction

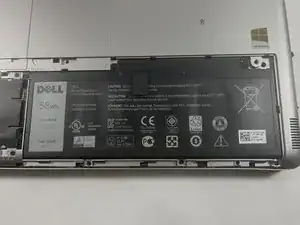
This is a replacement guide for the Dell Inspiron 17-7737 hard disk drive. The hard drive is the long-term memory and archive of a computer and is one of a computer's most essential parts in working conditions.

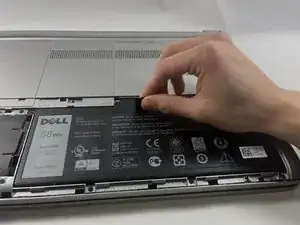
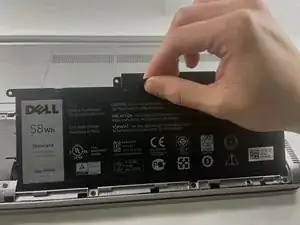
Disclaimer: Please be cautious in regard to swollen batteries, as battery acid is extremely toxic to humans, any puncture or leak can be a major issue if left unnoticed or unresolved.

  1. sN2IXOckHYEpLwPX
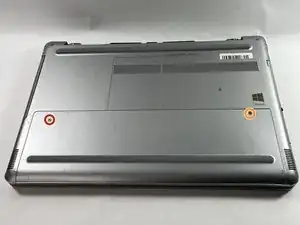
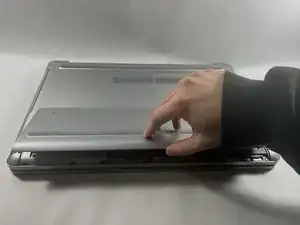
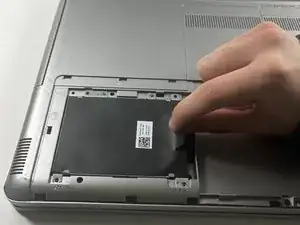
    • Close the display and turn the computer over.

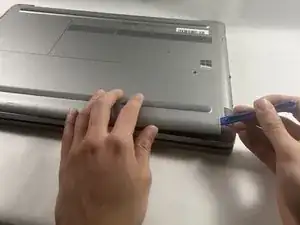
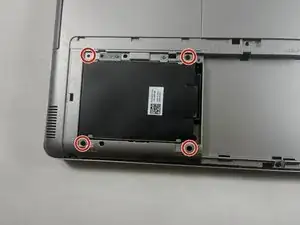
    • Remove the 5 mm screw on the left-hand side of the battery cover using a Phillips #1 screwdriver.

    • Loosen the captive screw on the right-hand side using a Phillips #1 screwdriver.

  2. CeE1NlUZjgRNktsH
    CeE1NlUZjgRNktsH
    WeKpqw2W6pVQ1cKb
    HxCSy3P5g1B4S6UI
    • Pry out the battery cover from the computer base using an opening tool.

  3. nn2QsSrfjgjAnsNi
    • Remove the three screws that secure the battery to the base using a Phillips #1 screwdriver.

  4. U2UQJWFGX4LvDqa1
    U2UQJWFGX4LvDqa1
    j3or6u6MYsh5ukvA
    • Using the adhesive pull tab, pull and lift the battery out of the computer's base.

    • If using any tools to get ahold of the adhesive tab, try not to puncture your battery, as battery acids are extremely toxic to humans.

  5. gnSPv1VS5IXISWCR
    • Remove the four 2.5 mm hard drive bay screws using a Phillips #1 screwdriver.

  6. TKBeWKDcmq441dXS
    • Using the pull tab, lift the hard drive assembly off of the body.

  7. lY6aIoHPRdgKAWyb
    lY6aIoHPRdgKAWyb
    wpROMi4uGPtmCyDO
    • Disconnect the hard drive cable and lift it out of the computer case.

  8. iF3FacOKuOejc4Zg
    • Remove a total of four screws that secure the cage to the assembly.

    • There are two screws on either side of the cage.

  9. YCjsklRDF1C1OPyL
    • Using the pull tab, lift the hard drive out of the cage.

Conclusion

To reassemble your device, follow these instructions in reverse order.

Mark Batista

Member since: 16/03/23

430 Reputation

0 comments