Introduction
If your Dell Inspiron 7306 P125G or Inspiron 7306 2-in-1 won't power on, this guide will help replace the battery as a solution for power problems with the laptop. Before continuing, consult the swollen battery and removing power/disconnecting tips to ensure your safety.
-
-
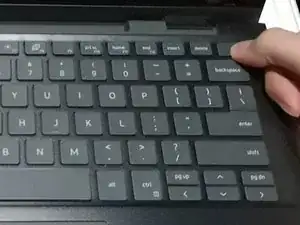
Turn off the laptop with the power button and close it.
-
Disconnect any power sources from the laptop.
-
-
-
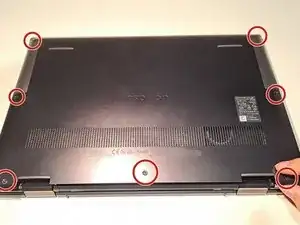
Use the Phillips #00 screwdriver to remove the seven M2x4 screws from the back panel of the laptop.
-
-
-
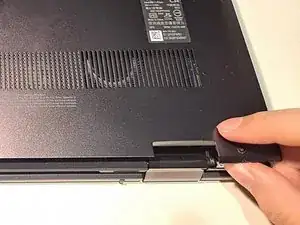
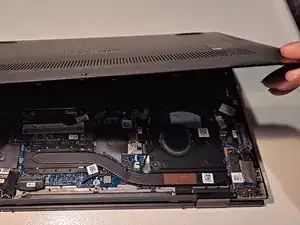
Grab a corner of the back cover or use a spudger to lift the cover.
-
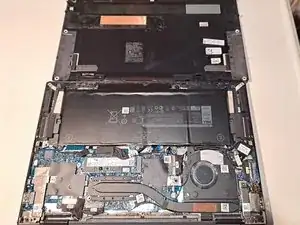
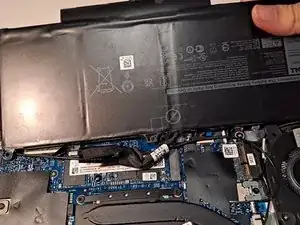
Pull the cover up around the edges until it is completely removed.
-
-
-
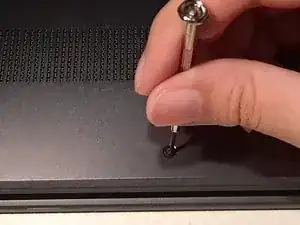
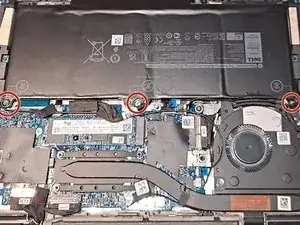
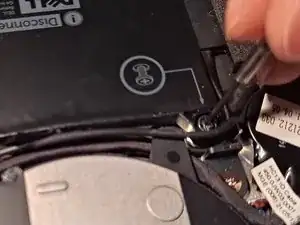
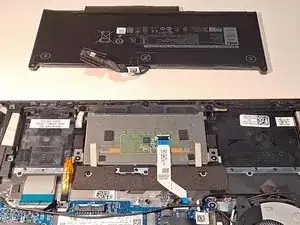
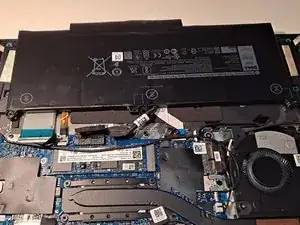
Remove the three M2x3.5 screws that have a screw icon above them with the Phillips #00 screwdriver
-
-
-
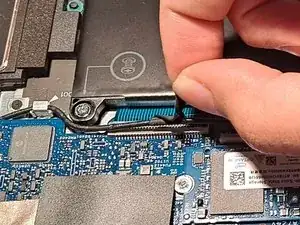
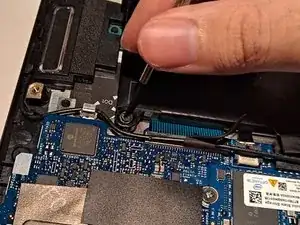
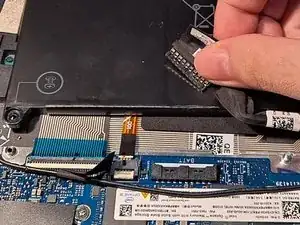
Insert the new battery. Align the holes of the screwdriver with the center object.
-
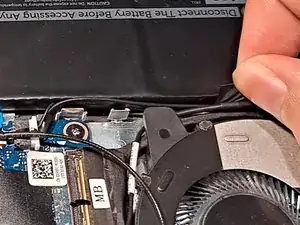
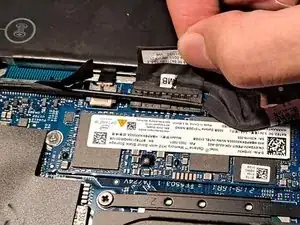
Apply the tape from the wires to the battery once more.
-
Ensure that the cover snaps into place when closing the back cover.
-
To reassemble your device, follow these instructions in reverse order.