Introduction
This guide will help you replace the heat sink in a Dell Inspiron 1305.
Tools
-
-
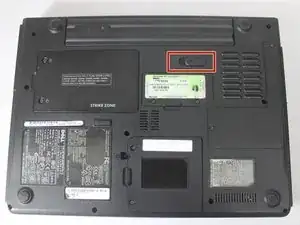
Slide the battery release switch away from the lock symbol until you hear the battery click.
-
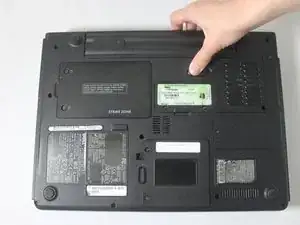
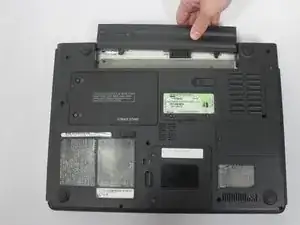
Slide the battery towards the back of the laptop until it comes free.
-
-
-
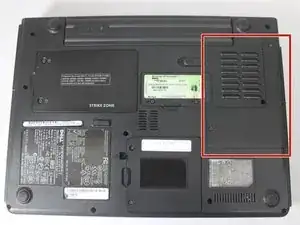
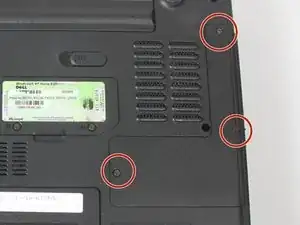
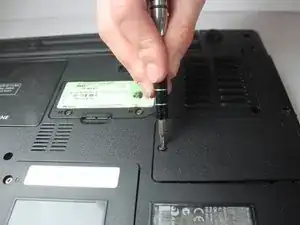
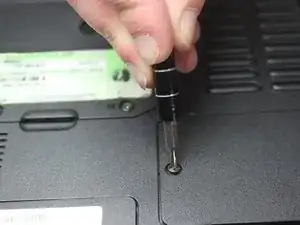
Remove/loosen the eight 4.8mm screws with a #1 Phillips screwdriver securing the bottom panel.
-
Remove the bottom panel.
-
-
-
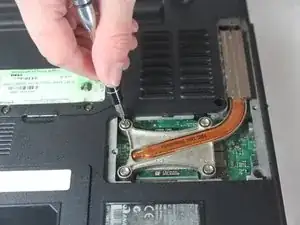
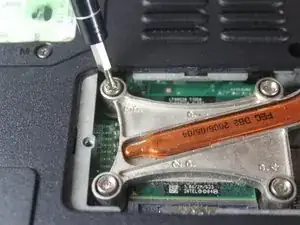
Loosen the five 5.5mm screws with a #1 Phillips screwdriver securing the heat sink and clean it with compressed air
-
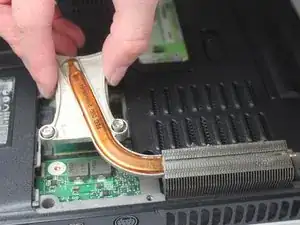
Gently lift the heat sink from the side, as indicated in the picture.
-

Conclusion
To reassemble your device, follow these instructions in reverse order.