Introduction
Replacing the battery in this unit is quite straightforward. My model got a 40wh capacity battery which usually lasts for about 6 hours.
-
-
Flip over your Dell Latitude so you see the 8 screw holes and unscrew them as far as you can.
-
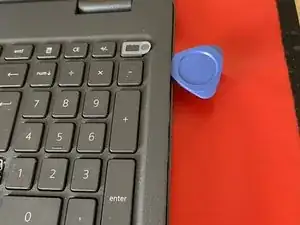
As the screws are secured in the cover just screw until they are loosened enough. Then use a guitar pick and insert it between the gap of the bottom cover.
-
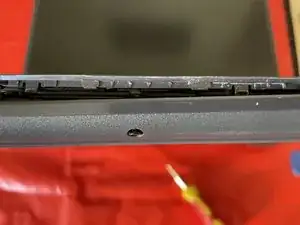
Run the pick along the entire bottom gap until it loosens and then pull it off - just make sure all screws are really unscrewed to avoid damage.
-
-
-
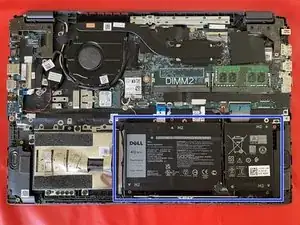
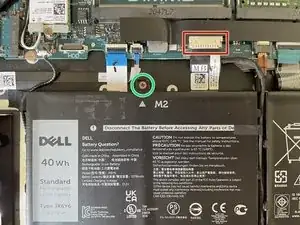
The battery is marked by the blue rectangle. To extract it from the device you have to remove four screws (green circle) and remove the plug (red rectangle) from the mainboard.
-
-
-
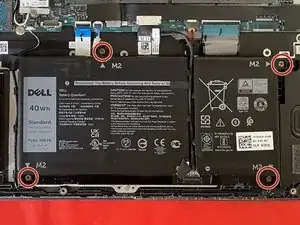
Locate the four screws holding the battery in place. They are marked with M2 and arrows. Unscrew them all.
-
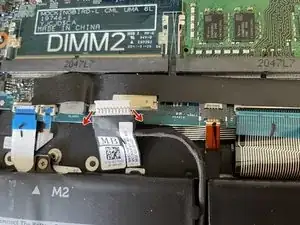
The connection between the battery and the mainboard is easily disconnected by pulling the plug while wiggling a little left and right with your fingernails or a spudger.
-
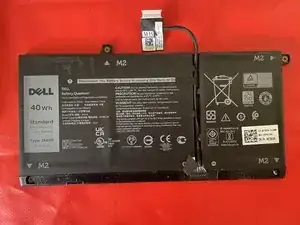
Lift out the battery and replace it with the new one. You're finished!
-

To reassemble your device, follow these instructions in reverse order.