Introduction
Use this guide to replace a broken motherboard on your Dell Latitude E7270.
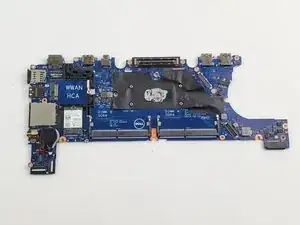
The motherboard is what links all your components together to move information around. They are susceptible to age, shortages, and physical damage. A broken motherboard may leave your computer not working at all.
Before using this guide, check out the troubleshooting page to see if your symptoms match any that represent a bad motherboard.
This replacement requires a #00 Phillips head screwdriver.
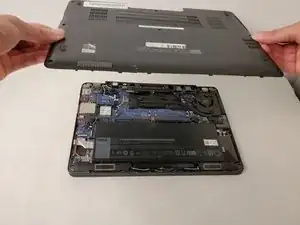
NOTE: This guide requires removal of the back panel, battery, and cooling fan. The extra prerequisite guide steps are included in this guide.
Tools
-
-
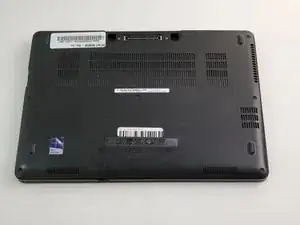
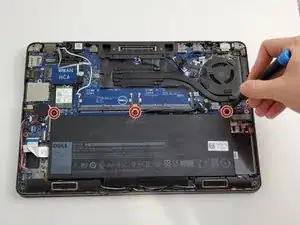
Place the device top down in front of you so that the vents are visible and are furthest from the user.
-
-
-
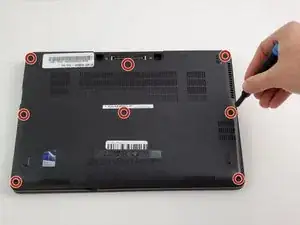
Remove the three M2.5 X 5MM screws, located above the battery, with a Phillips #00 screwdriver.
-
-
-
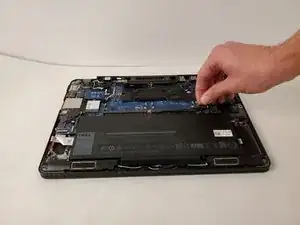
Remove the 4 pin fan power connector from the motherboard by using your finger and pulling up.
-
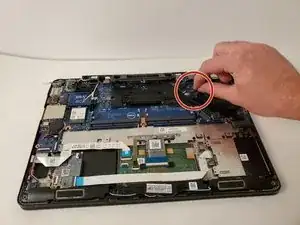
Remove the four M2.5 X 5MM screws that hold on the rectangular bracket located towards the center of the motherboard using a Phillips #00 screwdriver.
-
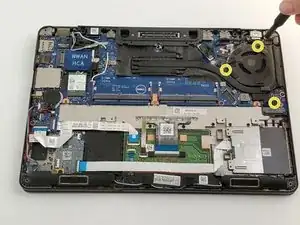
Remove the three M2.5 X 5MM screws that hold down the circular fan bracket using a Phillips #00 screwdriver.
-
-
-
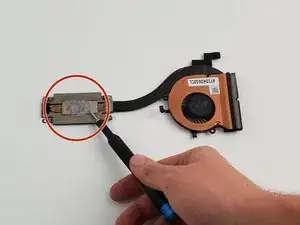
Before replacing fan, make sure to place a small amount of thermal paste to ensure proper heat dissipation and long term life.
-
-
-
Remove the 10 wire connections by using your fingers to separate the connections.
-
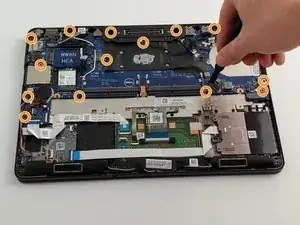
Remove the thirteen M2.5 X 5MM screws that fasten the motherboard using a Phillips #00 screwdriver.
-
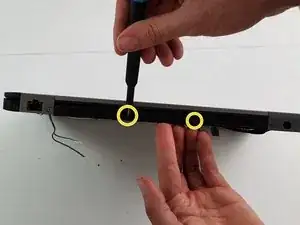
Remove the two M2.5 X 8MM external screws that fasten the motherboard from outside using a Phillips #00 screwdriver.
-


To reassemble your device, follow these instructions in reverse order.
