Introduction
This guide provides step-by-step instructions for replacing the screen on your Dell Precision 7560 laptop, along with tips and precautions to ensure a successful replacement.
-
-
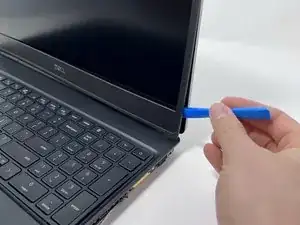
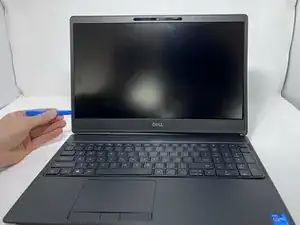
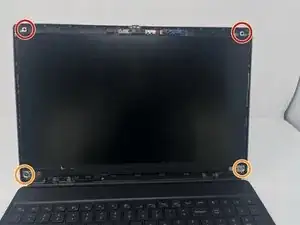
Using an opener tool, pry open the bezel, following along the screen's perimeter.
-
Lightly pull from the corners to remove the bezel.
-
-
-
Use the Phillips #0 screwdriver to remove:
-
Two 2 mm screws from the top screen brackets.
-
Two 3 mm screws from the bottom screen brackets.
-
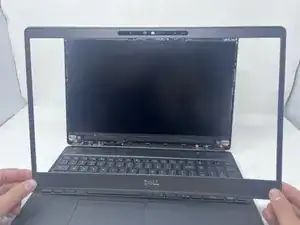
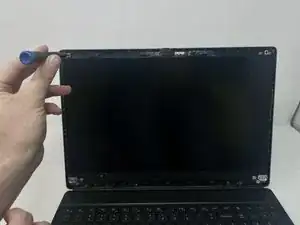
Once these screws are removed, you should be able to gently pry the laptop screen free.
-
-
-
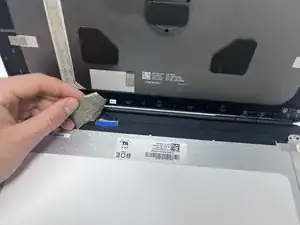
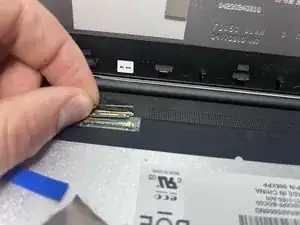
To fully disconnect the screen, gently peel off the white tape that secures the video connector.
-
Remove the blue tape that lies between the white tape and the video connector.
-
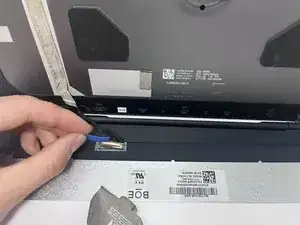
Open the video connector's bracket and remove the cable, pulling towards the back of the device.
-
To reassemble your device, follow these instructions in reverse order.