Introduction
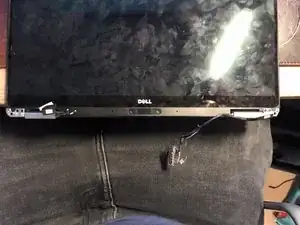
In most cases, you may only want to replace the actual Screen and not the whole frame and integrated camera. This guide will show you how to dismantle the screen Assembly. This is not for beginners!!!
-
-
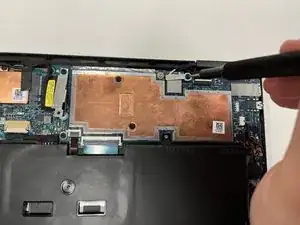
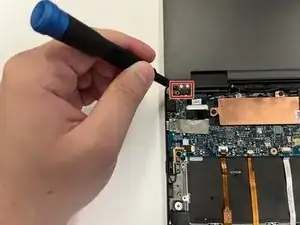
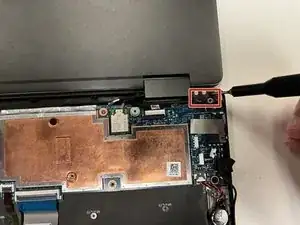
Use a Phillips #000 screwdriver to remove the screw (M1.6x2.5) that secures the wireless-card bracket to the motherboard.
-
-
-
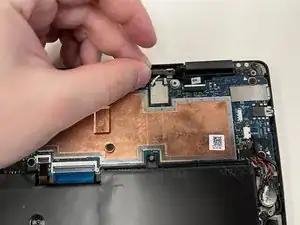
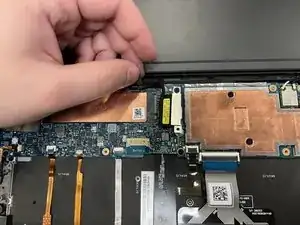
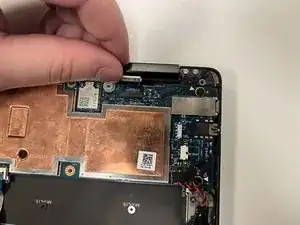
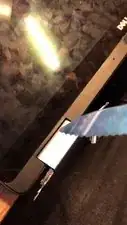
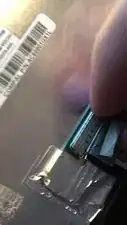
Use a pair of nylon tipped tweezers to gently disconnect the antenna cables from the wireless card.
-
-
-
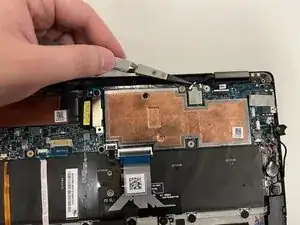
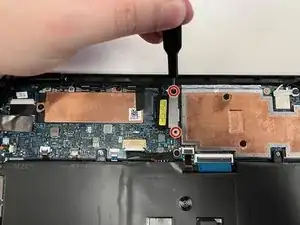
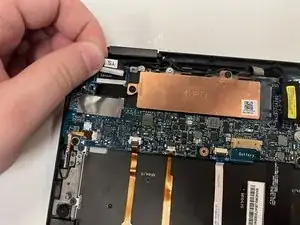
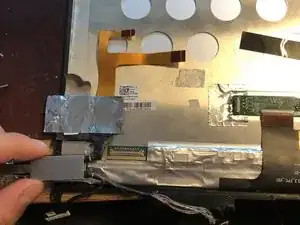
Use a Phillips #000 screwdriver to remove the two screws (M1.6x2.5) that secure the display cable bracket to the motherboard.
-
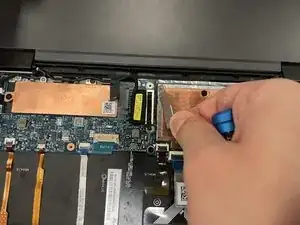
Lift the display cable bracket off the display cable.
-
-
-
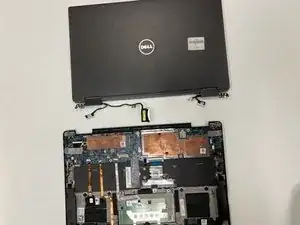
Open the palm-rest assembly fully and place the display assembly and palm-rest assembly face down.
-
Use a Phillips #000 screwdriver to remove the six screws (M2.5x3.5) that secure the display hinges to the palm-rest assembly. There are three on each side.
-
-
-
Remove Camera Cover To Get to more screws. Take a spudger or guitar pick and lift it in between the hinge, after you get it started you can just slide your pick under the cover along the whole display. Be careful of the camera.
-
-
-
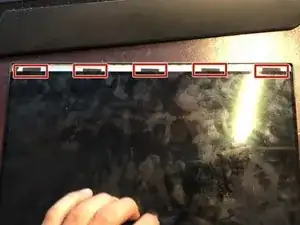
Look For black Plastic Strips, This will allow you to remove the adhesive the easy way, so be gentile. Slowly pull on them until most of the adhesive is removed. Similar to apple Battery Tabs
-
-
-
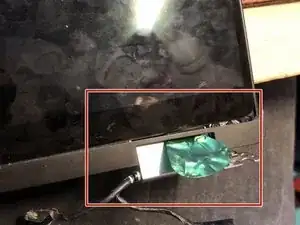
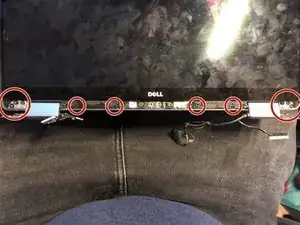
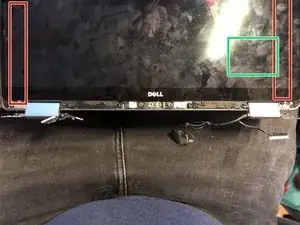
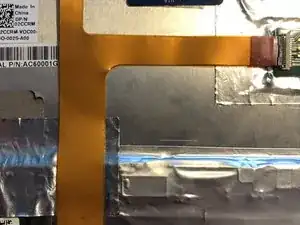
The red indicates where the adhesive is located. Heat the back cover with a heat gun and start lifting the adhesive. Add heat as you go. Use your Spuger and work your way from the bottom up, try and stay in the red area. In green there is a critical connector, so be careful.
-
-
-
If you intend to reuse your screen, do not try and pry the display from the top, there are inserts that lock the display to the top of the chaise. You will break the screen if you try and fores these inserts out. You have to remove all the adhesive first from the bottom and you can just pull the display out.
-
-
-
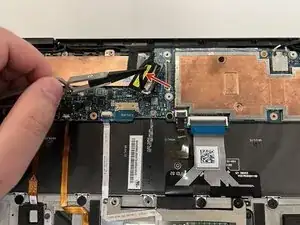
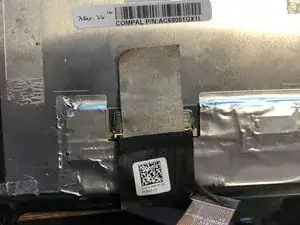
Now that you have the display out, you can remove the Display cable Assembly to use with the next display.
-
-
-
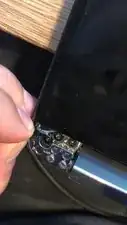
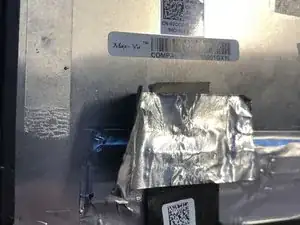
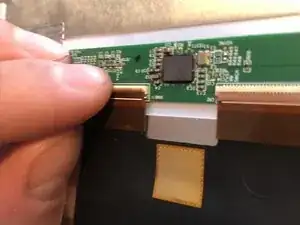
Remove the Gold cable. Caution it is glued to the display, use a pick to carefully remove it. Apply heat if needed.
-
-
-
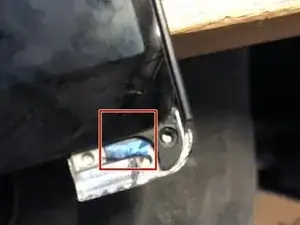
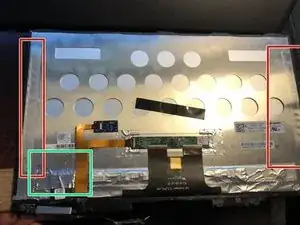
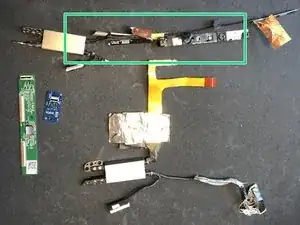
In Green is your camera and Antenna, you don't need to remove this if you are just switching displays.
-
You can now put in your new display and connect everything back up and glue the new display to the case.
-
To reassemble your device, follow these instructions in reverse order.