Introduction
If one or both of your earphones are not working, the cable is plugged in all the way, the device is ON, and the device is at its highest volume, then your headphones may have a loose wire. This guide will show you how to safely disassemble your headphones so that you can check for a connectivity issue between your headphone wires and your ear-cups.
Tools
-
-
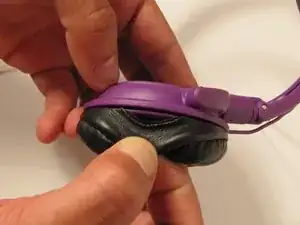
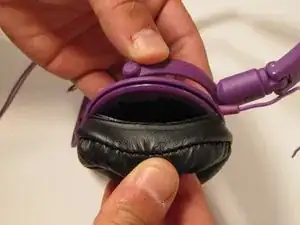
Pull the edge of the pad where it meets the plastic of the ear-cup to separate the padding from the ear pad.
-
-
-
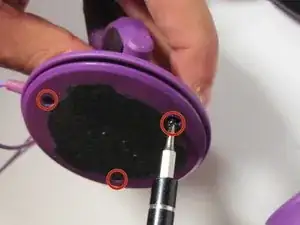
Use the small Phillips screwdriver to remove three 8mm screws on the surface of the earphones.
-
-
-
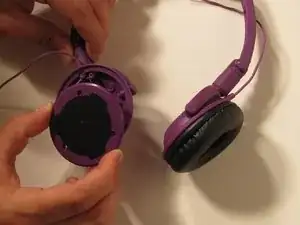
Now that the screws have been removed, use your hands to separate the plate from the rest of headphone.
-
-
-
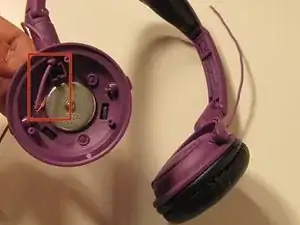
Now that you have removed the plate you can check the wiring connectivity. If the wire is not connected to any sources inside the ear-cup, as shown in the image to the right, then this is the reason that your headphone(s) are not working.
-
Now that you have verified your problem, refer to the guide Skullcandy Lowrider Wiring Repair to fix the loose wiring.
-

To reassemble your device, follow these instructions in reverse order.