Introduction
Use this guide to remove the top panel of the camera.
-
-
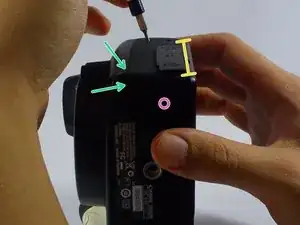
On the bottom, remove the 6mm (13/64") screw with the #00 Phillips Screwdriver.
-
Pry up the panel; starting from the front/bottom corner, as indicated.
-
There's a concealed lip, under the opposite edge.
-
-
-
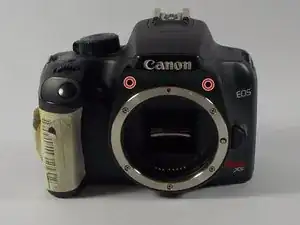
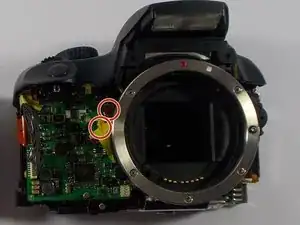
Remove the two medium length screws on the front panel of the camera above the lens mount.
-
Once you done, you may use the Spudger to panel from non-grip side.
-
-
-
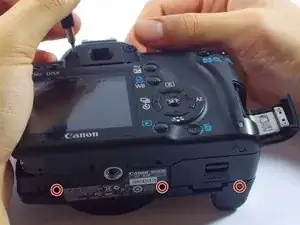
Remove the three long black screws from the bottom using a #00 Phillips screwdriver.
-
Use tweezers to lift the panel.
-
-
-
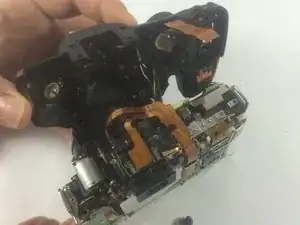
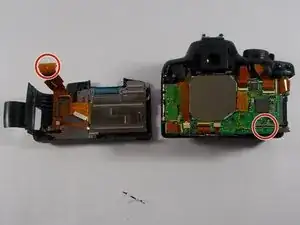
Once you have detached the back cover, use a pair of tweezers to lightly pull on strap found connecting the back cover to the camera.
-
-
-
Remove the following ribbons with the tweezers by gently pulling on them.
-
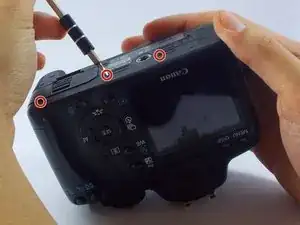
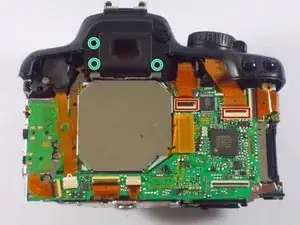
Remove the three black screws, near the eye piece, using the Phillips Screwdriver.
-

To reassemble your device, follow these instructions in reverse order.