Introduction
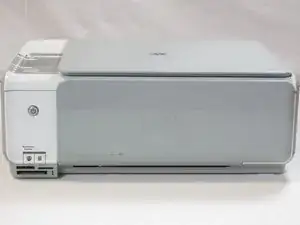
If you need to remove the top panel of your HP Photosmart c3180 printer, follow this guide.
Be sure to remove the ink-cartridges and unplug the printer before beginning disassembly of the device.
-
-
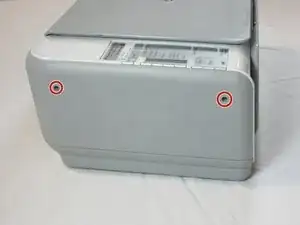
Rotate the printer 90 degrees counter clockwise so that the side panel next to control panel is facing you.
-
Remove the two T10 12mm Torx screws from the left side panel.
-
-
-
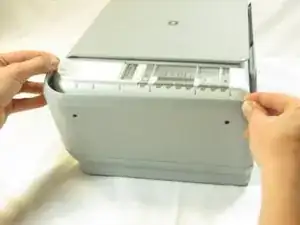
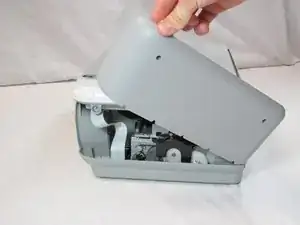
Firmly pull the the back of the side panel until it separates from the body of the printer.
-
Rotate the side panel upwards while pulling it towards yourself to remove the panel.
-
-
-
Rotate the printer 90 degrees clockwise.
-
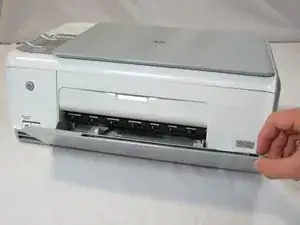
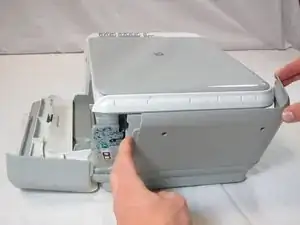
Grasp the paper tray and rotate it down.
-
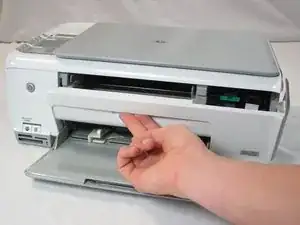
Insert your fingers into the slot in the printer door and pull to rotate the gate down.
-
-
-
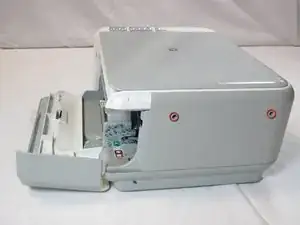
Rotate the printer 90 degrees clockwise.
-
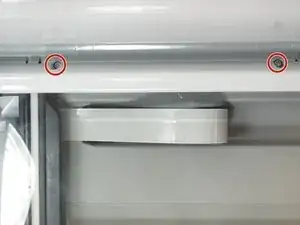
Remove the two T10 12 mm Torx screws.
-
Grasp both sides of the side panel and pull it forward to remove the panel.
-
-
-
Rotate the printer 90 degrees counter clockwise.
-
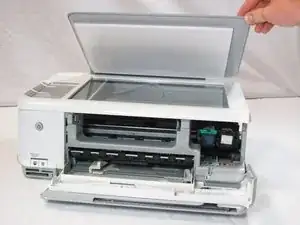
Lift the scanner lid to expose the scanner glass.
-
-
-
Rotate the printer 90 degrees counter clockwise.
-
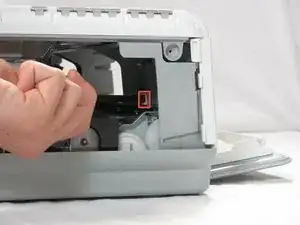
Inside the printer is a small white tab. Press it inward with a spudger until a pop is heard.
-
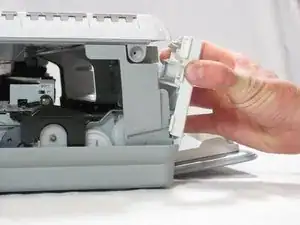
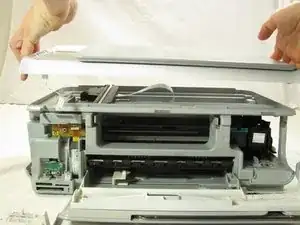
Remove the front panel by grasping its front and pulling away from the printer.
-
-
-
Rotate the printer 90 degrees clockwise.
-
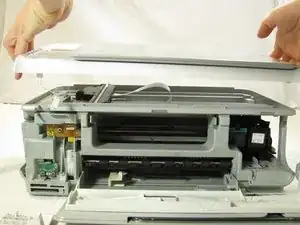
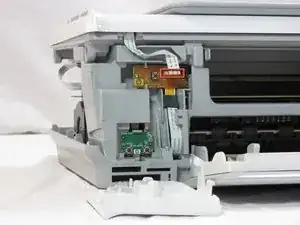
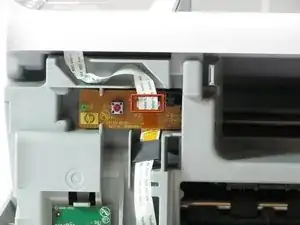
Remove the cable connecting the top panel of the printer to the power button assembly.
-
To reassemble your device, follow these instructions in reverse order.
One comment
Thanks... Now I'know how clean