Introduction

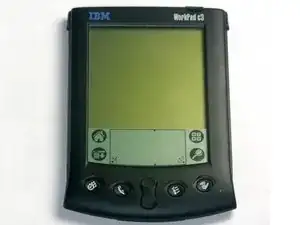
This is a step-by-step guide showing how to remove the LCD/Digitizer combo from the IBM WorkPad c3. This is a fairly easy removal.

  1. vkjSxFvQayjsb6CV
    vkjSxFvQayjsb6CV
    BbCEVQxMEfmOWBhV
    • Turn the device over so that the screen is facing down.

    • In the next step the device will be heated, so the screen must be turned over to prevent heat damage to the LCD/Digitizer.

  2. 2B5VjqrgTI1kQ2UO
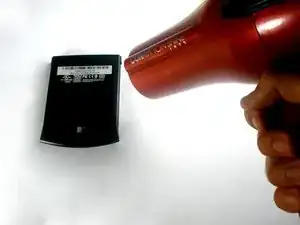
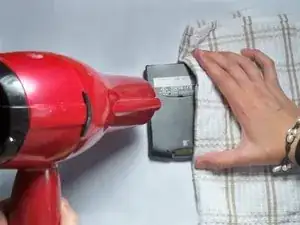
    • Using a hair dryer, slowly heat the edges of the WorkPad.

    • Spend at least one minute heating each side of the device. This will melt the glue holding the case together, and allow it to be removed.

    • Be sure not to touch the device directly after heating as it will be extremely hot. Use a towel or oven mitt to grab it.

  3. GmpbVIcrkOn12FFS
    GmpbVIcrkOn12FFS
    CWWlVUhCL4vyAHWL
    • Use a plastic opening tool to pry the back case from the WorkPad.

    • If the rear cover is not coming off very easily, you probably need to reheat the case in order to sufficiently melt the glue.

  4. qddcrMKpGnrlJoSX
    qddcrMKpGnrlJoSX
    Ep4QGQB3Ek2uQadY
    • Turn the device over, so that the screen is laying on a flat surface.

  5. JVJ6V3lTuj4FyMuU
    JVJ6V3lTuj4FyMuU
    x2FOWI5Rd6Z4cCso
    6OcAH4xgI3BYNGDC
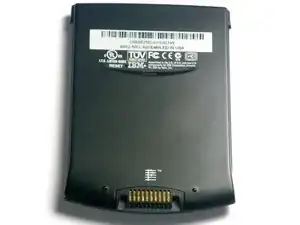
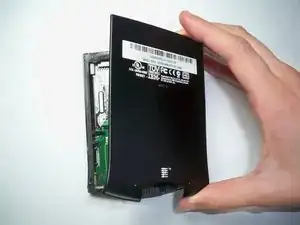
    • If the back case has already been removed, carefully place it on the WorkPad to protect the circuitry inside from the heat.

    • Using the hair dryer, slowly heat the edges of the device. Spend at least 1 minute on each side, thoroughly heating the case.

    • The LCD/Digitizer combo is very sensitive to heat, and can easily be ruined if it is directly exposed to the hair dryer. Verify that the screen is face down.

  6. 5bpgVqoAmpCfExV5
    5bpgVqoAmpCfExV5
    a2ERaX1pebpkBt5Y
    • The device will be extremely hot. Use a towel or oven mitt to grab it.

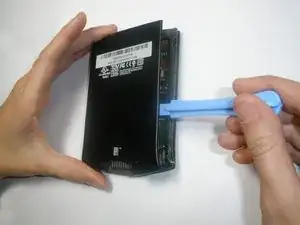
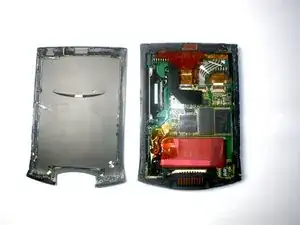
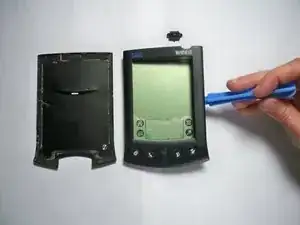
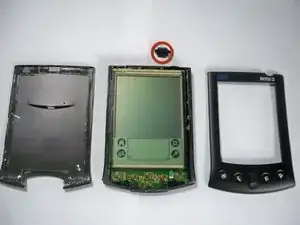
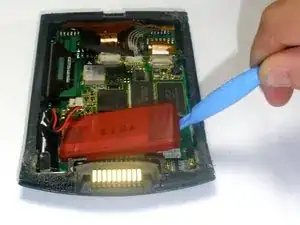
    • Using the Plastic Opening Tools, take the front of the case off.

    • If the case is difficult to remove, try repeating step 2.

    • The power button at the top of the device will be loose once the front part of the case is removed.

  7. ULjLQDSeJZUWJSF2
    • Remove the yellow tape that is covering the battery connector

  8. kZnQhCAeJRHJp1SP
    • Using the tweezers, carefully disconnect the battery cable from the port

  9. 5ZBMOJoOFTLeijPO
    5ZBMOJoOFTLeijPO
    f3ySPadLVvqPdw16
    • Using the plastic opening tools, lift the battery out of the case

    • The battery is secured with adhesive and it will take some effort to remove

  10. weYBRBFG2kMwAdT4
    weYBRBFG2kMwAdT4
    BmOiBvsqvZ1tXcPs
    • Using the spudger lift the tabs holding the LCD/Digitizer combo cables to the WorkPad.

  11. WA1hAImGue1nE22i
    WA1hAImGue1nE22i
    yjmRSyMhYM2XSDLO
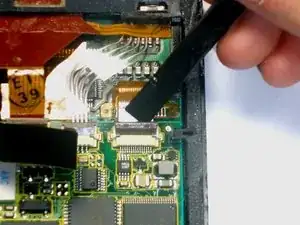
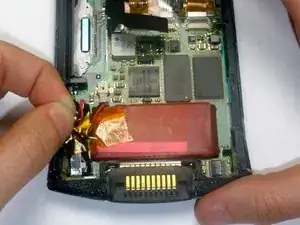
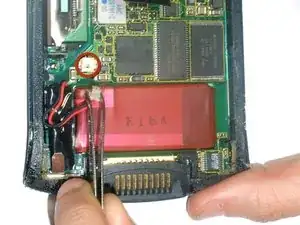
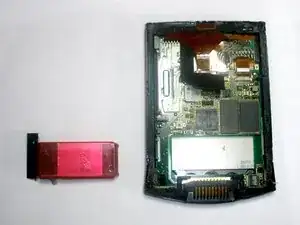
    • Using your thumb, press down gently on the back of the LCD.

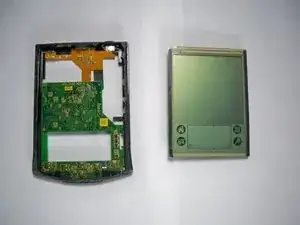
    • The LCD will disconnect and fall out of the case, so be sure to have your hand waiting for it.

Conclusion

To reassemble your device, follow these instructions in reverse order.

Emily Falkenstein

Member since: 05/10/10

75 Reputation

0 comments