Introduction

These instructions will demonstrate how to remove the faceplate from the KDDI Kyocera A5521K.

  1. xVvP3lXeSjsx3qFg
    xVvP3lXeSjsx3qFg
    jUZYCqU2RWiHnDBm
    VZ5W5whQqrNkWxIZ
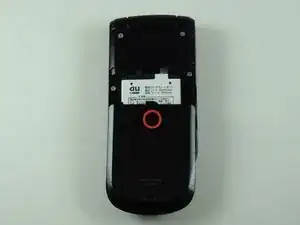
    • Turn the phone over to expose the battery cover.

    • Apply pressure to the back of the battery cover to slide it down.

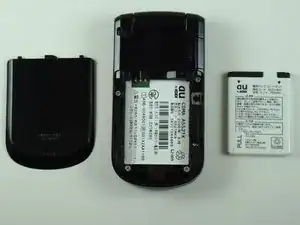
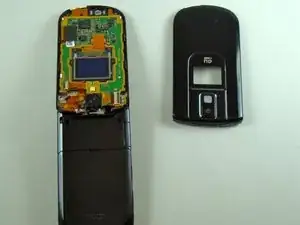
    • The battery cover is now separate from the phone.

  2. qxOi13iHpCFOEpb5
    qxOi13iHpCFOEpb5
    GkyEMAmrSfKG5waf
    2CL2dGQZldgv5ht6
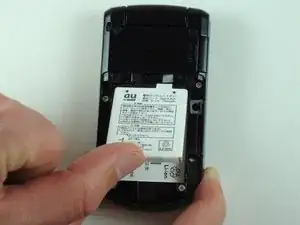
    • Remove the battery by pushing it up and out from the bottom.

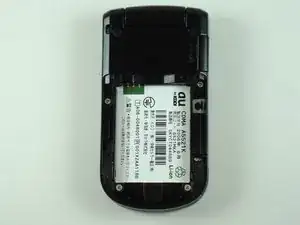
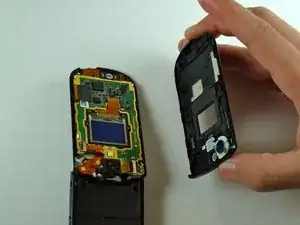
    • The battery, cover, and phone should now be separated.

  3. pw6lmof5mTXELmae
    pw6lmof5mTXELmae
    BuQok1JUYd25O4mw
    rQXRGneBnkihQheC
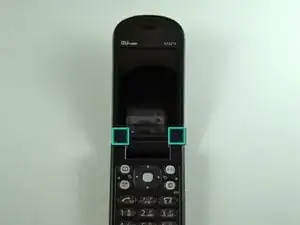
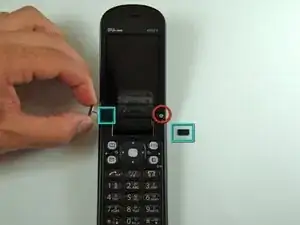
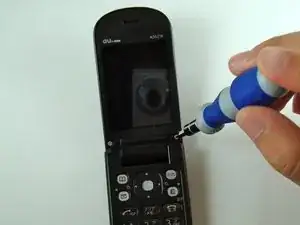
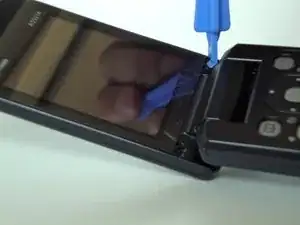
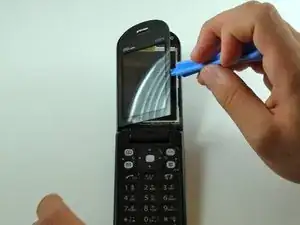
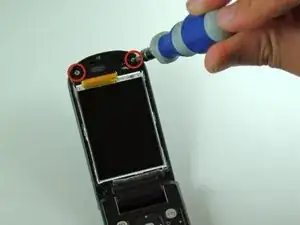
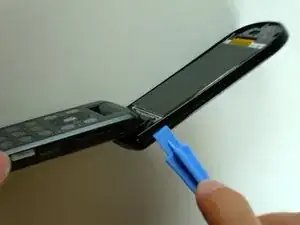
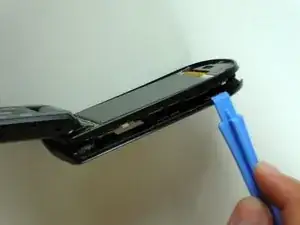
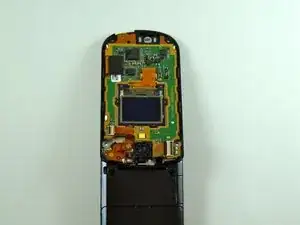
    • Pry, with a metal probe, the black covers that are located by the pivoting joints of the phone.

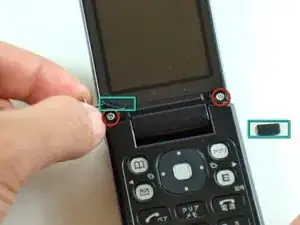
    • Beneath the covers are screws.

  4. wWkZLR5SaUQjTIyE
    • Remove the screws using a Y0 screwdriver.

  5. MxFJ4qZOoToxekpM
    MxFJ4qZOoToxekpM
    bdx4VMNpGmMiAhUB
    euCoD4sTMBNNXqRP
    • Use the iPod pry tool to remove the outer screen.

    • Two screws are now visible.

    • Be careful not to crack the screen upon removal. It is adhered strongly to the phone.

  6. 3F45Gy5UaYAtXEPw
    • Use the Y0 screwdriver to remove the screws.

  7. tcpFkWA6SBYVMYd5
    tcpFkWA6SBYVMYd5
    omIKLs3kMmektrKU
    • Use the iPod pry tool to loosen the faceplate from the phone.

    • Slide the pry tool along the entire crease of the faceplate to completely detach it.

  8. epraiFHOevmT44uE
    epraiFHOevmT44uE
    FOSyXCvXVwcNEgbe
    XQFmiuY2T2KnvvAF
    • Separate the faceplate from the phone.

Conclusion

To reassemble your device, follow these instructions in reverse order.

Dominic Grisafe

Member since: 15/04/10

157 Reputation

0 comments