Introduction

  1. WYfIkmwZig5FRnNc
    WYfIkmwZig5FRnNc
    JNeEJKUcZRYypPgh
    • Place your thumb on the battery cover and push left towards the arrow.

    • The cover will release and pop open.

  2. DTcqwMe3NS6vRyS6
    • Remove the batteries from the camera.

  3. dyooU243Ipgvg1tY
    • Remove four 3 mm screws on the right side of the camera using a Phillips #1 screwdriver.

    • This will release the front and back casings.

  4. ulLGwnwPLXLgAGLR
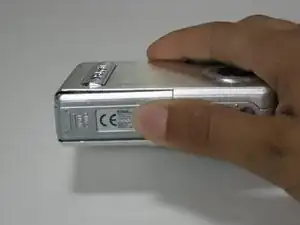
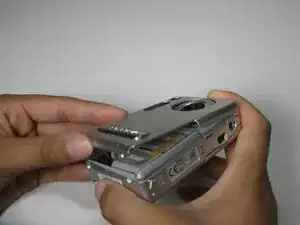
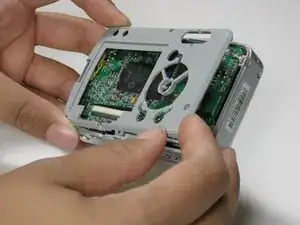
    • Use your nail or a flat object to pry up the edge of the front casing. Push the casing up and back.

    • Repeat this step for the back casing.

  5. Y1KvqUBR15mxIIyf
    • Under the screen, locate the black plastic strip that sits above the white plastic strip.

  6. iRcUrH5wTCnqJJnt
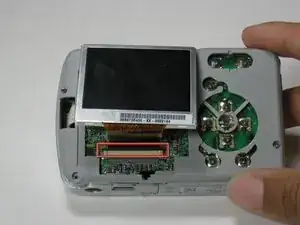
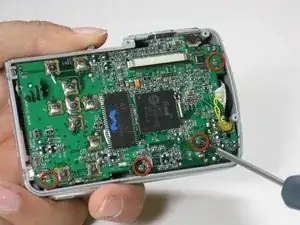
    • Pull both sides of the black piece upward-about a mm.

    • The black plastic piece is not meant to come all the way off, just enough to release the screen.

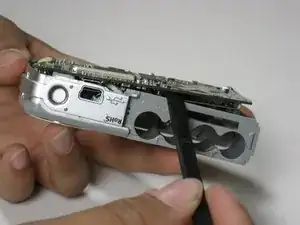
    • Once the piece is lifted carefully slide the screen out of the slot.

  7. OdJdZXK1wXHUGnEF
    • Unscrew and remove the four (6 mm) screws on the inside casing.

  8. l2eethfNpWYli5IA
    • Pull the inner casing off of the camera.

  9. BSOYV2J5XemPeoBx
    • Unscrew and remove the four (4mm) screws from the logic board.

  10. nA3xt5E2xqZAOlUJ
    • Use a spudger to pry up all four sides of the logic board and slide it out of the camera.

  11. DQYQLjwYBtCwtCcH
    • Unscrew and remove the two (5mm) screws from the logic board to the far left.

  12. cW1cNikVEPlhIliL
    • Locate the black plastic piece behind the lens.

  13. LlCvcG2fGThvDPKH
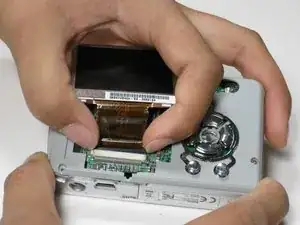
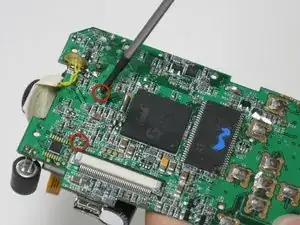
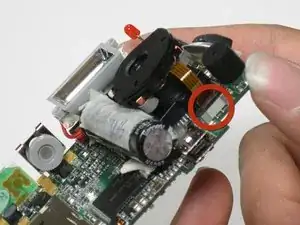
    • Similar to the LCD screen, pull the black piece up about a mm and it will release the lens.

    • The piece will not come all the way off; only enough to release the lens.

    • Once the black piece is lifted slide the ribbon out to release the lens.

Conclusion

To reassemble your device, follow these instructions in reverse order.

Dani

Member since: 24/06/10

21 Reputation

0 comments