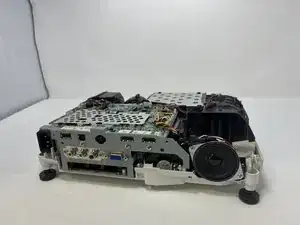
Introduction

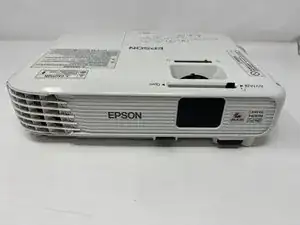
The speaker in the Epson PowerLite Home Cinema 1040 (model V11H772020 or H772A) is a built-in audio unit that is designed to output sound from the projector. The speaker helps to provide audio to complement the visual presentation that is being projected onto a screen or surface.

If your projector is not producing any sound even with the volume turned up on both the source device and the projector, and there are no external speakers connected, then the speaker may be broken.

This guide demonstrates the steps necessary for replacing the built-in speaker.

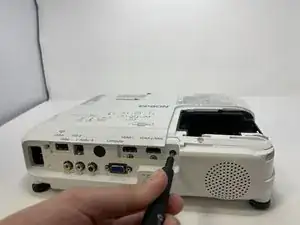
Before beginning, make sure to turn off the projector and unplug the power cord.

  1. 3UohAecxWCXNLvws
    • Turn off the projector and unplug the power cord.

    • Allow the projector lamp to cool down for an hour or more to prevent injury.

  2. XE5WXtsfqGUhRiTO
    XE5WXtsfqGUhRiTO
    rRmKhd5H5eQycBBH
    RZh3iQPNCyLNpFXZ
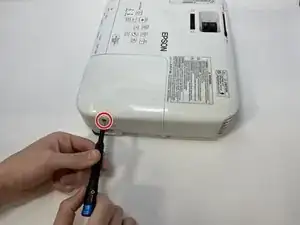
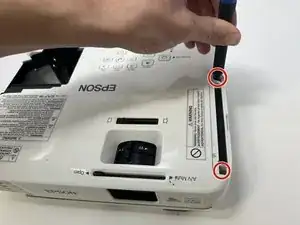
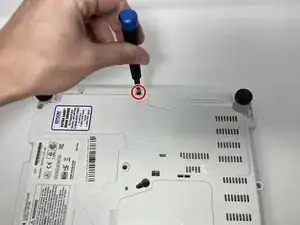
    • Use the Phillips #2 screwdriver to remove the 9 mm screw that secures the lamp cover.

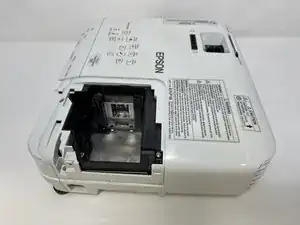
    • Slide off the lamp cover and remove it from the projector.

    • If the lamp is broken, glass fragments may be found when removing the lamp cover. Be careful when removing the lamp cover and when removing the glass.

  3. 6tksQMDn2XOL5Uqv
    6tksQMDn2XOL5Uqv
    3sRvHWDtjZA5QeZS
    F2ZcSwRUcXFNkjLu
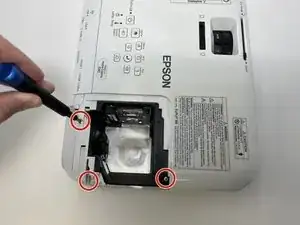
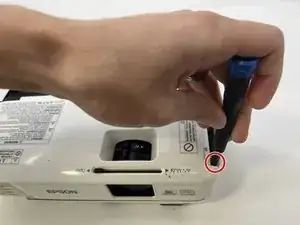
    • Use the Phillips #1 (PH1) screwdriver to remove the three 7 mm screws around the perimeter of the lens cover.

  4. LALGJmSKvKKBM3qP
    LALGJmSKvKKBM3qP
    ABiFvLoNYAOABLCb
    JVswvekk3BP21dGx
    • Remove the air filter cover.

    • Remove the two PH1 7mm screws from under the air filter cover.

  5. fJse6sdgT2C2oBRC
    fJse6sdgT2C2oBRC
    sWtcY2J62EF52ZqZ
    WGG6Mh1ln1FJZIXL
    • Remove the two black, PH1, 6mm screws.

  6. AB6JoJXvwcdlPGJM
    AB6JoJXvwcdlPGJM
    USxSNRUhChKZoXyM
    TELencolIJYIv2Lw
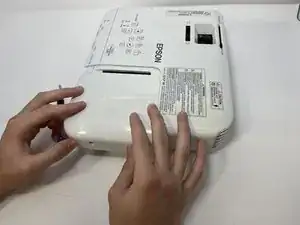
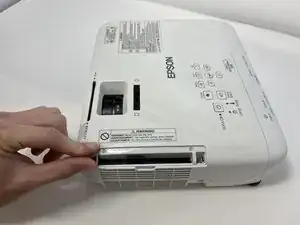
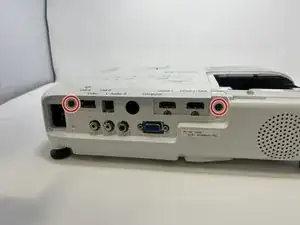
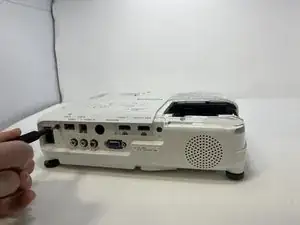
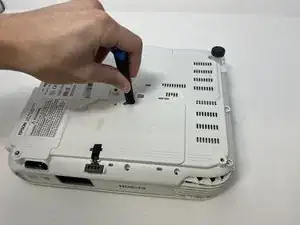
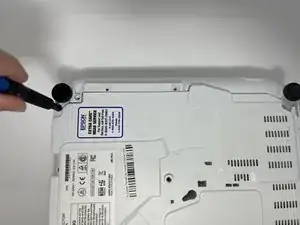
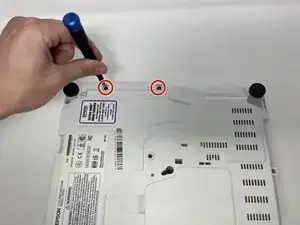
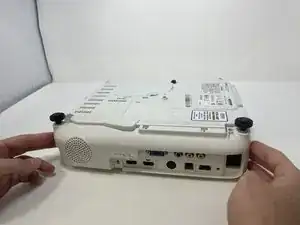
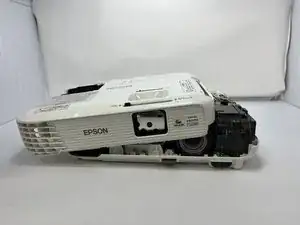
    • Flip the projector so the bottom is exposed.

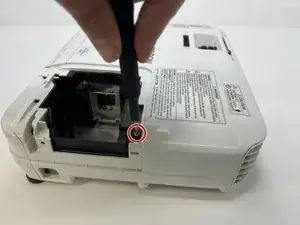
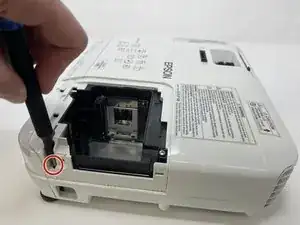
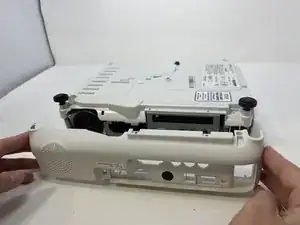
    • Remove seven PH1 7mm screws on the outer rim of the projector.

    • Some screws are located deeper in the housing and a bit extension or longer screwdriver may be required.

  7. YhOsXeF1mJOpbSqk
    YhOsXeF1mJOpbSqk
    syEjsrXK1QExQNog
    • Continuing on the bottom, remove the two black, PH1, 6mm screws.

  8. 4ZnkBnEeZUP3EPMJ
    4ZnkBnEeZUP3EPMJ
    TVJCNAMdDeTJbtU4
    • Remove the cover on the backside of the projector where the inputs are located.

  9. qlWIRqa2Kc6E2wTj
    qlWIRqa2Kc6E2wTj
    6Bdknd6oDjrKmPhy
    416OUYXjybMFfuux
    • Pull the top half of the housing upwards and rest it on the side.

    • Be careful to not pull upwards too hard. The top is still connected by a thin electric strip.

  10. xvlDQPDtCiKluScF
    xvlDQPDtCiKluScF
    GZDxFPlFdqfw3HGm
    TNUIGZJfoRspLlXF
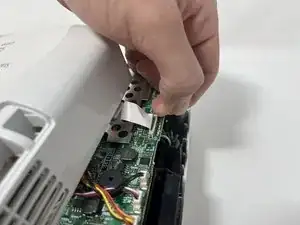
    • Using your fingernail or another thin wedging tool, disconnect the electronic strip from the motherboard.

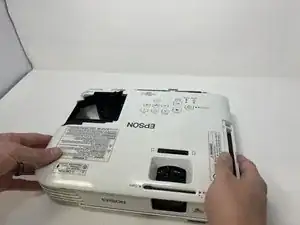
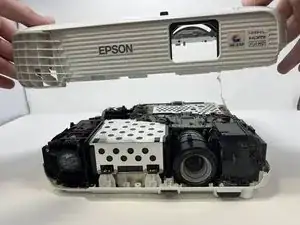
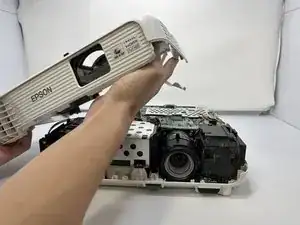
    • Remove the top half of the projector housing completely and set it to the side.

  11. 1PdRXWqUjkIeUYxc
    1PdRXWqUjkIeUYxc
    odYrX22TYrJJKKjr
    • Remove the two PH1 7mm silver screws that secure the speaker.

  12. njLhyt5tRljh5YZN
    njLhyt5tRljh5YZN
    VbRZCRxjJDwLBkpo
    • Remove the two PH1 7mm silver screws that secure the speaker frame.

    • This helps free the speaker wires.

  13. yGJNST6THT2jDOWD
    yGJNST6THT2jDOWD
    qtgYixsbp5q5YKcR
    ykgeJmJvbuAvcbWe
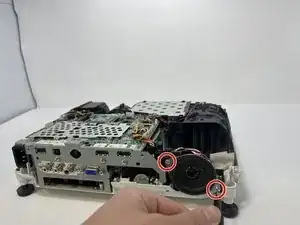
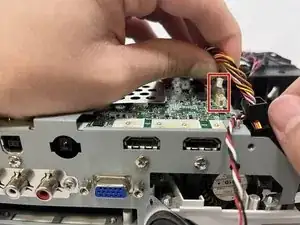
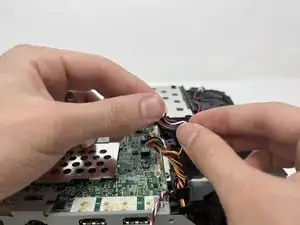
    • Unhook the red, white and black speaker wires that connect to the motherboard.

    • Uncoil the speaker wires from the rest of the wires.

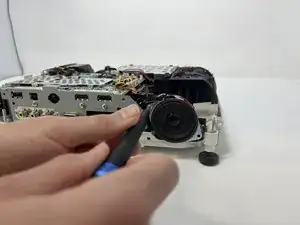
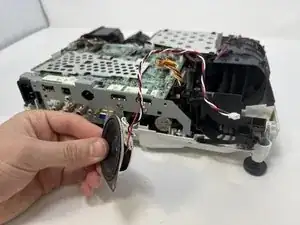
    • Remove the speaker from the projector.

Conclusion

To reassemble your device, follow these instructions in reverse order.

Connor Didericksen

Member since: 09/02/23

721 Reputation

0 comments