Introduction
In this guide we will be replacing a dryer power 3-prong plug to a 4-prong power plug.
All houses are not built the same when moving into a new house you may notice that you cannot plug your dyer in the wall. In most cases recently built homes are built in with a 4-prong power outlet for your dryer, but you own a older model dryer with a 3- prong power cord.
This guide helps you keep up with changing times without breaking the bank buying a new dryer.
Tools
Parts
-
-
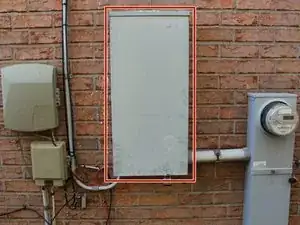
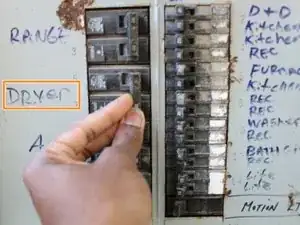
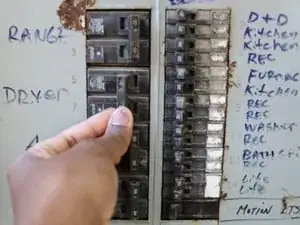
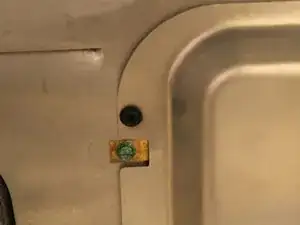
Locate your breaker box - (Some are outside and some are inside the house).
-
Once it is found, find the dryer switch and push it to the LEFT to turn it off.
-
-
-
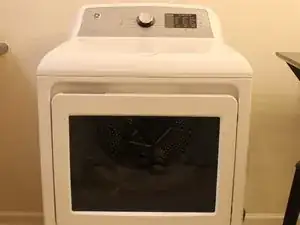
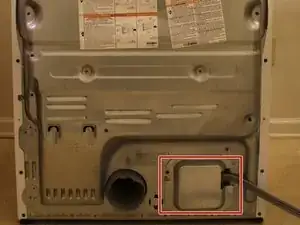
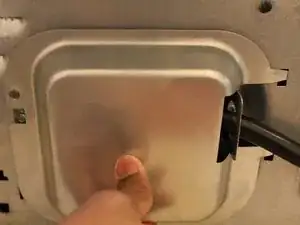
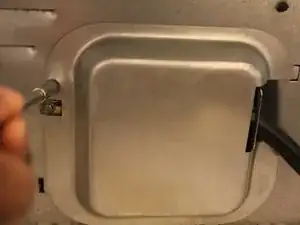
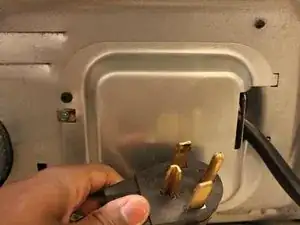
Unplug the dryer from the wall.
-
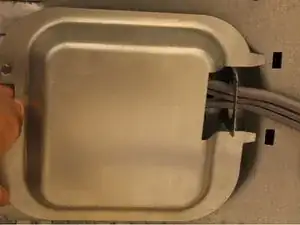
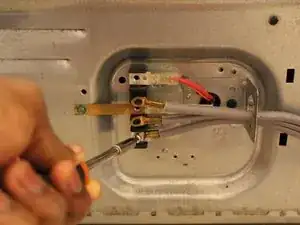
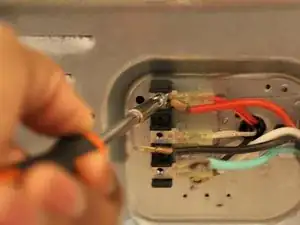
Use a screwdriver to remove any screws that secure the power cord cover.
-
-
-
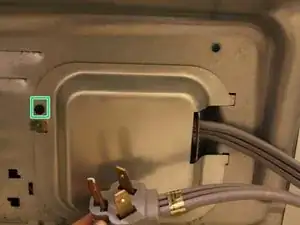
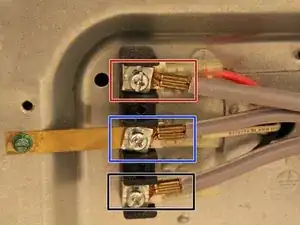
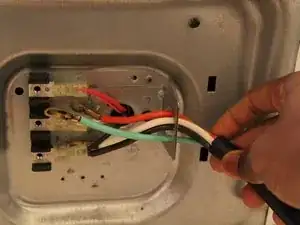
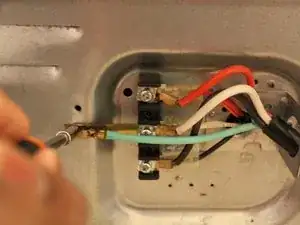
Now that the panel is off, you can see the wires needed to be replaced.
-
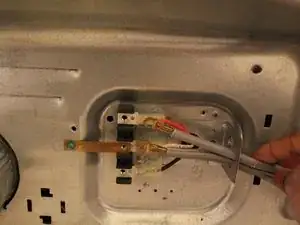
The configuration of the wires are power at the top (Usually represented as RED or BLACK)
-
The ground wire is in the middle (Usually represented as WHITE)
-
The bottom wire is also a power wire also (Usually represented as RED or BLACK)
-
-
-
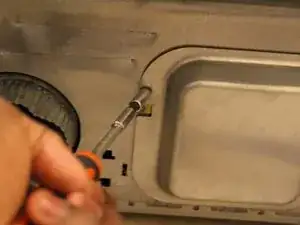
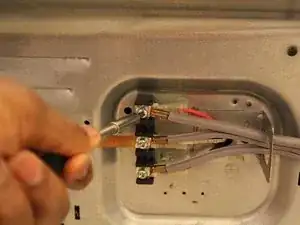
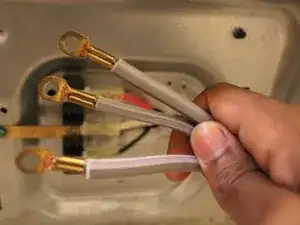
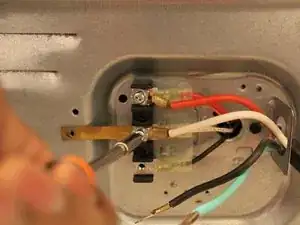
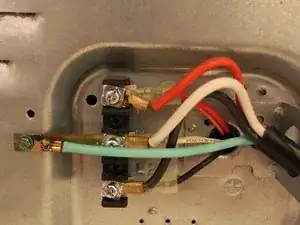
With everything removed, you can now bring in your new 4 prong power cord.
-
Unlike the old power cord, the new power cord should have the color of what type of wire it is (ex. red for power and white for ground).
-
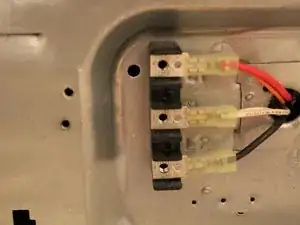
You can start screwing in the wires with the removed screws from the old cord to the new RED WIRE at the TOP.
-
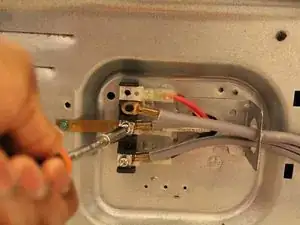
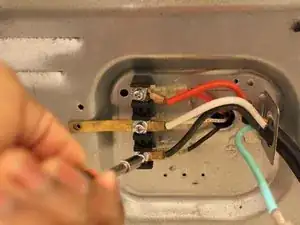
With the WHITE WIRE, grab the gold plate and put it on top of the wire. Grab the screw and put it on top of the gold plate and screw it in the MIDDLE.
-
-
-
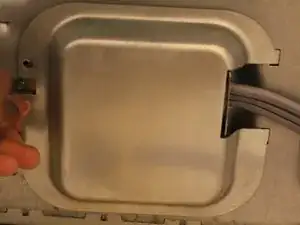
Screw the BLACK WIRE at the BOTTOM regularly like the red wire.
-
Grab the green wire and put it at the end of the gold plate and grab the green screw to screw it in for a tight connection.
-
-
-
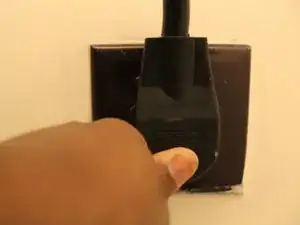
Plug your dryer back into the socket and go to your breaker box to turn the power back on.
-
You can now use your dryer in your new home.
-

To reassemble to the 3 prong configuration, follow these instructions in reverse order.