Introduction
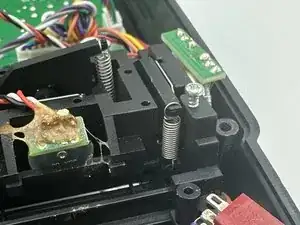
The main joysticks have springs that help maintain stability and hold them in place. Whenever the switch does not move or is moving on the springs, it could be out of place or worn out.
-
-
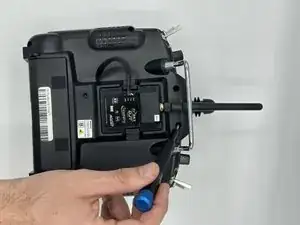
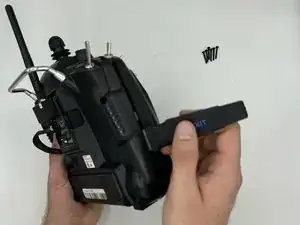
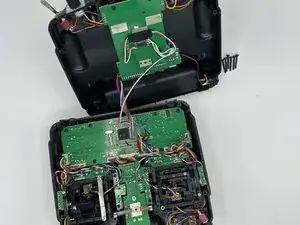
Using a pry tool with a little pressure, carefully pull apart the remote to expose the inside.
-
-
-
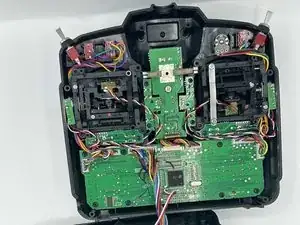
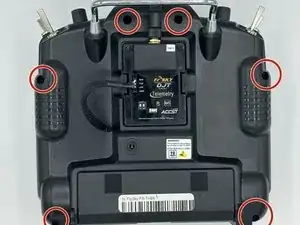
Remove screws to open the device and reveal the inside. For this section we will be working with the top half of the remote.
-
-
-
Using a pair of thin tweezers or pliers, remove the spring from its holding hook on the arm first and then from the holding hook on the other end of the spring.
-
-
-
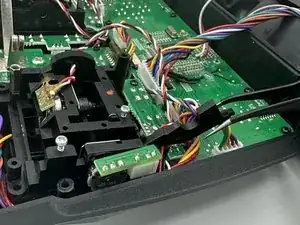
Remove the plastic "arm" piece that the spring is connected to and replace the spring or "arm" piece as necessary.
-
-
-
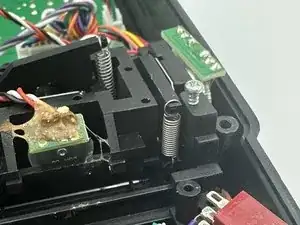
1. Replace the spring starting from the bottom holding hook.
-
2. Slide the plastic "arm" piece back into place.
-
3. Attach the spring to the arm piece.
-
Once completed it will look like the image shown here. Re-assemble the controller and test the joysticks to make sure everything is working properly again.
-

To reassemble your device, follow these instructions in reverse order.