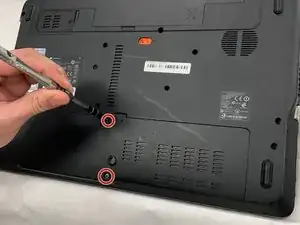
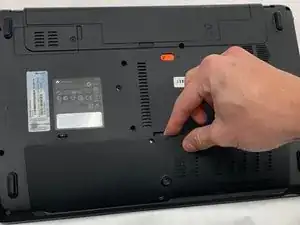
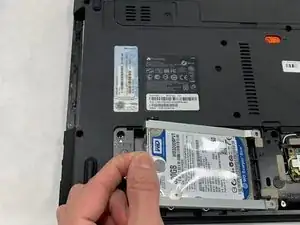
Introduction

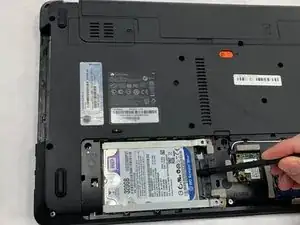
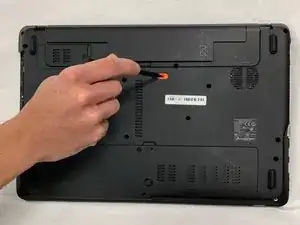
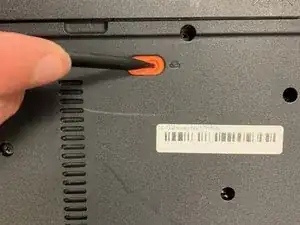
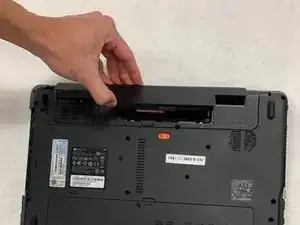
Both the battery and rear cover guides should be completed before completing this guide. This guide can be used for replacing a dying hard drive or upgrading your current hard drive.

  1. OCy5nKnuBRlLbRHE
    OCy5nKnuBRlLbRHE
    TlyoNBkXvOVNxPHp
    U4SMdCXqhtbmnZZB
    • Push orange locking tab with spudger right, until battery lifts out of place.

    • Laptop should be unplugged from power supply before removal.

  2. tQE6bFVNC2XK2MMd
    • Unscrew the two 7 mm long #0 Phillips screws.

  3. AhKxpheUGR62WWwG
    • Lift and remove the cover panel via the indentation in the middle of the panel.

  4. ABYyZ46MKViMtU6p
    • Push spudger to the left until hard drive is moved from its original position.

  5. 1Y4WbTGR1IS6dLMp
    • Pull plastic flap and pull hard drive away from laptop.

Conclusion

To reassemble your device, follow these instructions in reverse order.

Aaron Allison

Member since: 05/11/18

433 Reputation

0 comments