Introduction
If the laptop does not boot correctly after running the "Startup Repair" from the Windows 10 DVD, use this guide to remove and replace your SSD. You will need a plastic opening tool and a Phillips #1 screwdriver head.
Parts
-
-
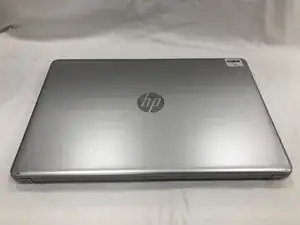
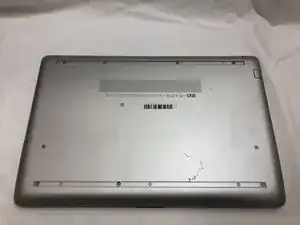
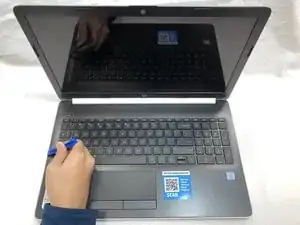
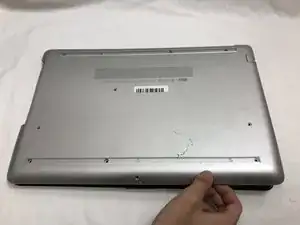
Turn your laptop over so that the Laptop Identification Tag on the underside of the laptop faces the ceiling.
-
-
-
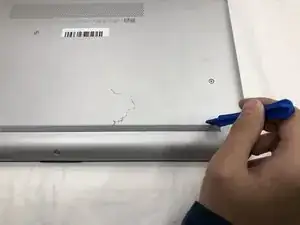
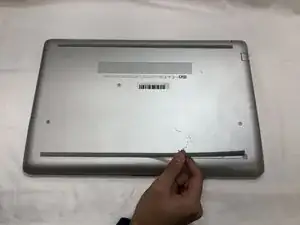
Using the plastic opening tools, peel back the plastic feet from the underside of the laptop.
-
-
-
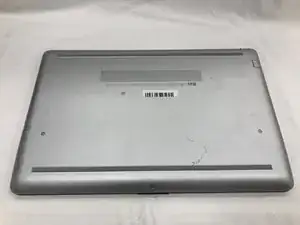
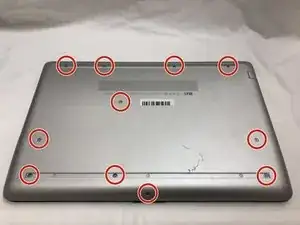
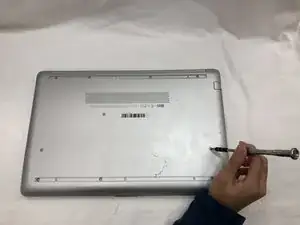
Using a Phillips #1 screwdriver, remove the eleven 9.0 mm screws holding the back cover in place.
-
-
-
Flip the computer over and open the screen.
-
Start from a corner and run the plastic opening tools along the edge of the back cover.
-
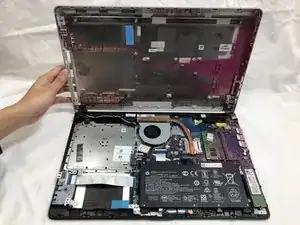
After the cover has been completely loosened around the entire perimeter, close the screen and flip the computer over.
-
Gently pry back the cover starting from the middle, bottom edge.
-
-
-
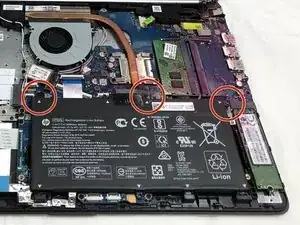
Using the Phillips #1 screwdriver, remove the three 8.0 mm screws holding the battery in place.
-
-
-
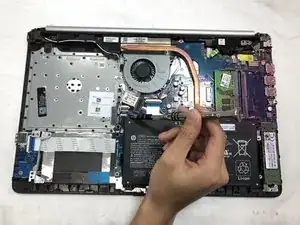
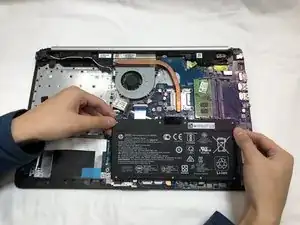
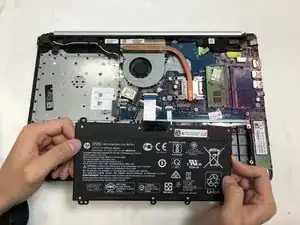
Remove the battery by tilting the top of the battery towards you and pulling the battery away from the mounting tabs.
-
-
-
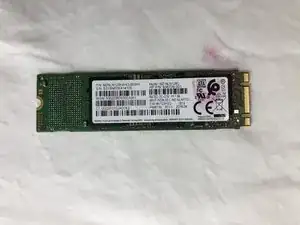
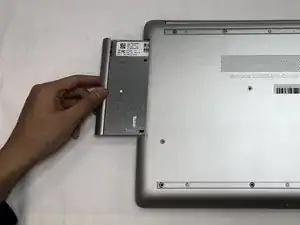
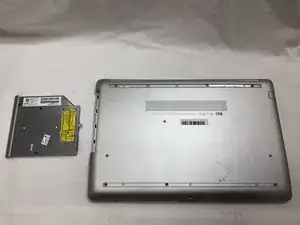
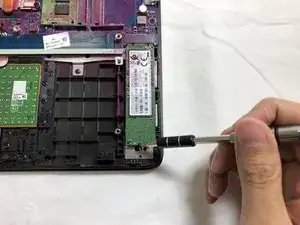
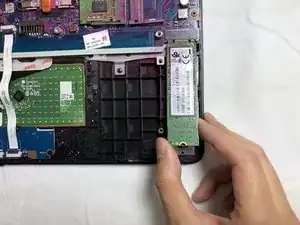
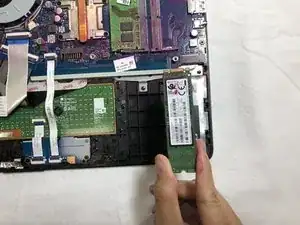
Using the Phillips #1 screwdriver, remove the single 3.0 mm screw holding the SSD module in place.
-
To reassemble your device, follow these instructions in reverse order.
One comment
Nice explanation about how to disassemble of hp laptop and assembly of SSD again in this video. Thanks this help me a lot. If you need assistance in Delhi ncr. Kindly call us