Introduction
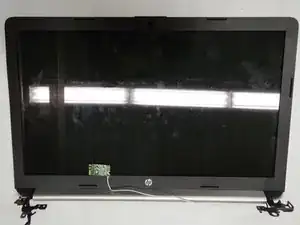
If your laptop screen is broken or damaged, use this guide to replace the screen. To do so you need a Phillips #1 screwdriver, opening tools, tweezers, and safe pry tools. There are some difficult steps to this guide, especially be careful not to damage any wires in this process.
-
-
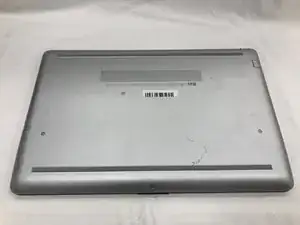
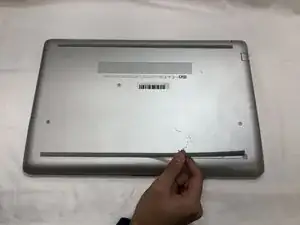
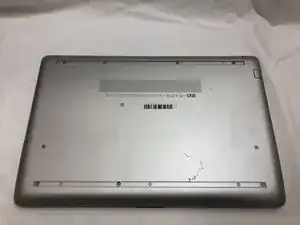
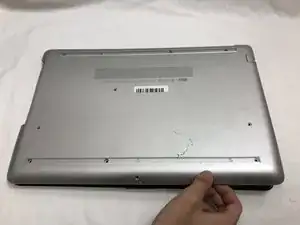
Turn your laptop over so that the Laptop Identification Tag on the underside of the laptop faces the ceiling.
-
-
-
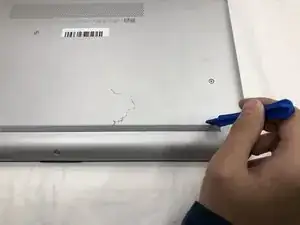
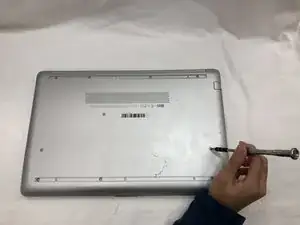
Using the plastic opening tools, peel back the plastic feet from the underside of the laptop.
-
-
-
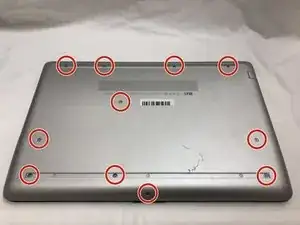
Using a Phillips #1 screwdriver, remove the eleven 9.0 mm screws holding the back cover in place.
-
-
-
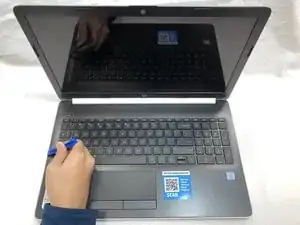
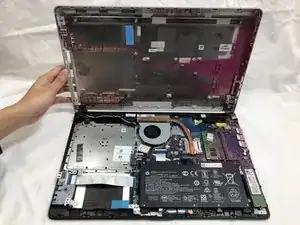
Flip the computer over and open the screen.
-
Start from a corner and run the plastic opening tools along the edge of the back cover.
-
After the cover has been completely loosened around the entire perimeter, close the screen and flip the computer over.
-
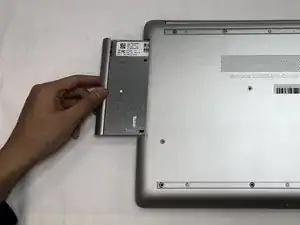
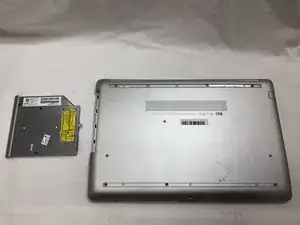
Gently pry back the cover starting from the middle, bottom edge.
-
-
-
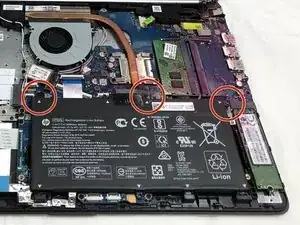
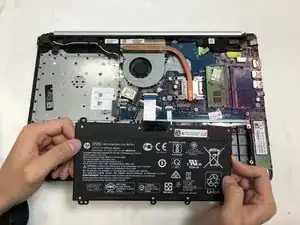
Using the Phillips #1 screwdriver, remove the three 8.0 mm screws holding the battery in place.
-
-
-
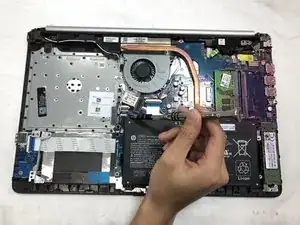
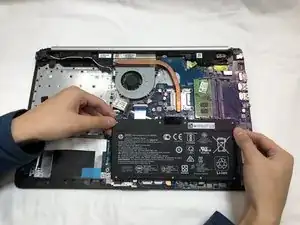
Remove the battery by tilting the top of the battery towards you and pulling the battery away from the mounting tabs.
-
-
-
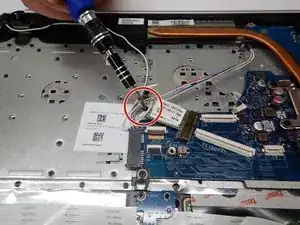
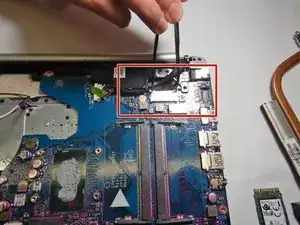
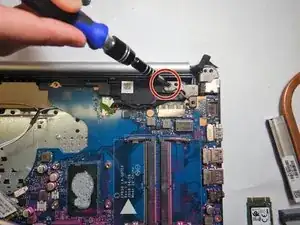
Remove the 3 mm Phillips #0 screw securing the WLAN card in place.
-
Carefully remove the WLAN card from the motherboard.
-
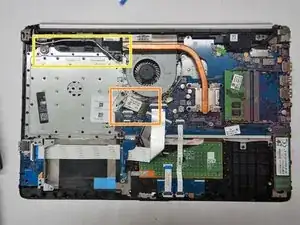
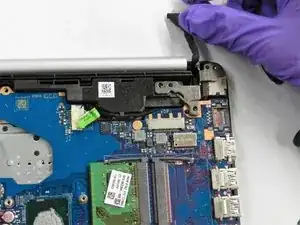
Gently remove the antenna cable from the wire guides in the speaker and chassis.
-
Place WLAN card off to the side being careful not to pull on the antenna cable.
-
-
-
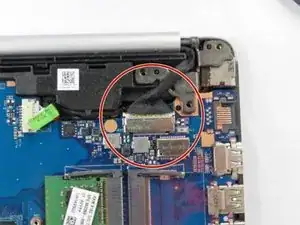
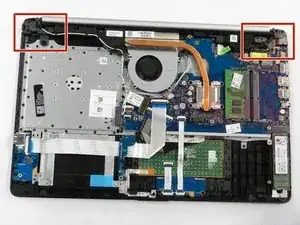
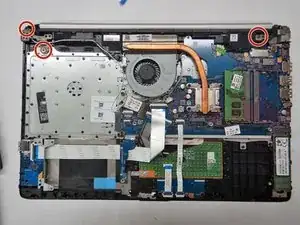
Use the Phillips #1 screwdriver to disconnect the display hinges from the base of the laptop.
-
-
-
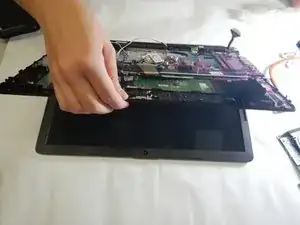
Making sure to hold both the base and the screen, partially open laptop.
-
Carefully remove screen from laptop, making sure that the WLAN card is safely removed with it.
-
-
-
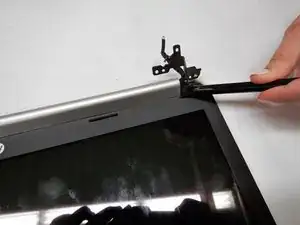
Carefully use the pry tool to separate the screen side of the hinge cover from the screen.
-
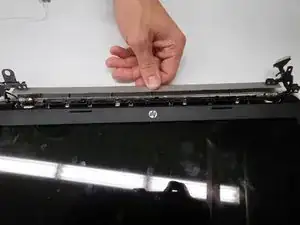
Rotate the hinge cover away from the screen to remove it from the screen.
-
-
-
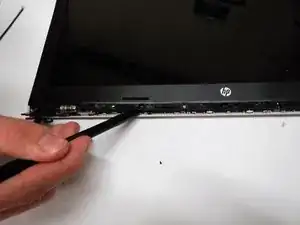
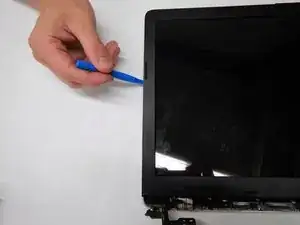
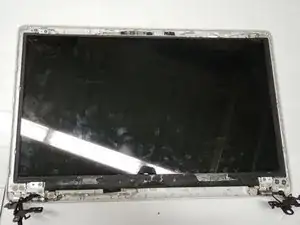
Starting from the area near the hinges, gently remove the adhesive display bezel from around the screen using the iFixit opening tool.
-
-
-
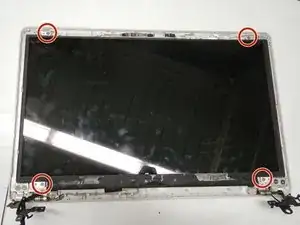
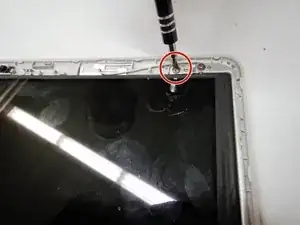
Use the Phillips #1 screwdriver to remove the four 3.0 mm screws securing the screen to the top cover.
-
-
-
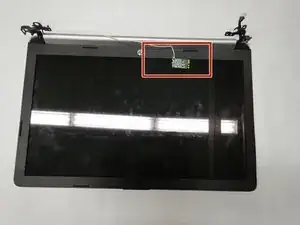
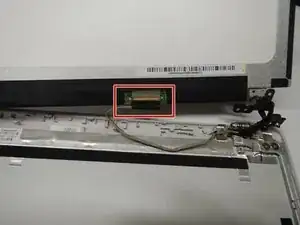
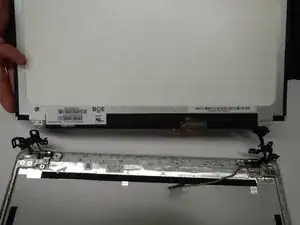
Carefully lift the screen, being aware to not pull on the display cable connecting the screen to the top cover.
-
Gently remove the display cable from the back of the screen.
-
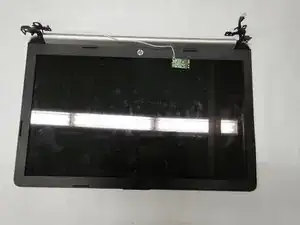
Remove the screen from the display assembly.
-
To reassemble your device, follow these instructions in reverse order.