Introduction
Removing the hard drive is required when the drive will no longer boot or when you want to upgrade to a larger capacity drive. This task can seem difficult, but is not as bad as you may think! Using a magnetic project mat to hold and label the screws will come in handy during this replacement.
CAUTION: Always unplug the device from the power source or wall outlet before beginning any replacement work.
-
-
Make sure the laptop is powered OFF. Gently turn the laptop over and place it on a flat surface.
-
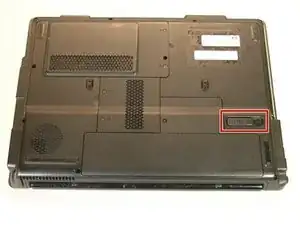
Locate the battery EJECT latch.
-
-
-
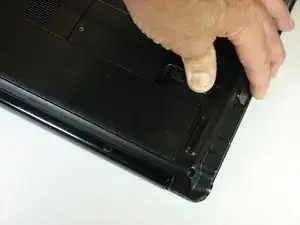
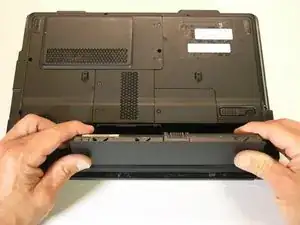
Grab the laptop firmly on the side and using your thumb, press the eject latch towards the OUTER edge of the device.
-
The battery will be lifted out of the laptop slightly as you press the latch over as far as it will go.
-
-
-
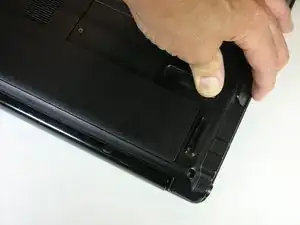
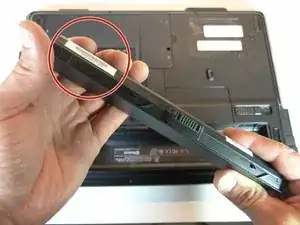
Pull the battery up and towards you to remove it from the laptop chassis.
-
Once the battery is out, you will be able to check the battery label for the replacement part number.
-
-
-
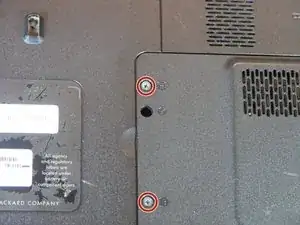
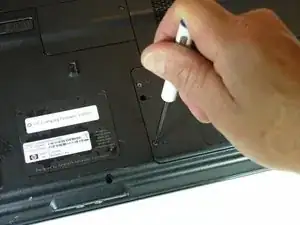
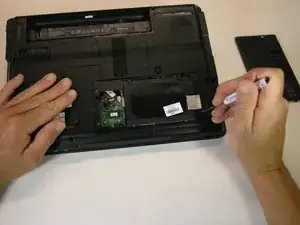
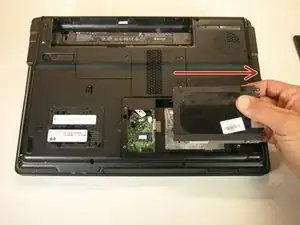
Remove the two Phillips #0, 2.0×5.0 mm hard drive access cover screws. Do not remove them fully. The screws will stay in place on the cover plate.
-
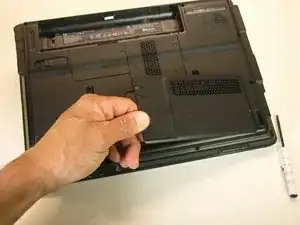
Lift the access cover off and place it to the side out of your way.
-
-
-
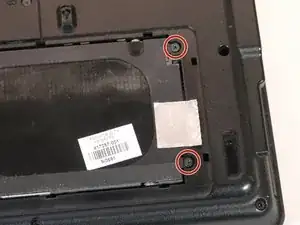
Remove the two Philips #0 2.5X5.0 mm screws and set them aside.
-
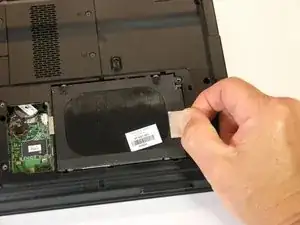
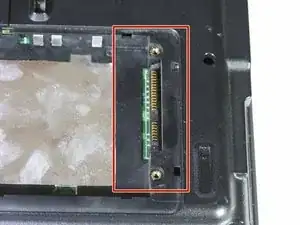
Pull the silver tab back and up to remove the hard drive from the laptop.
-
-
-
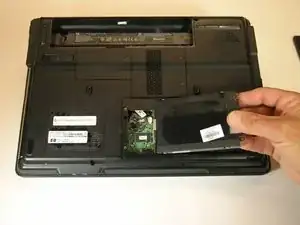
Lift the hard drive up from the laptop. Be careful not to left it all the way.
-
Gently pull the hard drive away from the edge in the direction of the arrow.
-
To reassemble your device, follow these instructions in reverse order.