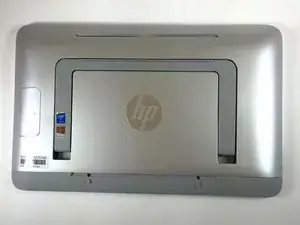
Introduction

The RAM is very accessible on this device so removing the back cover is your biggest hurdle. Use the plastic opening tool as often as possible and everything should be fine. Good Luck!

  1. CXaC5rNCjTUIlOWA
    • Working on your device while it’s turned on is potentially dangerous and can result in electrical shock. Please make sure your device is completely turned off before you begin disassembling it.

    • Flip the device over so the screen is face down.

    • Make sure the stand is flipped down for the easiest way to work with the device.

    • Make sure that you put the screen on a clean surface to avoid scratching it.

    please where can I get the replacement battery

    reply to tosinadedeji@gmail.com

    tosinwil -

  2. GGDhXKMqBZLeAGdm
    • Remove the SD card in the bottom of the computer by pressing the SD card in, and it will pop out.

    • Pull out the SD card completely and set aside.

    • If you have never put in an SD card into this slot, a dummy one will be there in the slot.

  3. cCVgpU2sTxLNiGuI
    cCVgpU2sTxLNiGuI
    uD1mxrw4fCgFYZgD
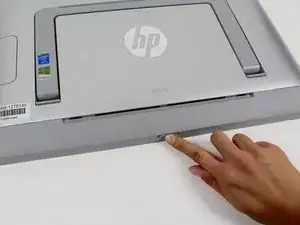
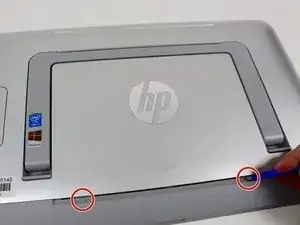
    • Remove the two rubber screw covers on the bottom of the plastic cover using the plastic opening tool.

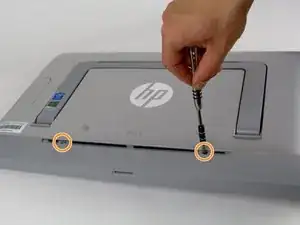
    • Unscrew the two 6.35 mm PH#1 screws that were underneath the rubber covers.

    • The screws cannot be removed, they just unscrew from the interior components of the computer.

  4. d5OGOL4h2QPXAwHB
    d5OGOL4h2QPXAwHB
    OncFkfcvIQQjANiI
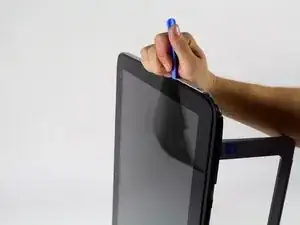
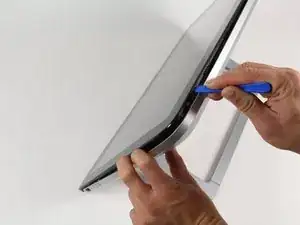
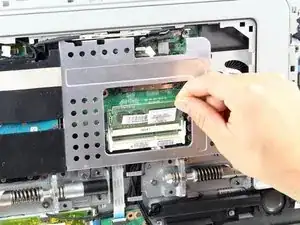
    • Use the plastic opening tool along the outer rim of the bottom portion of the back panel.

    • Take off this portion.

    • Removing the cover for the first time requires a bit of force. Use the plastic opening tool to get as much separation as possible before you pull off the cover to help prevent it from cracking.

  5. rZLRHq6ASJfVmjal
    rZLRHq6ASJfVmjal
    ZyjsaOK5gFX1NUWu
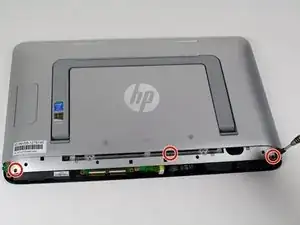
    • Remove three 6.35 mm screw from the back panel using a PH#2 or J1 screw driver.

    • Unscrew the two 6.35 mm PH#2 screws. They aren't able to be completely removed and will just be loosened similar to step 3.

  6. RfPk1V3fEdhr3Na5
    RfPk1V3fEdhr3Na5
    csQNpPg1CVGFokxM
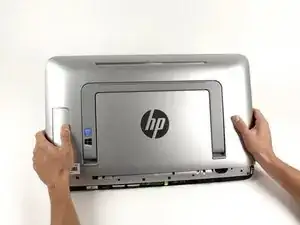
    • Release the stand by pressing the large button on the left so that it is easier to take the back case off.

  7. 2jOQgqkLLUG4Umrk
    2jOQgqkLLUG4Umrk
    EWKHPnSbeICaHdZi
    KX3VJ4DMBQEtDQrg
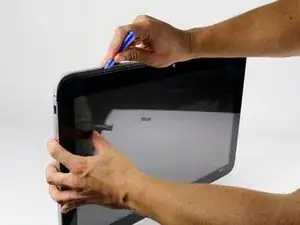
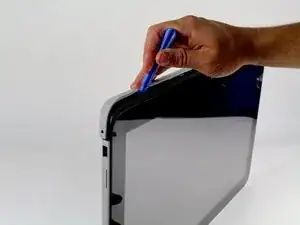
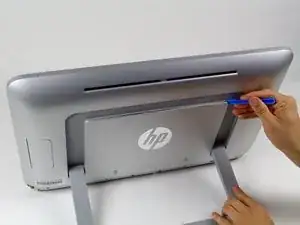
    • Use the plastic opening tool to separate the silver back cover from the screen body.

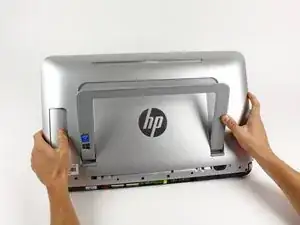
    • As shown in picture two, use the tool around the stand as well to avoid cracking the cover.

    • As with the bottom cover, removing the top cover requires some force. Using the plastic opening tool to get as much separation as possible will make your job easier in the long run.

  8. DhsyhocKZDHmZdga
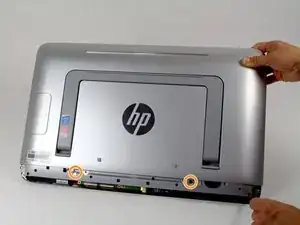
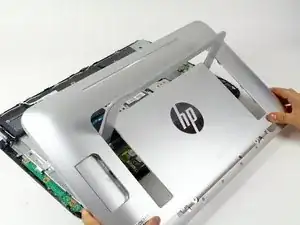
    • Slowly apply pressure to the outsides of the cover until it pops out of place.

    • Carefully lift the cover away from the computer and untangle it from the stand.

    • When putting the back cover back on, make sure you put the bottom of the cover on first so that the plastic cover sits tightly underneath the bottom of the stand case. Then make sure all the plastic tabs are fully pushed in.

    • Make sure that the power button is aligned when you put the back cover on.

  9. gIQ1frvOivS2cvrs
    gIQ1frvOivS2cvrs
    GAJSsQq5RmKVPnDi
    • Before working on any of the internal components of the computer, make sure the battery is disconnected so there's no power running through the device.

    • Disconnect the battery by using a plastic opening tool and taking the cable connection out.

  10. qoBuVcsiSRyZ5Jrh
    qoBuVcsiSRyZ5Jrh
    kLMVLiDLKGAyNSPp
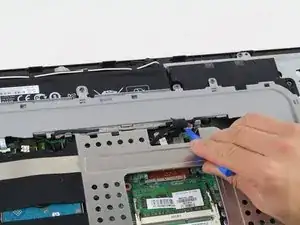
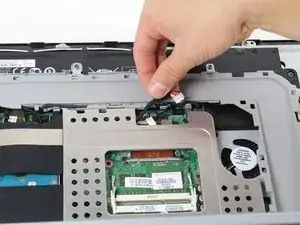
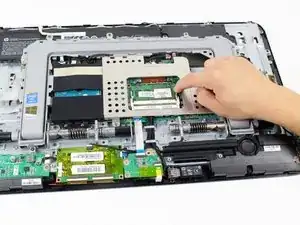
    • Pull apart the white tabs on the outside to release the RAM module.

    • Gently remove the RAM module from the slot.

    • When you replace the RAM, make sure to align the pins on the RAM module with the appropriate slot. Then once the RAM module is completely in its slot, gently push the module down so the white tabs re-engage with the module in the correct spot.

Conclusion

To reassemble your device, follow these instructions in reverse order.

Berit Bingham

Member since: 06/10/15

1440 Reputation

0 comments