
Introduction
A solid-state drive is a secondary storage device, also called a semiconductor storage device, a solid-state device, or a solid-state disk. This is one of two secondary storage devices in your HP EliteDesk 800 G4. The other, called the storage drive, will also be removed during this guide.
You may want to upgrade your solid-state drive for more storage or replace a nonfunctional drive. Luckily, this process is fairly simple for an EliteDesk 800 G4. The specific model we will work with in this guide will be an EliteDesk 800 G4 (35W).
Before starting this process, make sure your device is fully powered down and disconnected. Also make sure you are wearing an anti-static wristband to protect yourself and your device against electro-static discharge. If you've never used an anti-static wristband one before, iFixit has an easy guide on how to set one up.
Parts
-
-
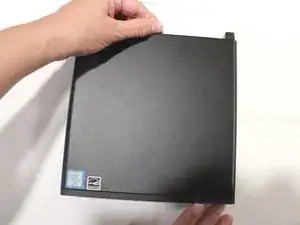
Slide the panel forward (away from the screw) until it is detached from the machine.
-
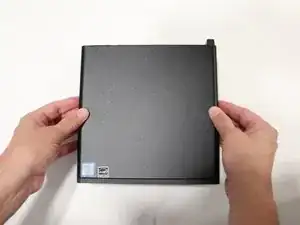
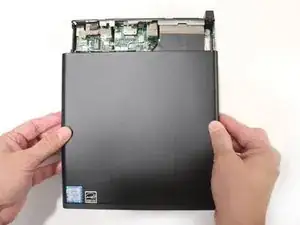
Lift the panel up to remove it.
-
-
-
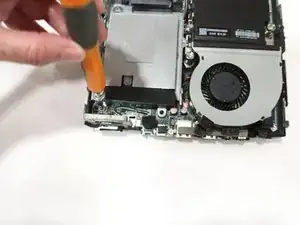
Remove the two 12 mm screws near the front of the machine using a T55 Torx screwdriver.
-
Lower the cage lever.
-
-
-
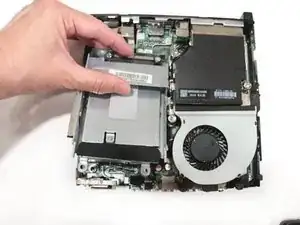
Slide the cage forward and then up to remove it from the slots that secure it to the chassis.
-
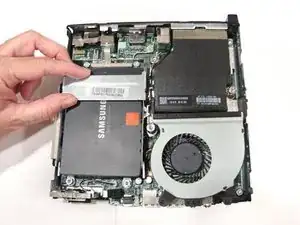
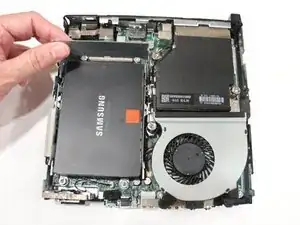
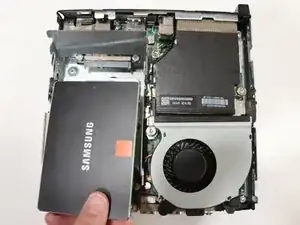
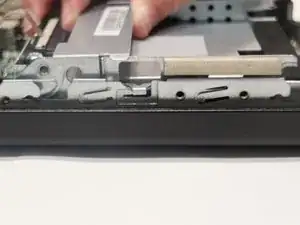
Gently flip the storage cage over and rest it down in order to access the solid-state drive.
-
-
-
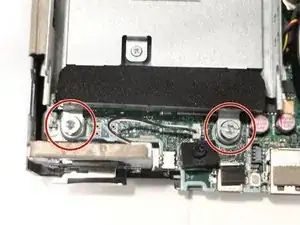
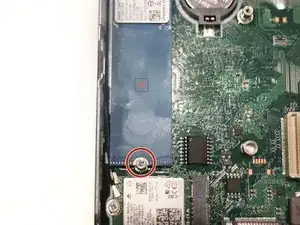
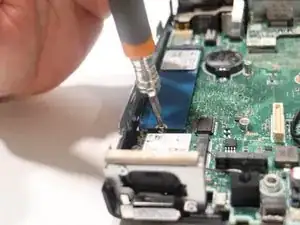
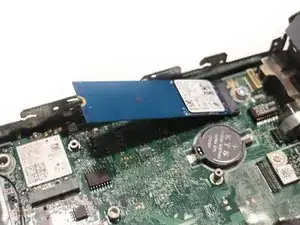
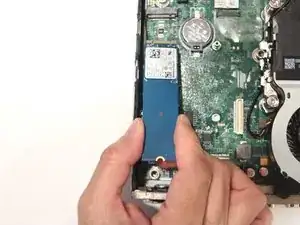
Remove the single 4 mm screw that secures the solid-state drive using a Phillips #2 screwdriver.
-
Follow the guide in reverse order to replace the rest of the parts that have been removed.
