Introduction

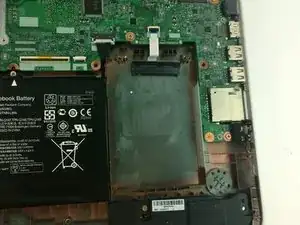
The hard drive is responsible for storing all of the data on your laptop. Information from a defective hard drive can sometimes be recovered depending on the extent of the damage or problem.

  1. x6t1AgYW5FDhM6Jb
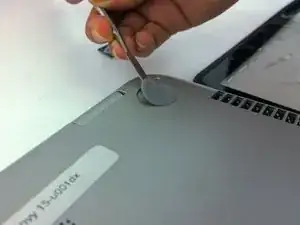
    • Remove the two no-slip covers on the rear, bottom side using spudger shown in top center of picture.

    • The two in the front do not have to be removed as there are no screws underneath them.

  2. KXgdUJC6ZQFRQc5V
    • Remove the two cover tabs towards center of the bottom as there are screws underneath them.

  3. jAl611S1JTgQAZwn
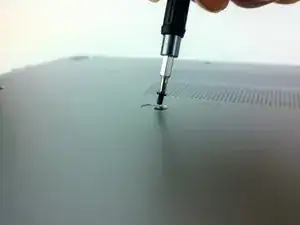
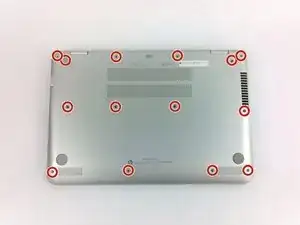
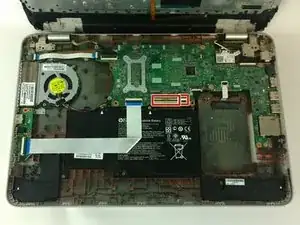
    • Remove all fourteen 4.5 mm screws from the bottom using a Phillips #0 screwdriver. Each location is marked by a red circle in the picture.

  4. NA4jMY2Vwxn5saPe
    • Separate the top cover by using a spudger to go around the sides freeing the inside latches.

    • Once the bottom is free, carefully open to the inside as there are two ribbons that connect your keyboard and touch pad to the top cover.

  5. G1BoRJKpyDMMLBkq
    G1BoRJKpyDMMLBkq
    dnYsBQQfxQt6glFK
    • Use the spudger to detach the two ribbons from their connectors.

    • The regular black nylon spudger should be used whenever possible, especially around sensitive internal components.

  6. fZYava1dJ2uocYrs
    • Gently remove hard drive from its connector.

Conclusion

To reassemble your device, follow these instructions in reverse order.

Dakota Presley

Member since: 05/10/16

885 Reputation

0 comments