Introduction
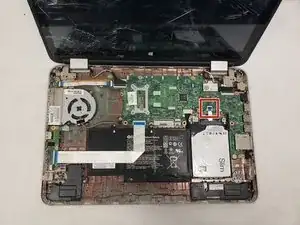
If your HP Envy 15-u001dx does not turn on or only the peripherals (fan, drives), then you may have a problem with your motherboard. The motherboard is the computer. It connects all the components together, allows them to communicate, and provides power to them.
If you are confident that the problem traces back to the motherboard, then this guide will walk you through the process of removing it.
Before beginning this guide, be sure that the laptop is completely shut down and unplugged. Finally, as you go through the steps in this guide, do so carefully, because electronic components are semi-fragile.
-
-
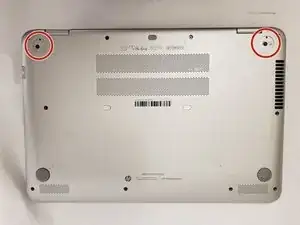
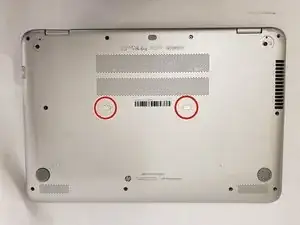
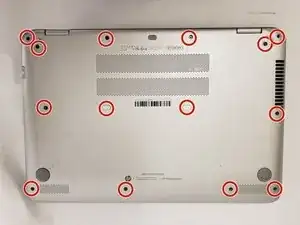
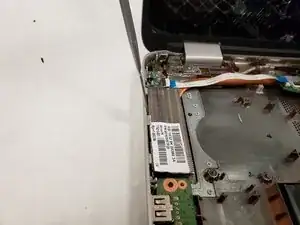
Flip the device over so the bottom is is facing up.
-
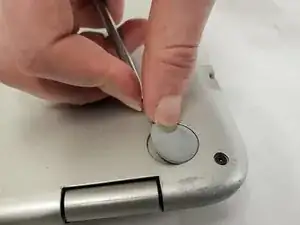
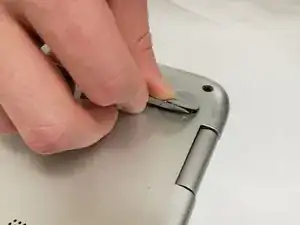
Peel up the two rubber feet closest to the hinge using the metal spudger to reveal two 6.6 mm Phillips #0 screws.
-
-
-
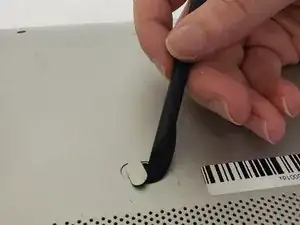
Peel up the small plastic coverings in the middle of the device with the spudger to reveal two more 6.6 mm Phillips #0 screws.
-
-
-
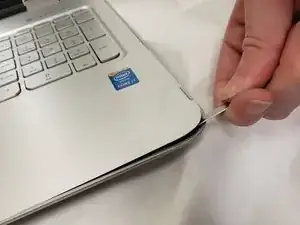
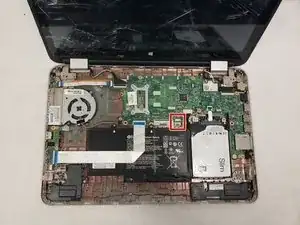
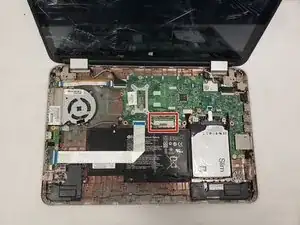
Flip the device over and open it to reveal the keyboard.
-
Use the metal spudger to pry the chassis apart and reveal the inside of the device.
-
-
-
Disconnect the T/P cable by flipping up the black plastic piece on the connector and pulling the cable out of the connector.
-
-
-
Disconnect the keyboard cable by flipping up the black plastic piece on the connector and pulling the cable out of the connector.
-
-
-
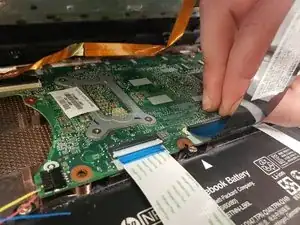
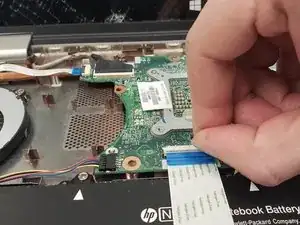
Disconnect the battery cable by flipping up the black plastic piece on the connector and pulling the cable out of the connector.
-
-
-
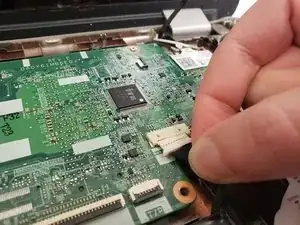
Disconnect the AUX/USB cable by flipping up the black plastic piece on the connector and pulling the cable out of the connector.
-
-
-
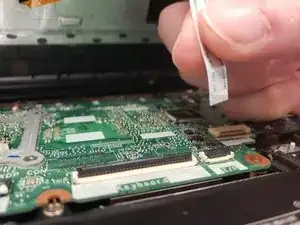
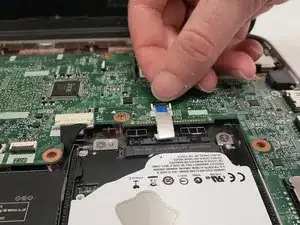
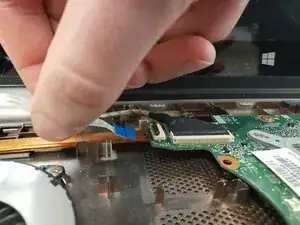
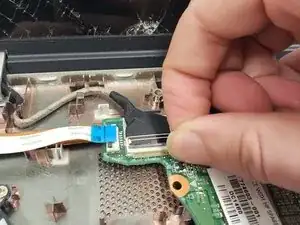
Disconnect the cable by flipping up the black plastic piece on the connector and pulling the cable out of the connector.
-
-
-
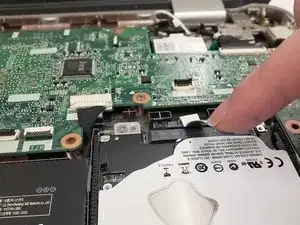
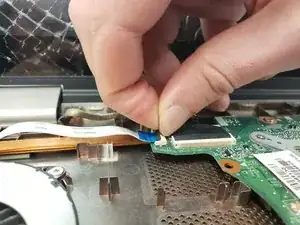
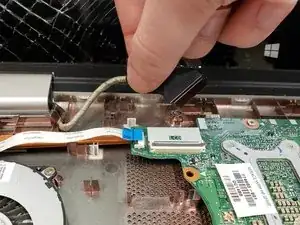
Disconnect the cable by flipping up the black plastic piece on the connector and pulling the cable out of the connector.
-
-
-
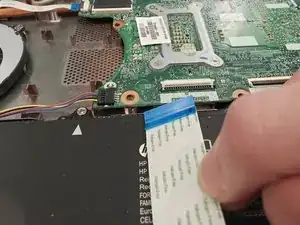
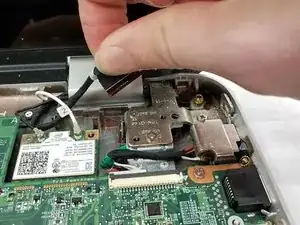
Disconnect the cable by flipping up the black plastic piece on the connector and pulling the cable out of the connector.
-
-
-
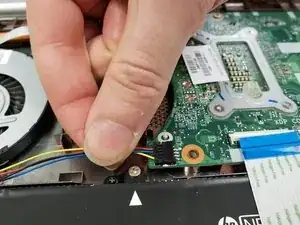
Remove the three 4.0 mm Phillips #0 screws with the Phillips #0 screwdriver on the fan.
-
Disconnect the cable by gently pulling it out.
-
Remove the fan by pulling it out of the chassis.
-
-
-
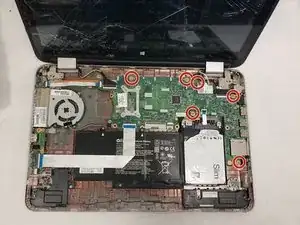
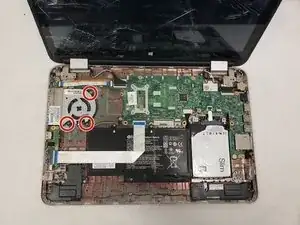
Remove each of the three 4.0 mm screws around the fan with the Philips #0 screwdriver.
-
The fan will now be loose, and easy to lift out.
-
-
-
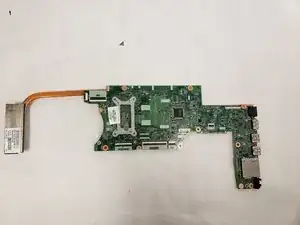
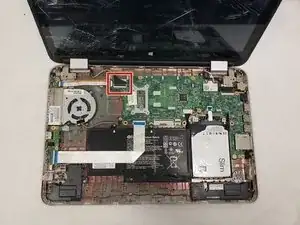
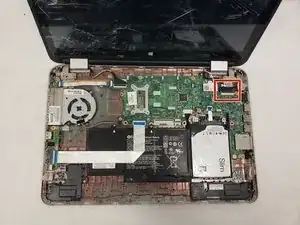
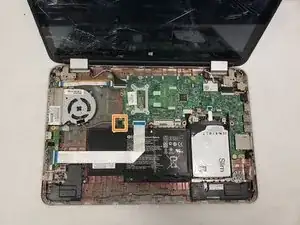
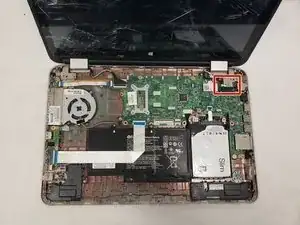
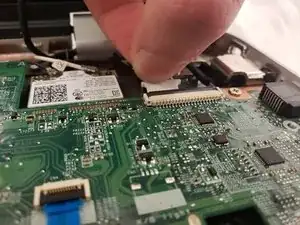
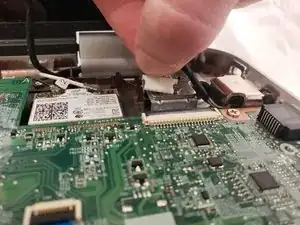
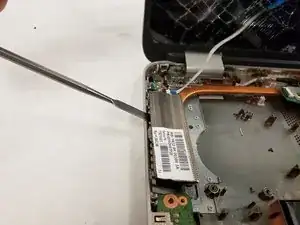
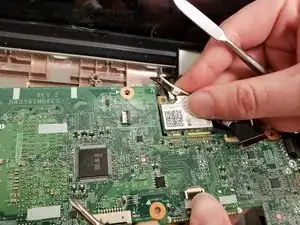
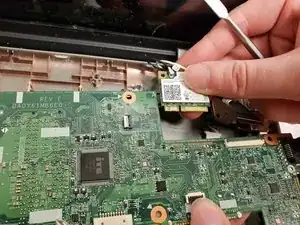
Disconnect the wifi card from the motherboard and remove the motherboard from the rest of the device.
-


To reassemble your device, follow these instructions in reverse order.